Master Bedroom Makeover

We have been so excited to share this full before and after with you all! This was our first time working on so many pieces at once for the same space and we were very excited for the opportunity to help transform this master bedroom.

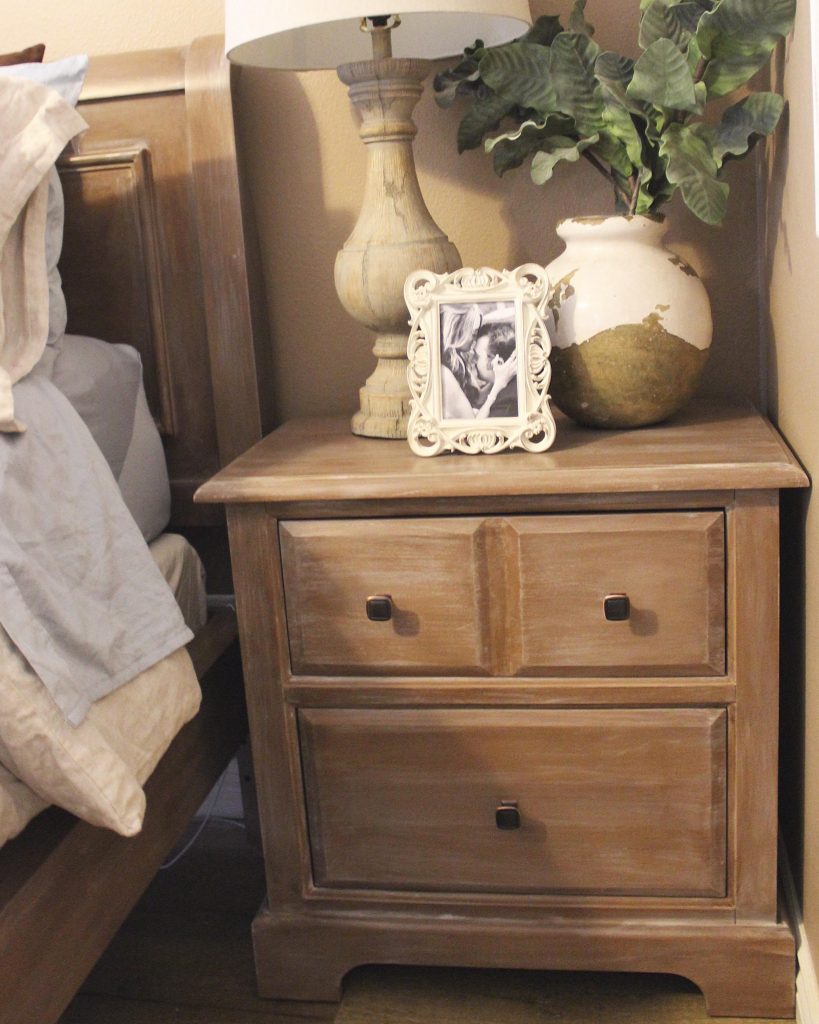
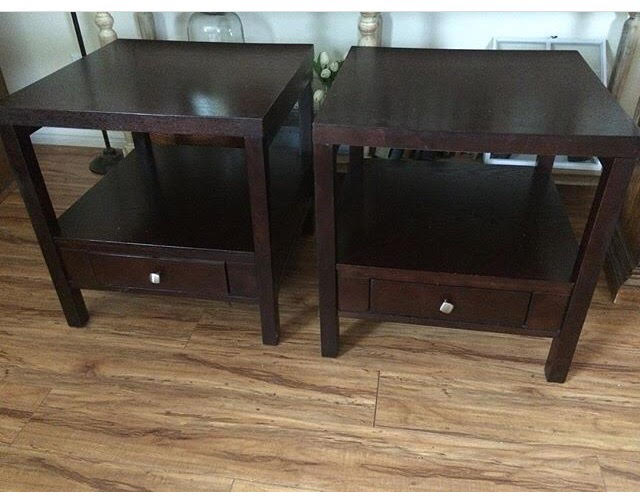
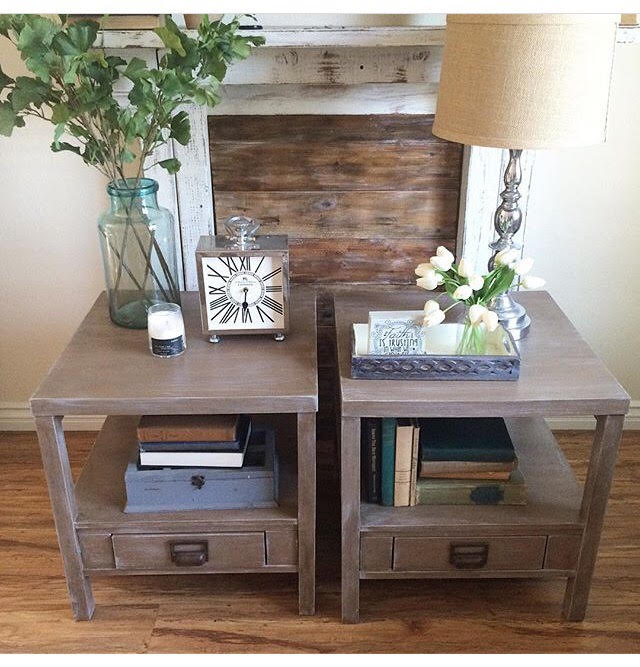
It all started when my friend reached out to us and asked if we would be able to redo some end tables for her. She was looking to update the modern, dark espresso look to a rustic whitewash wood finish. Once we were done, her and her husband were really happy with how they turned out and  how it gave the space such a whole new look. So, when they asked if we would be up to refinish all the furniture in their master bedroom a few months later, we happily agreed. She mentioned that while their current furniture was still in excellent shape, her taste had changed over the years and she wanted to lighten things up, just like we had done with the end tables.

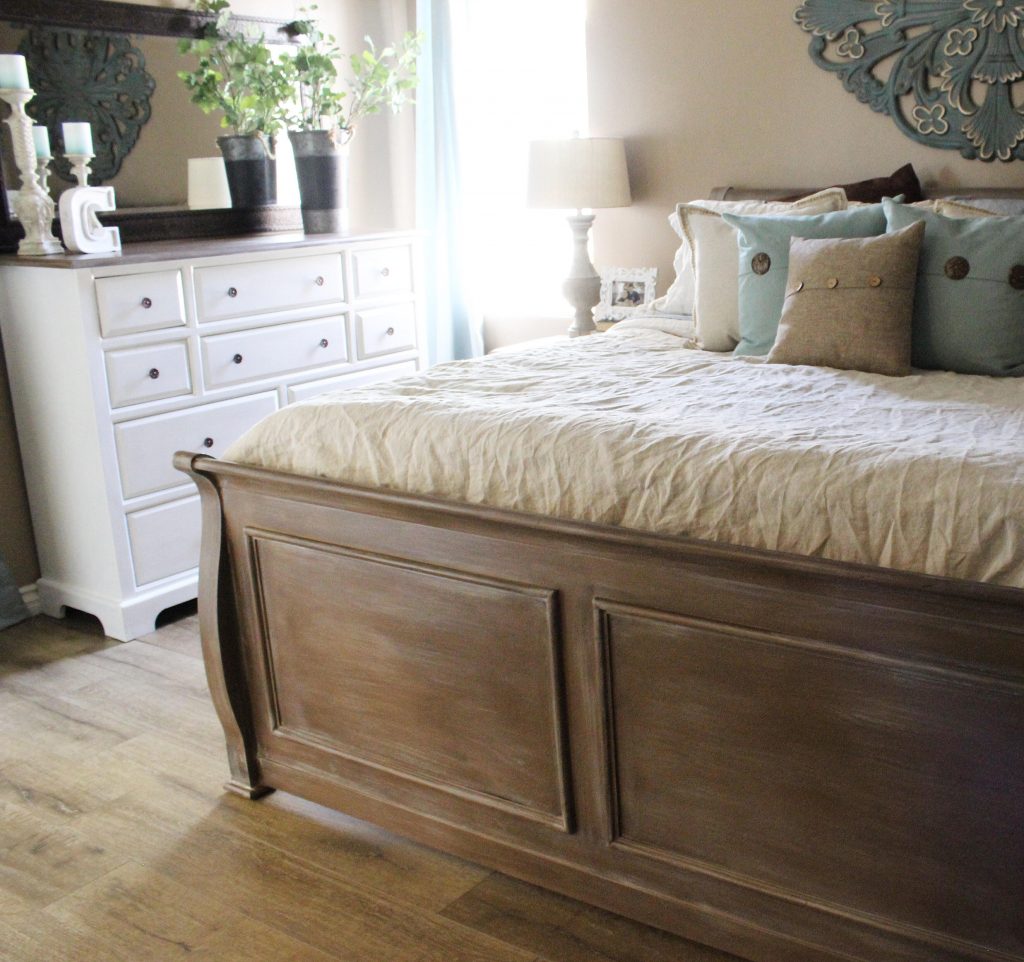
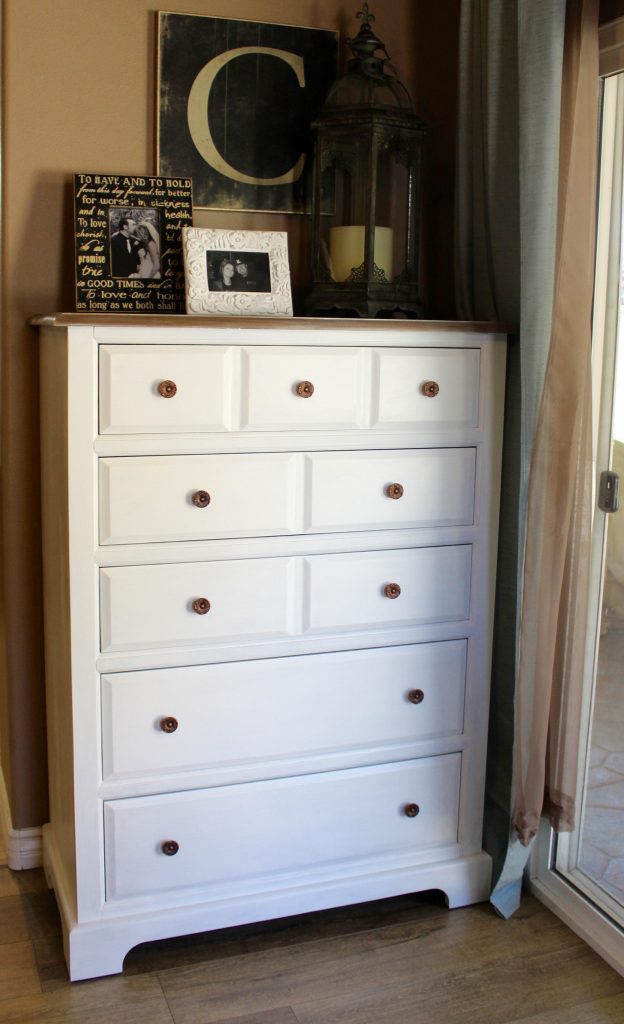
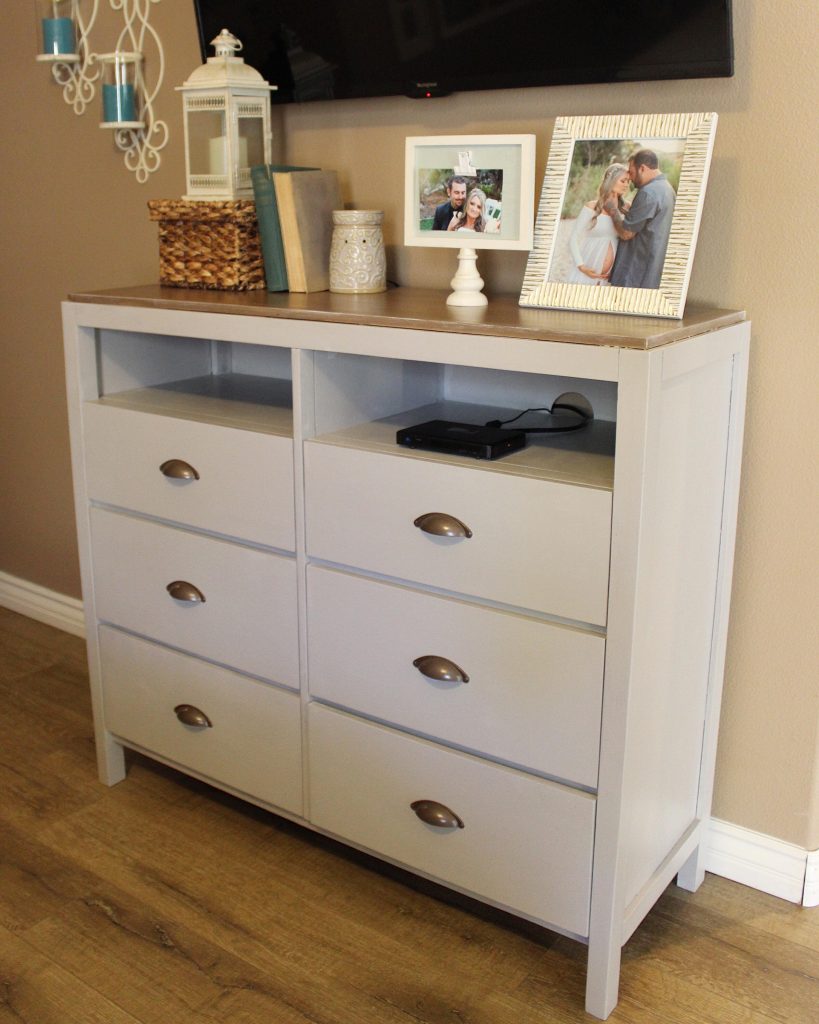
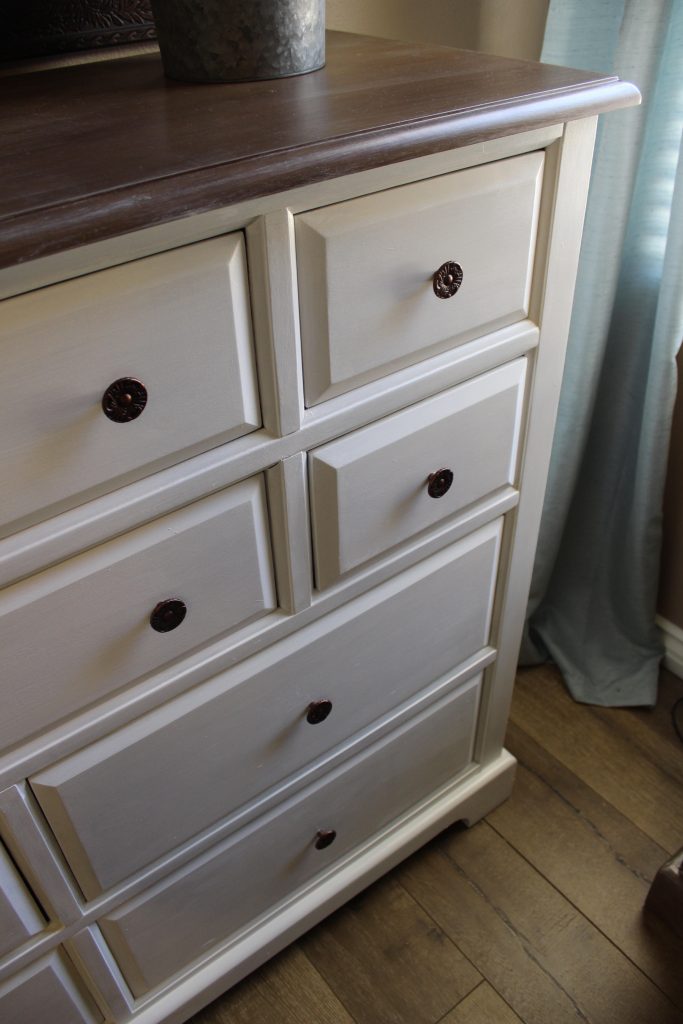
I dropped in one day after work to speak with her and her husband, to determine how they wanted each piece to look. While they wanted the pieces to compliment each other, they wanted to get away from the current look of all the furniture being too matchy matchy. The final decision was to do the same finish for the bed and nightstands and then carry that same look onto the tops of the dressers. The bases on two of the dressers would be white and the third done in a light gray. Also, we agreed to paint some of the existing hardware and then they picked out new hardware for the dressers and nightstands.

We applied our custom rustic whitewash wood finish to the sleigh bed, nightstands and dresser tops. Then we used white and gray chalkpaint for the bases, sealing it all with a poly. The finishing touch was painting some of the old drawer pulls and  then adding the new hardware. The transformation is really incredible and shows that you can transform the look of a space, using the furniture you have, without having to go out and buy everything new.

Before & After:

Also. the end tables we first refinished for them…..

Before:

After:

XOXO

Mel & Izzy


How to create a custom pillow cover with HTV

Hello!!

So excited to be working with Expressions Vinyl  again and bring y’all another fun DIY project. Today we are talking home decor! I absolutely love creating unique and custom items for our home, not only because I get to choose the exact style and colors but I also get to make items that are sentimental and unique.

I had been on the hunt for a unique pillow cover, either with a design or phrase. When I was unable to find what I was looking for in the store or online, it hit me! Hey, I can just make my own?! So, I grabbed by Expressions Vinyl HTV, turned on my Cameo and got to work!

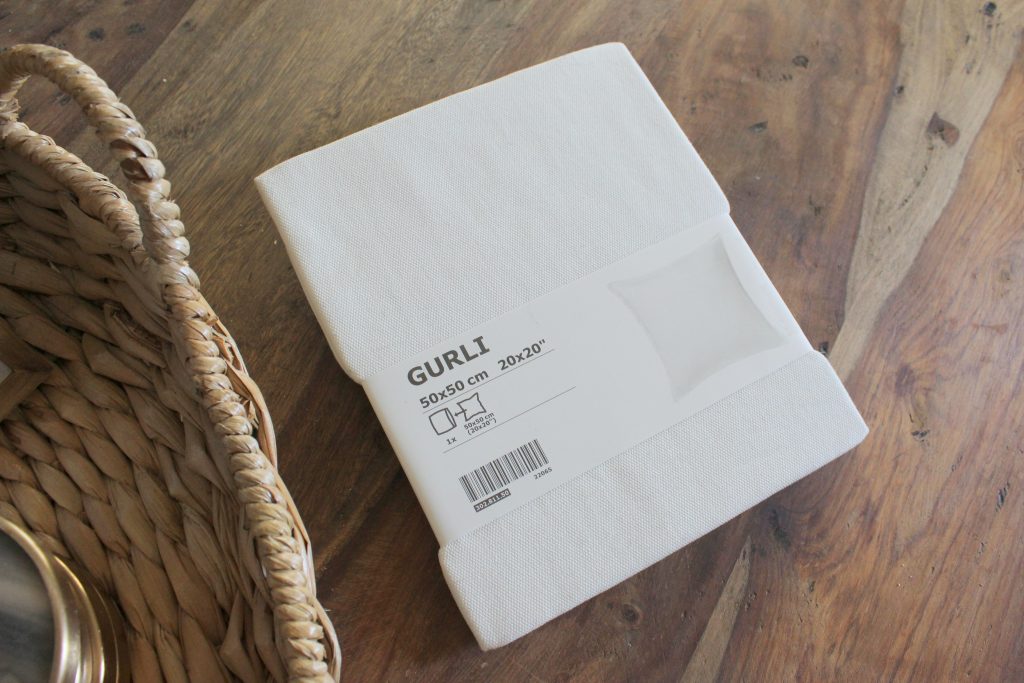
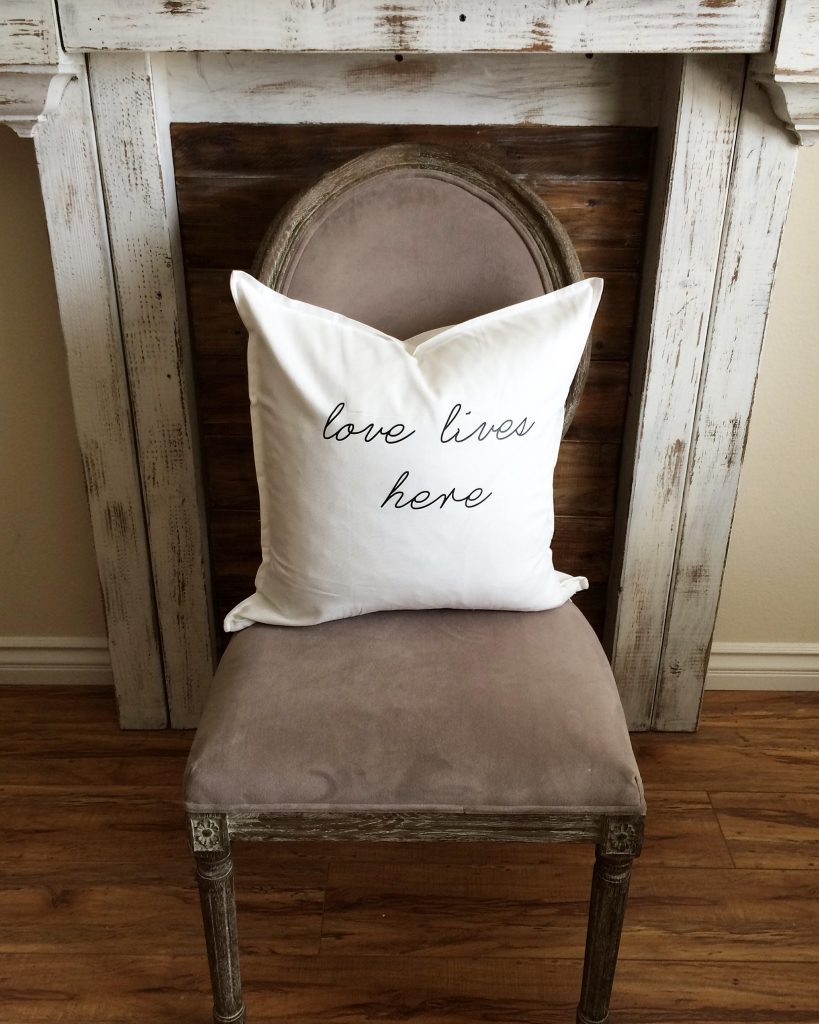
After deciding how I wanted the lettering to look like, I rummaged through my craft drawer and found this simple canvas IKEA pillow cover! I love using the simple pillow covers from IKEA or Hobby Lobby because they have a great selection in fabric and colors, while being affordable as well.

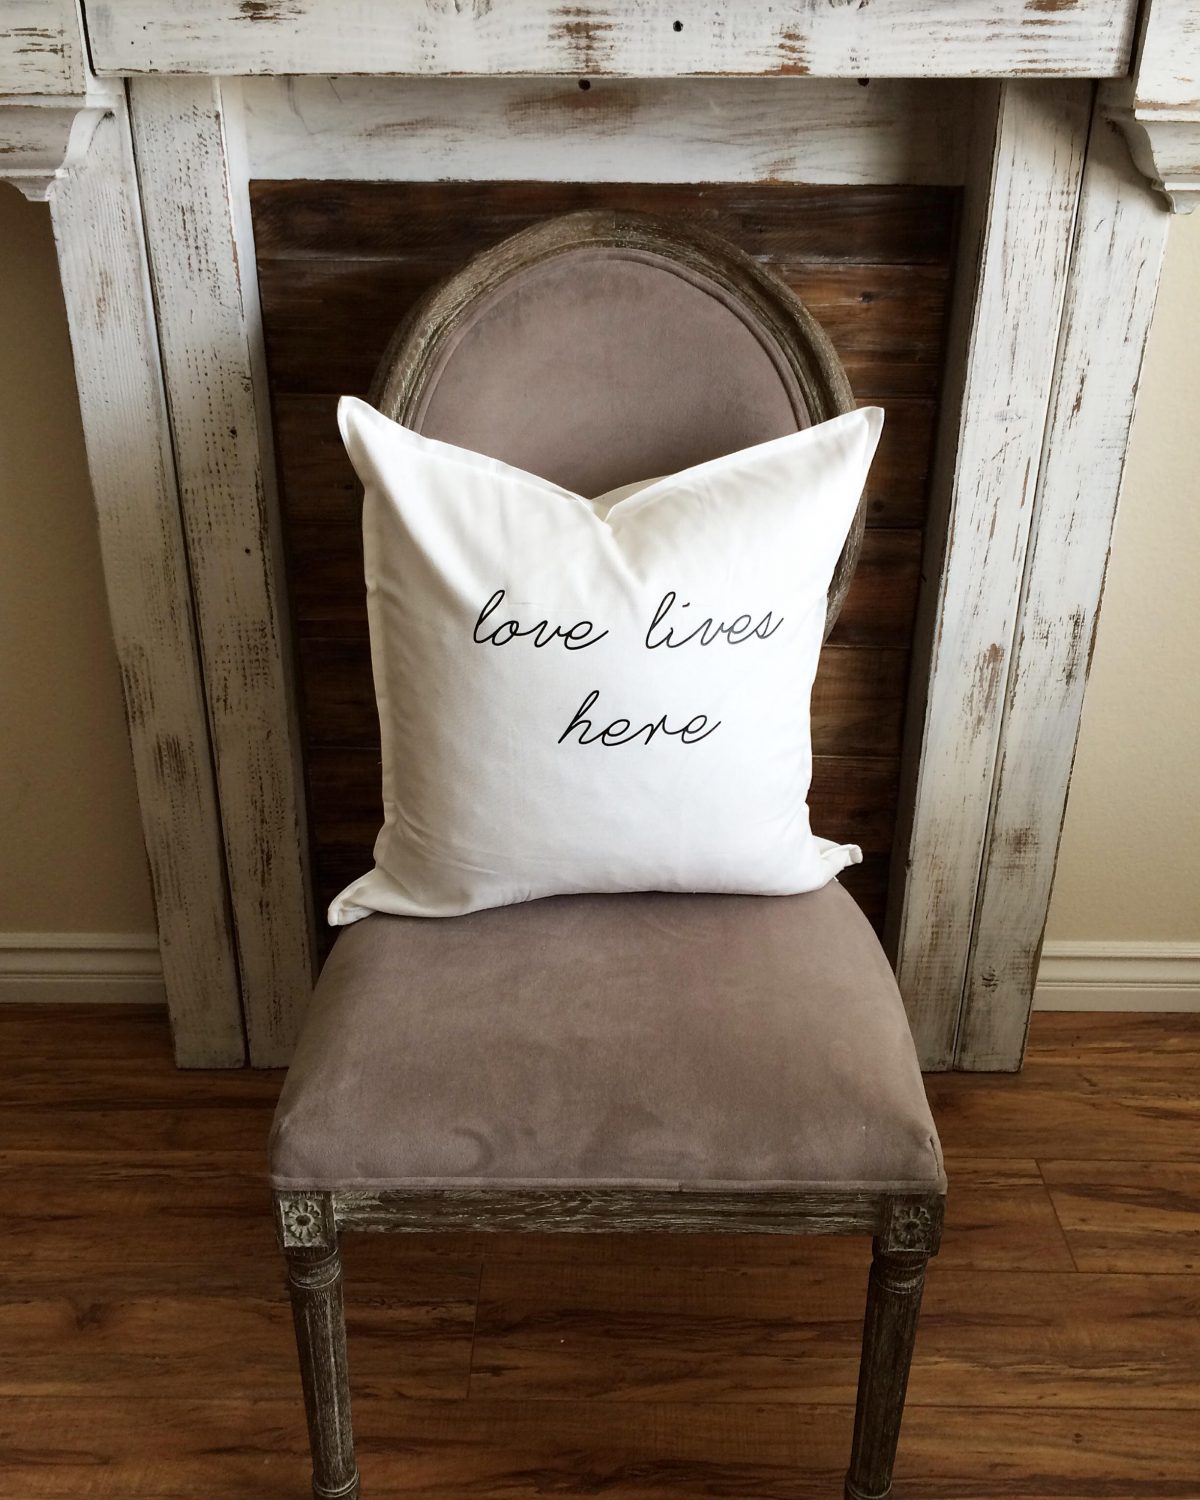
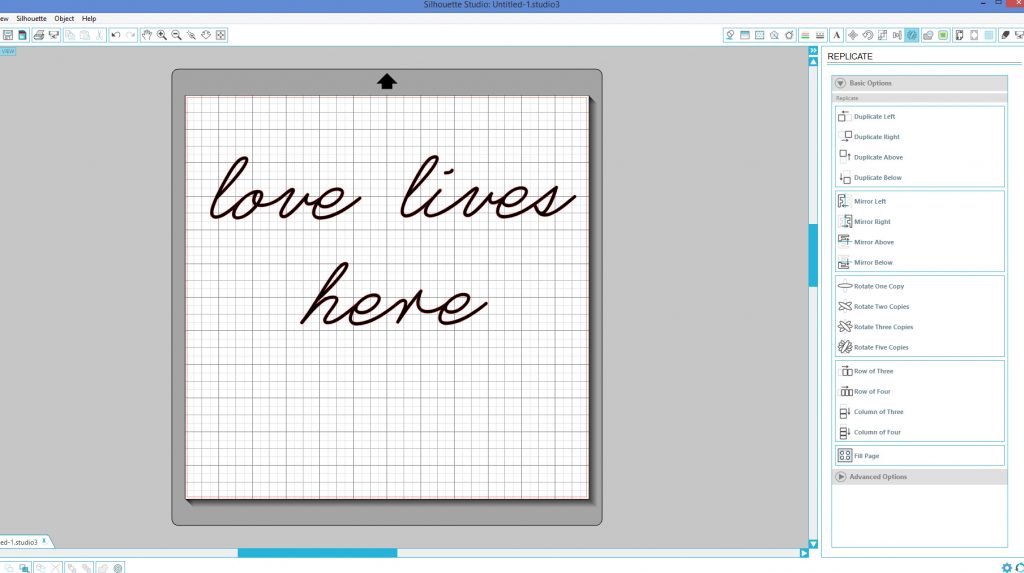
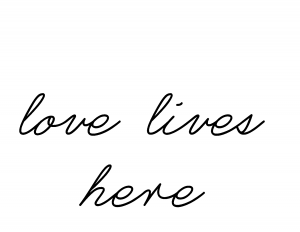
Then, I came up with a simple design with a fun little saying that my husband came up with “…love lives here.”

Note: We use a Cameo Silhouette 2 and included software to design/create. Highly Recommend this machine!! 


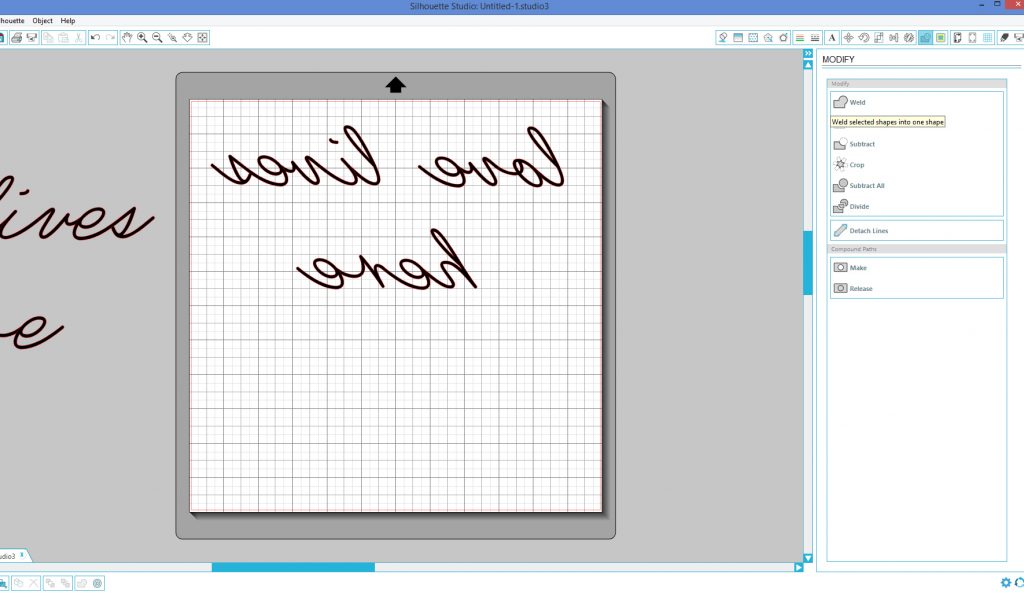
Don’t forget to mirror your image before you hit the cut button when working with HTV!!

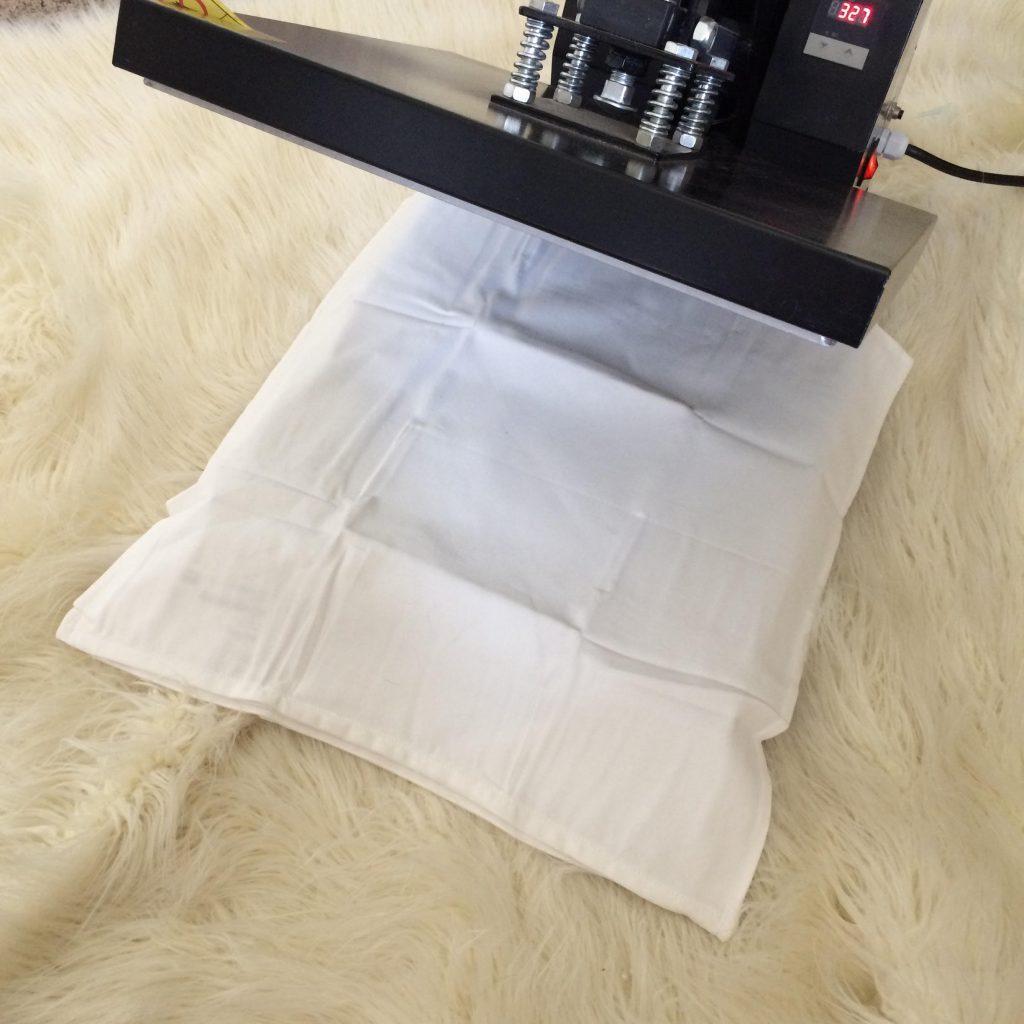
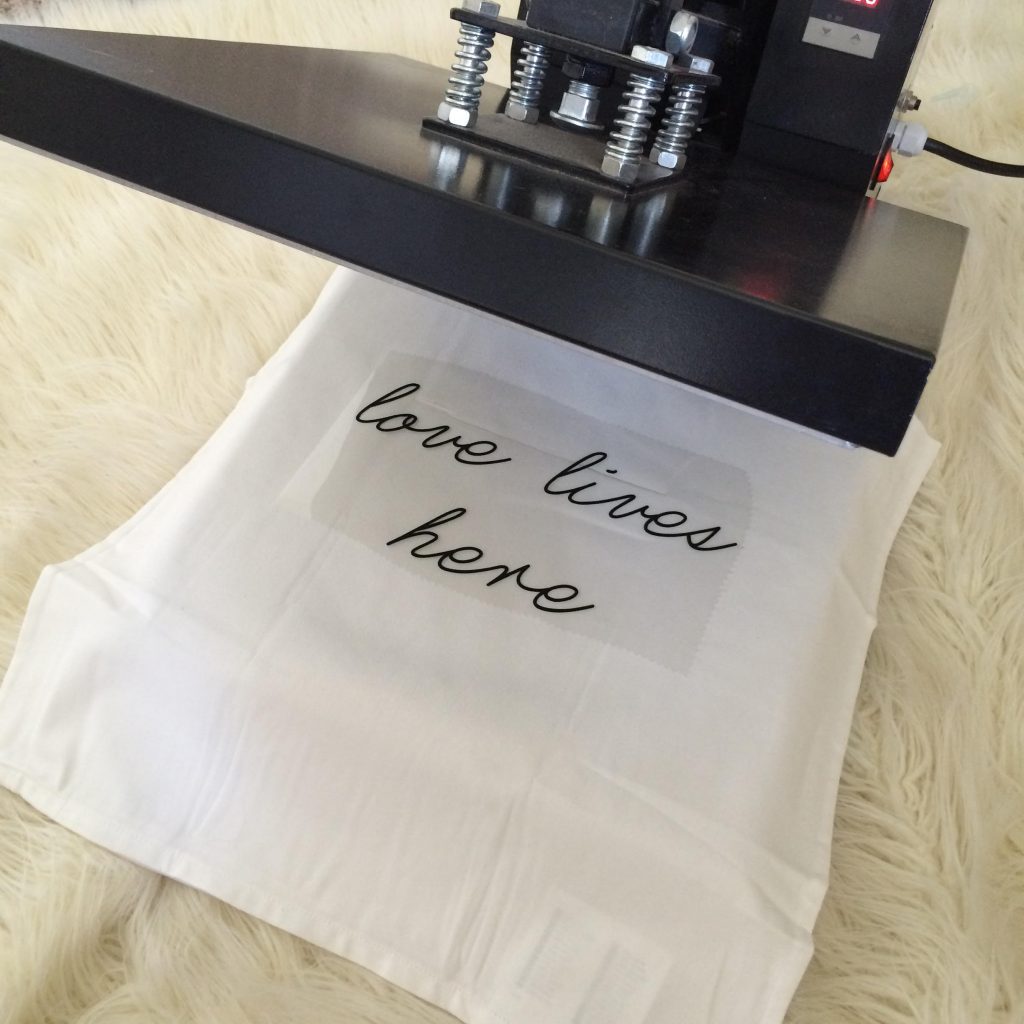
While that was cutting, I turned on our heat press. We have a simple heat press and  prefer to use it when pressing items with HTV, because you get the continuous heat and pressure needed to get professional results!

TIP: We always pre-press our items for 10 seconds before applying the HTV to prep the material for HTV.

Once you have cut and weeded your HTV and pre-pressed the material you’re working with, you are ready to apply and press!

TIP #2 (not shown): I used a thin piece of fabric large enough to cover the work surface of the press, as to not transfer any unwanted items and protect my pillow cover from the heat plate.

Once pressed for 30 seconds, release and pull back transfer film……

Once the film is completely peeled off, recover with your scrap fabric and repress for 10 seconds to set in the HTV. And that’s it, easy as PIE right?!

Products Used:

  • 20×20 Cotton pillow cover
  • Black HTV Vinyl
  • Cameo Silhouette and software
  • Heat Press
  • Download file below and cut/trace into your software of choice

XO

Mel & Izzy

DIY Mercury Glass


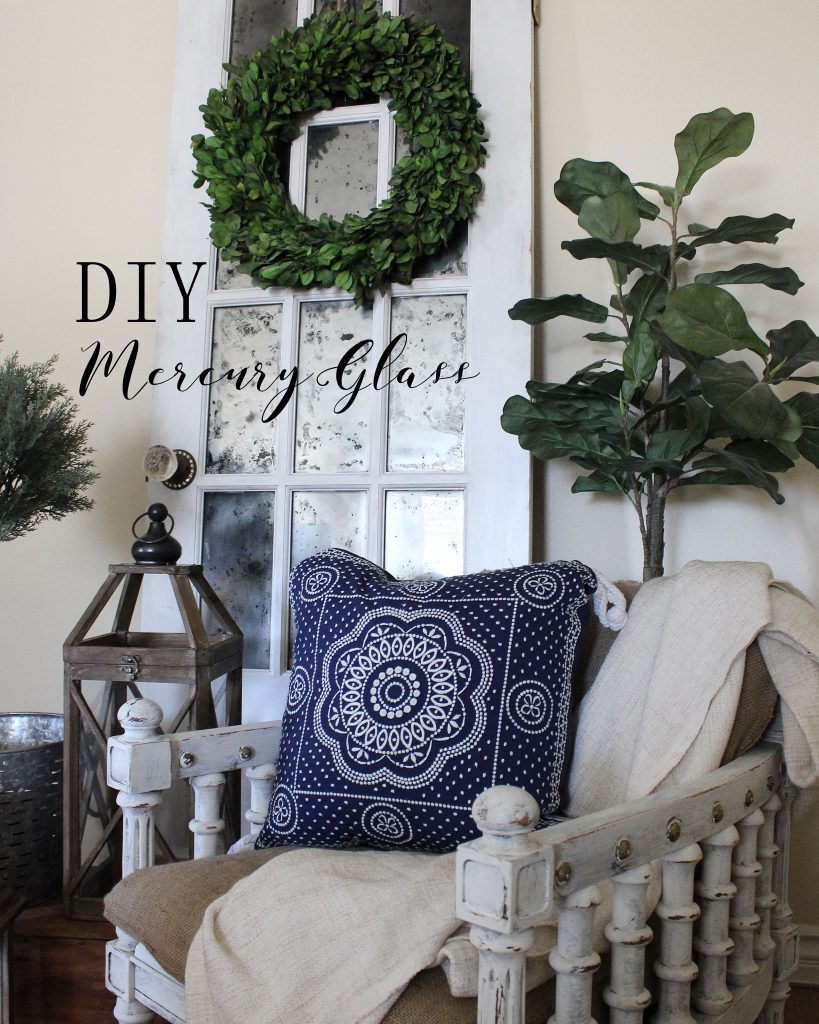
Time for another fun DIY post, today we are sharing how we created the look of mercury glass on the glass window panes of a vintage door!

This was always a project that we wanted to try and when we saw it on an episode of Fixer Upper, I was motivated to finally cross it off the TO DO list! After a quick Google search, we were able to find the actual video tutorial from Dustin Anderson, the guy who created the beautiful antiqued glass for Chip and JoJo. It is an awesome video, extremely helpful and got us excited to give it a shot! You can view the video—-> here

So, this was our first attempt at mercury glass and to be honest, it wasn’t smooth sailing the first go round. But, like any DIY, we learn from our mistakes and tried again. Luckily, if you are not pleased with how the mercury glass is turning out, it can easily by wiped away and you can try again. Hopefully this tutorial will be helpful and you can learn from our mistakes!
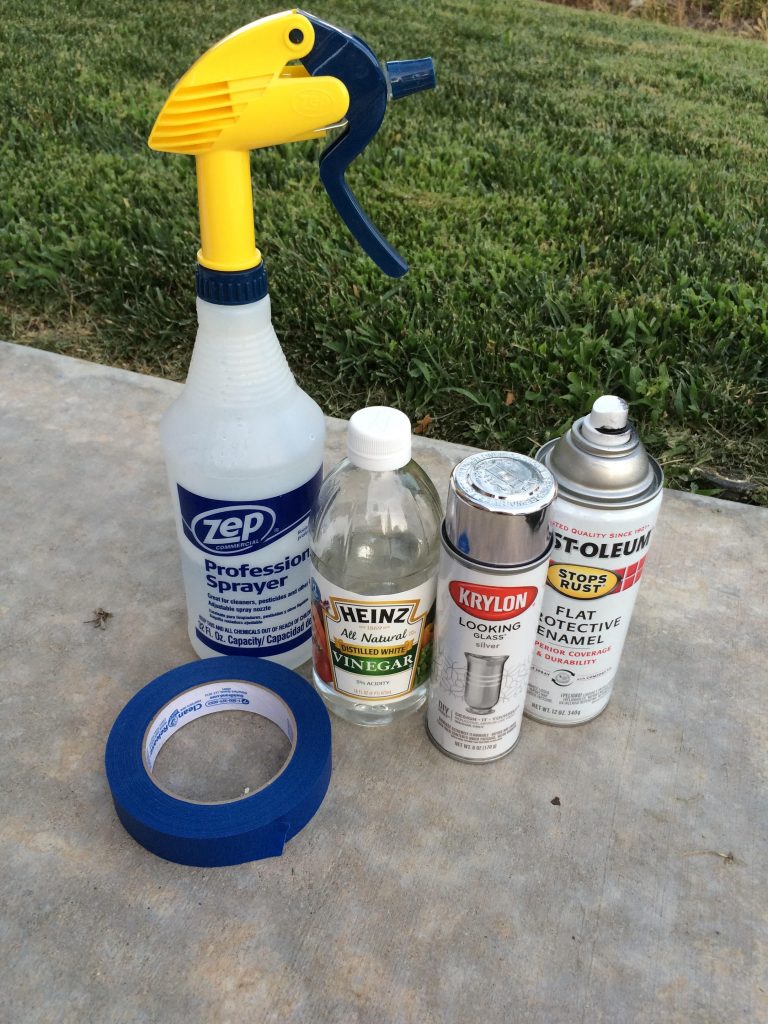
Supply List:

1 Empty spray bottle

Vinegar and water

Painters Tape (optional)

Krylon Mirror Glass Spray Paint (got ours at Walmart)

Flat Spray paint

Window Glass cleaner (Windex, etc)

Paper Towels

Drop cloth/cardboard

Project Glass


Step 1: 

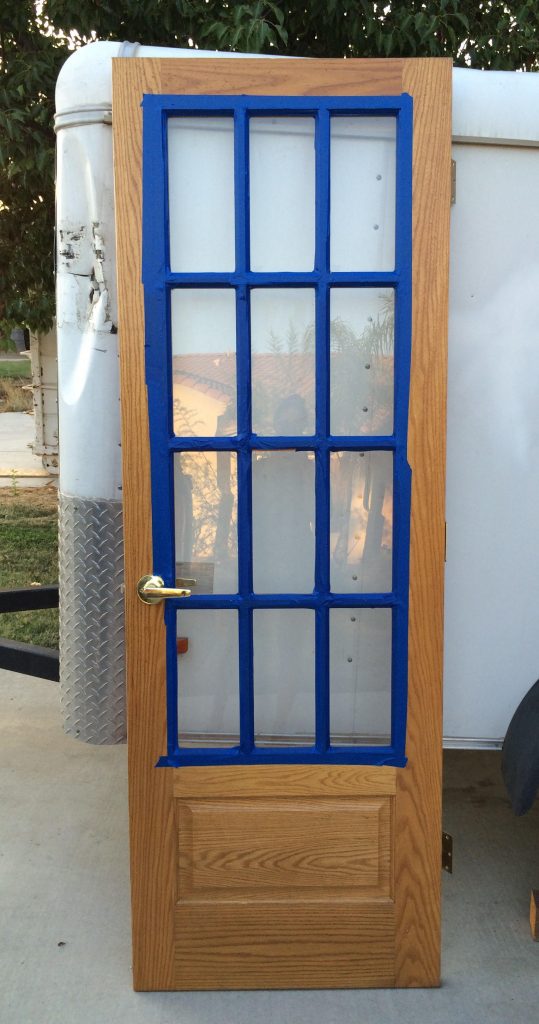
Prep and clean your glass area. For this project, we had to tape off the wood edges surrounding the window pane, but if you are working with a flat piece of glass, then no need.

{When working with an item such as a door, make sure you are working on the correct side!  Remember to stop and think, what side do I want the mercury glass to show? Whatever that side is, you want to work on the opposite side} this was our mistake #1….

Clean the glass with a glass cleaner (we used Windex) to make sure the glass is completely clean and dry. (Otherwise any lint, smudges or moisture will get trapped in between the glass and the first layer of paint and it WILL be visible on the other side) our mistake #2….

Here is our door that we picked up on OfferUp, taped off (wrong side, oops, told you we made a few mistakes….) but clean and ready for the next step!
Step 2:

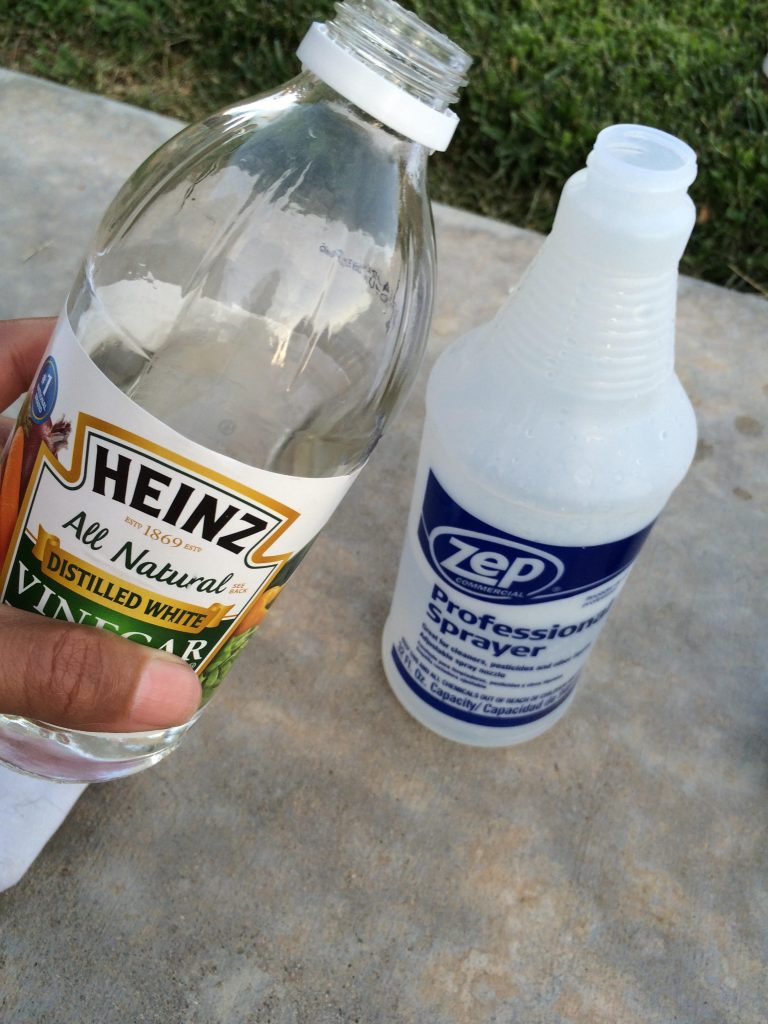
Lay your glass project down flat, over a drop clothe or cardboard area. Mix your vinegar and water in the water bottle (75% water, 25% vinegar) and lightly spray the glass area with the mixture. Now, this part can be a bit tricky because depending on how much of an “antiqued” look you want, depends how much of the vinegar and water mixture is applied.  After trying this several times, (and I mean SEVERAL) I found that an overall light mist with a few scattered small to medium sized drops, gave me the look that I wanted.
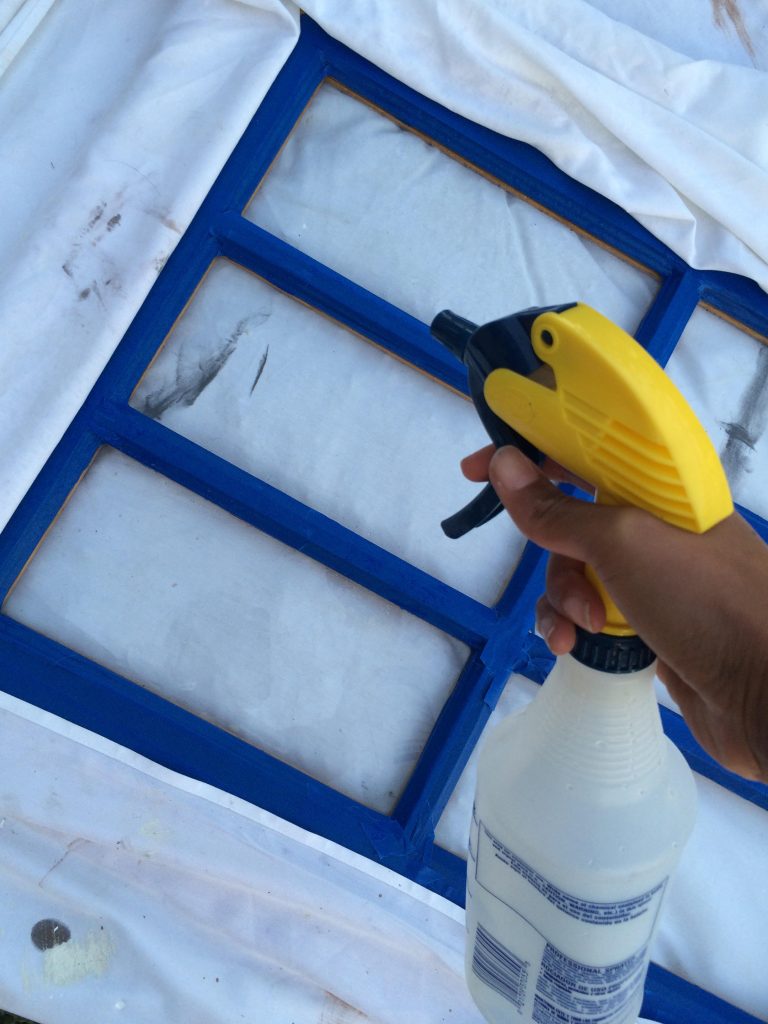
Step 3:

Once you have applied the water and vinegar mixture, you can apply your first coat of mirrored glass spray paint, working from side to side to  provide good coverage. Now sit back and watch the paint mix and start to transform in front of your eyes!
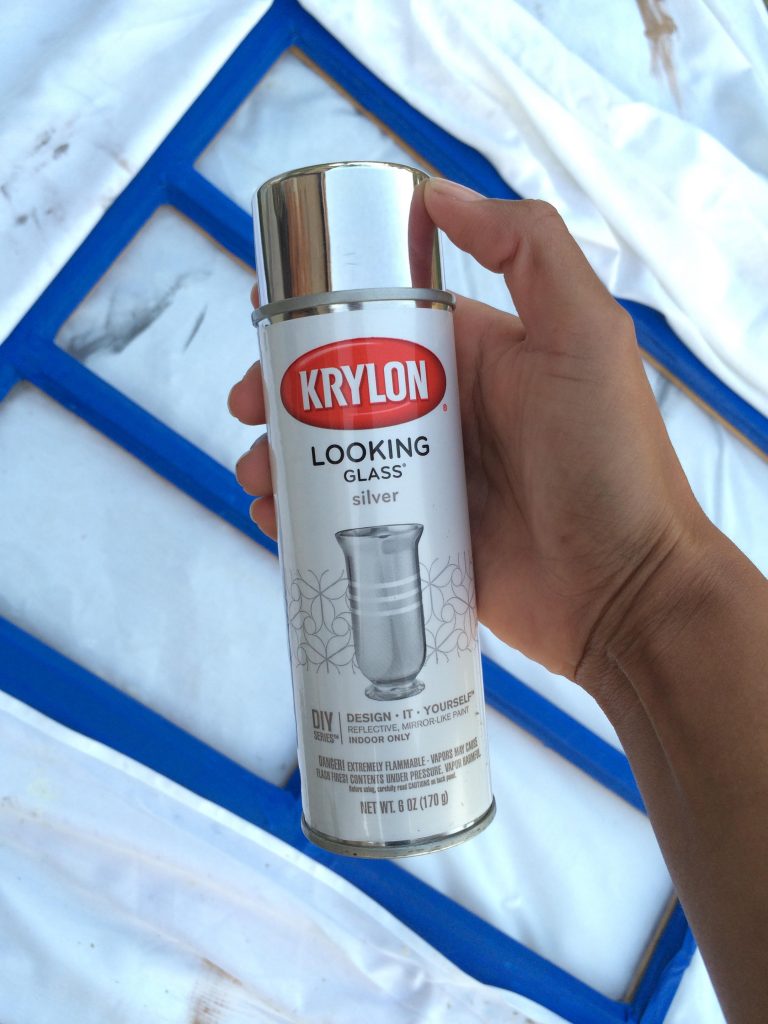
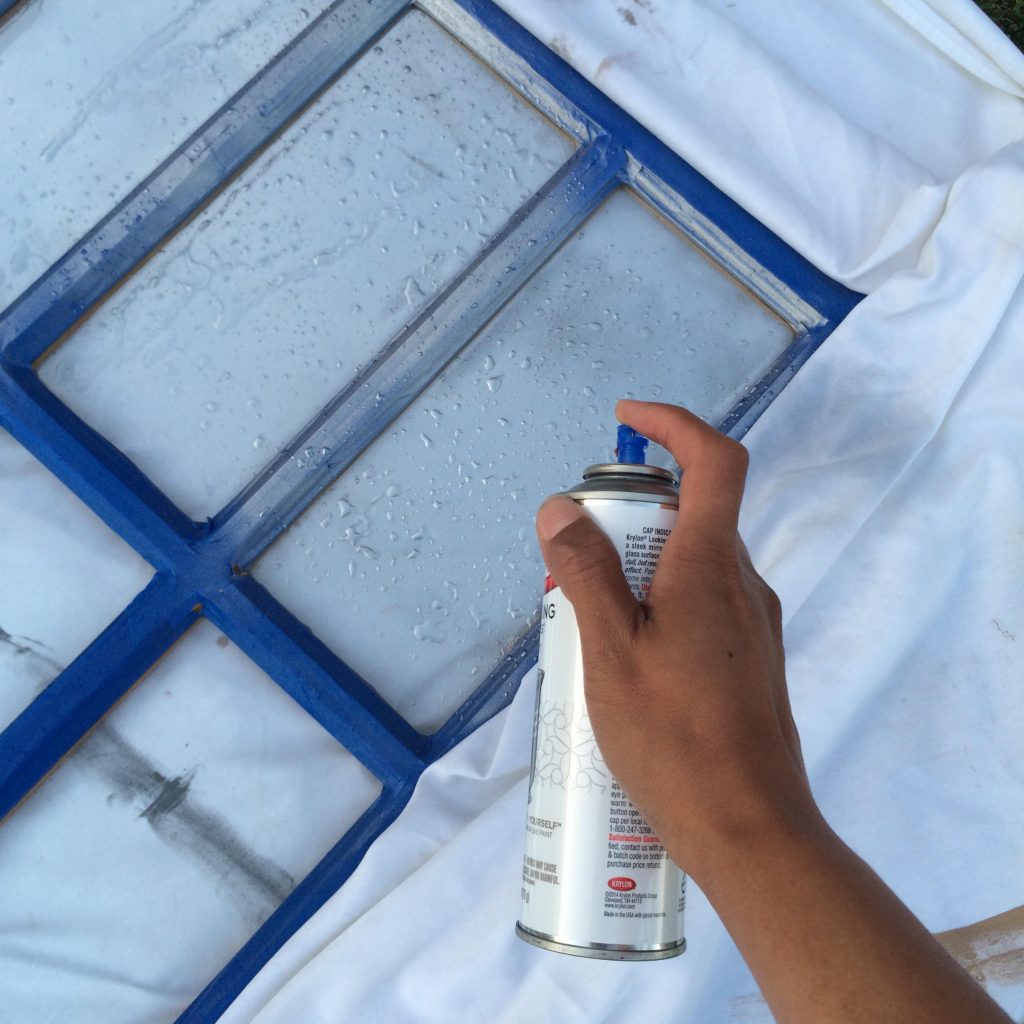
TIP {For this door, I was able to work in small sections, one pane at a time. But for a single piece of glass, I would recommend working on the entire surface area all at once}

Once that first layer starts to dry (it dries fast) I recommend applying a second layer of the mirrored spray paint.

Step 4:

Once the second coat is dry, take your paper towel and gently tap the areas with excess vinegar water and the bubbles. You will see that the bubbles start to crack, giving you that aged mirror look. Keep blotting the areas until you are happy with the amount of “distressed spots” on your glass and you don’t have any puddles of the vinegar water remaining.

I also did a bit of smudging on the flat, dry areas of the glass to create more natural looking distressed spots. (Keep in mind that these distressed areas and cracks will be the areas highlighted in the next step, the black spray paint).
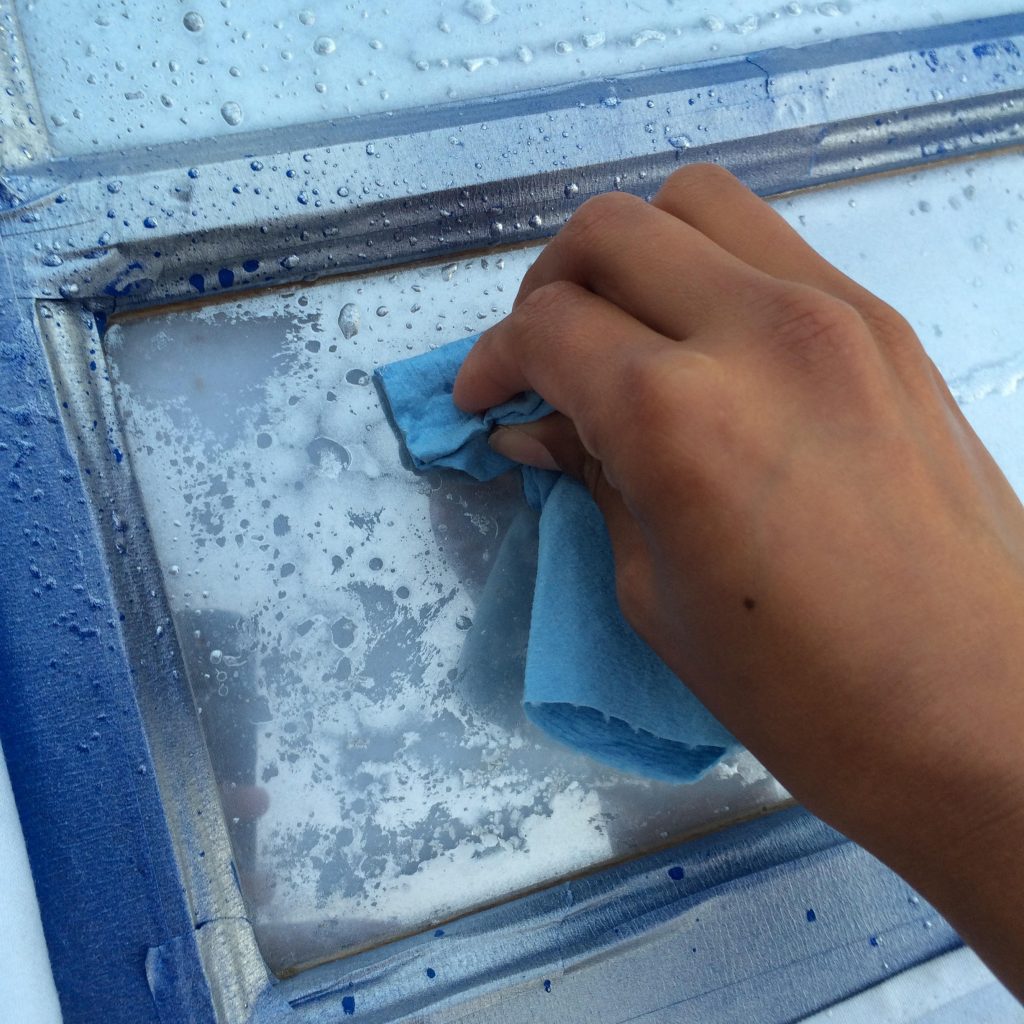
Step 5:

Take your flat black spray paint (Bought a .97 can at Walmart) and go over the area with even, smooth strokes. Feel free to turn your glass over, to check the coverage. I ended up doing two coats of black paint, to get the coverage I wanted. Once you are happy with the amount of black showing through, you are done!
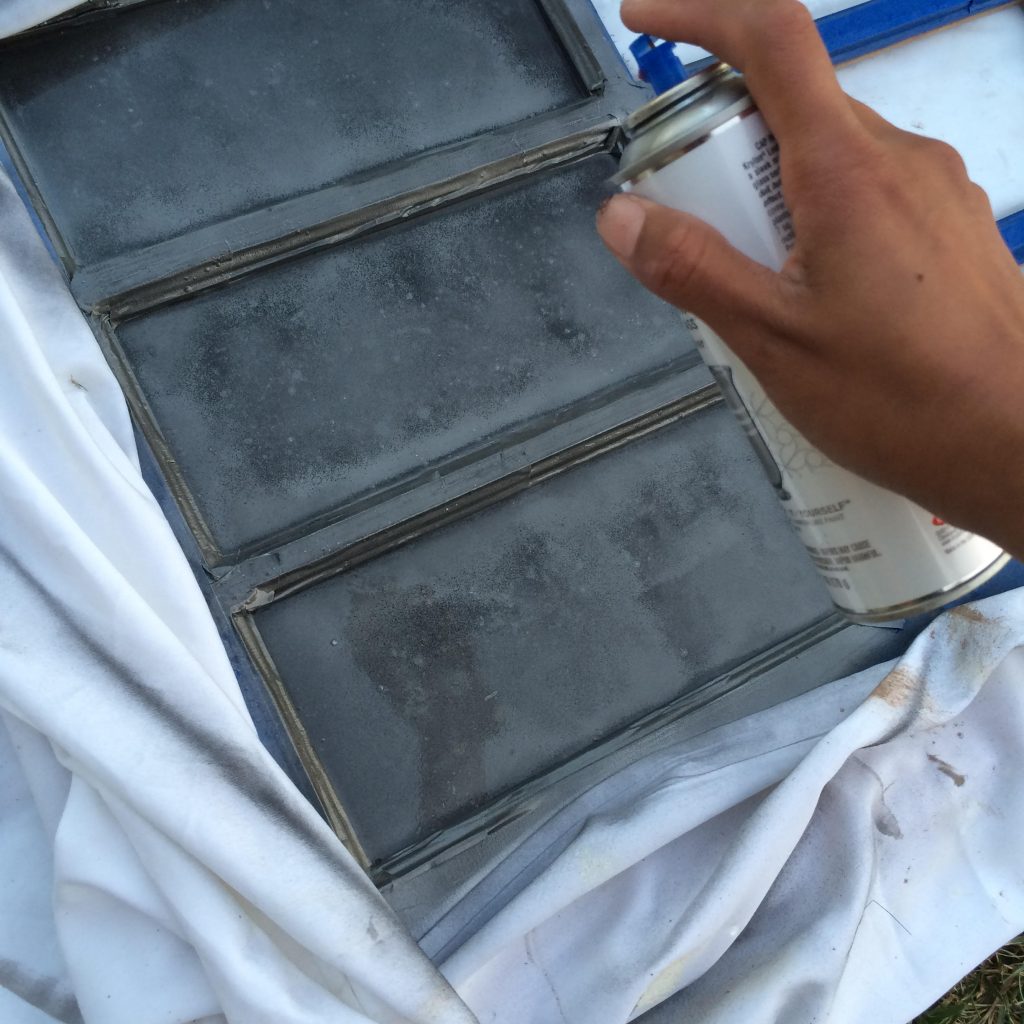
Now, since we were working on a door, we had a few extra steps which required us to turn the door over, tape off the glass and paint the door frame. We did a couple coats of white chalkpaint, finished off with some light distressing and a glass knob.
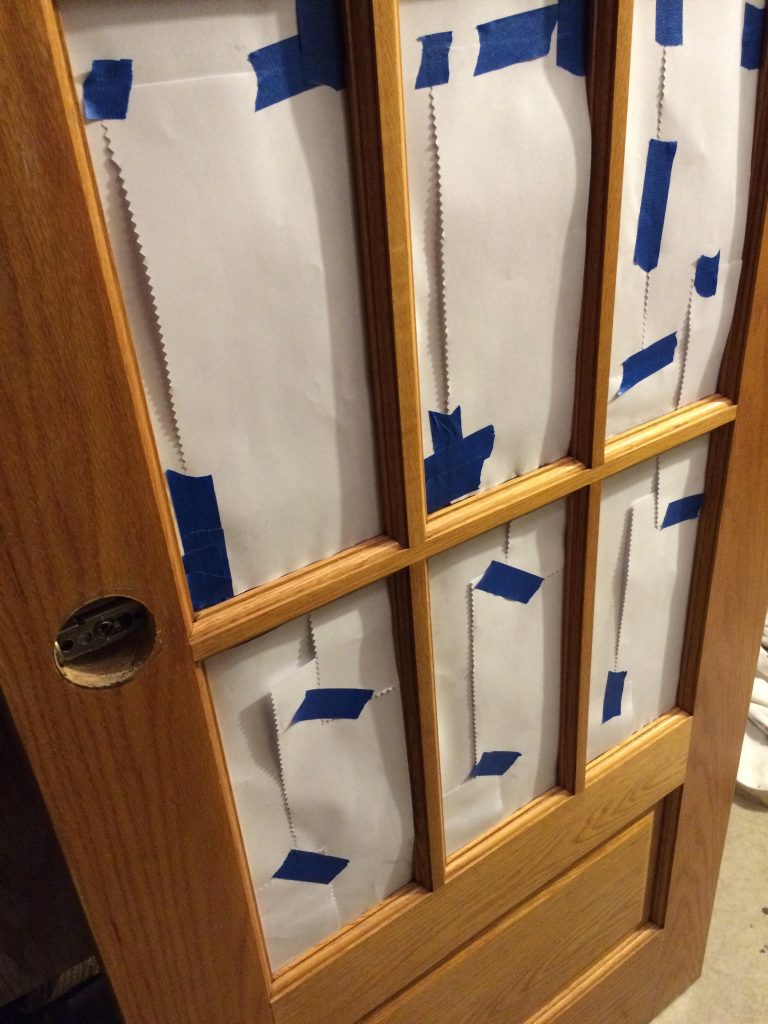
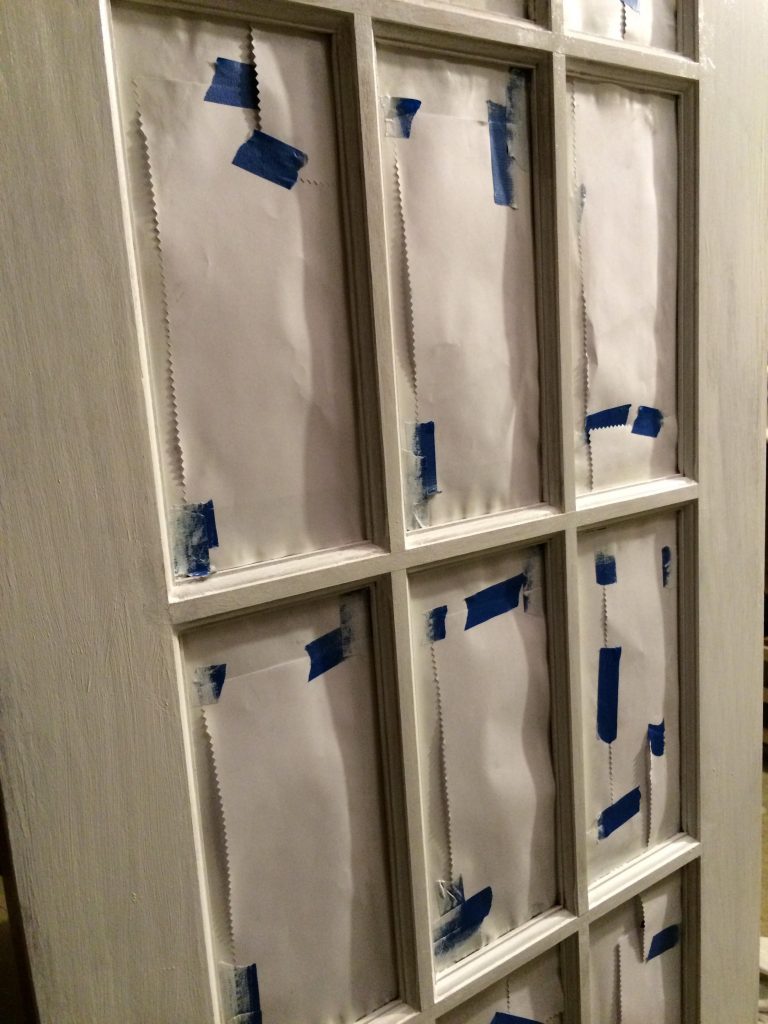
This door was initially supposed to go into our bathroom, but I measured incorrectly and it was a bit too tall :(. So, we decided to make it a decorative accent in our home. Now it can be moved around and dressed up with each holiday or season change!

We hope you found this helpful, thank you for following along with us and our blog! Post your questions below and we will get back to you!

XO,

Mel and Izzy

www.instagram.com/livandmarket
 

How to customize mylar balloons with vinyl

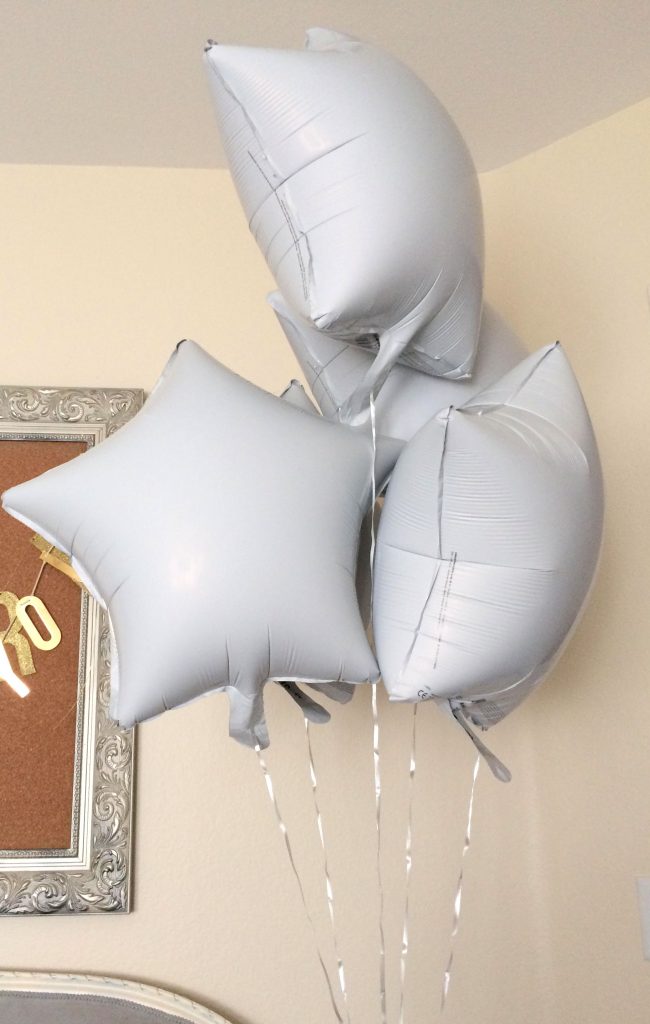
Hello Friends! So excited to be teaming up with Expressions Vinyl again and today we want to share how to customize affordable mylar balloons with vinyl. I am actually a big fan of the Dollar Tree mylar balloons, because you not only get the balloon, but they also inflate it with helium, for a DOLLAR!! Specifically, I like to get the plain star balloons because they provide a great blank canvas for your vinyl and come in a variety of colors { white, black, red, blue, green, silver, gold}.

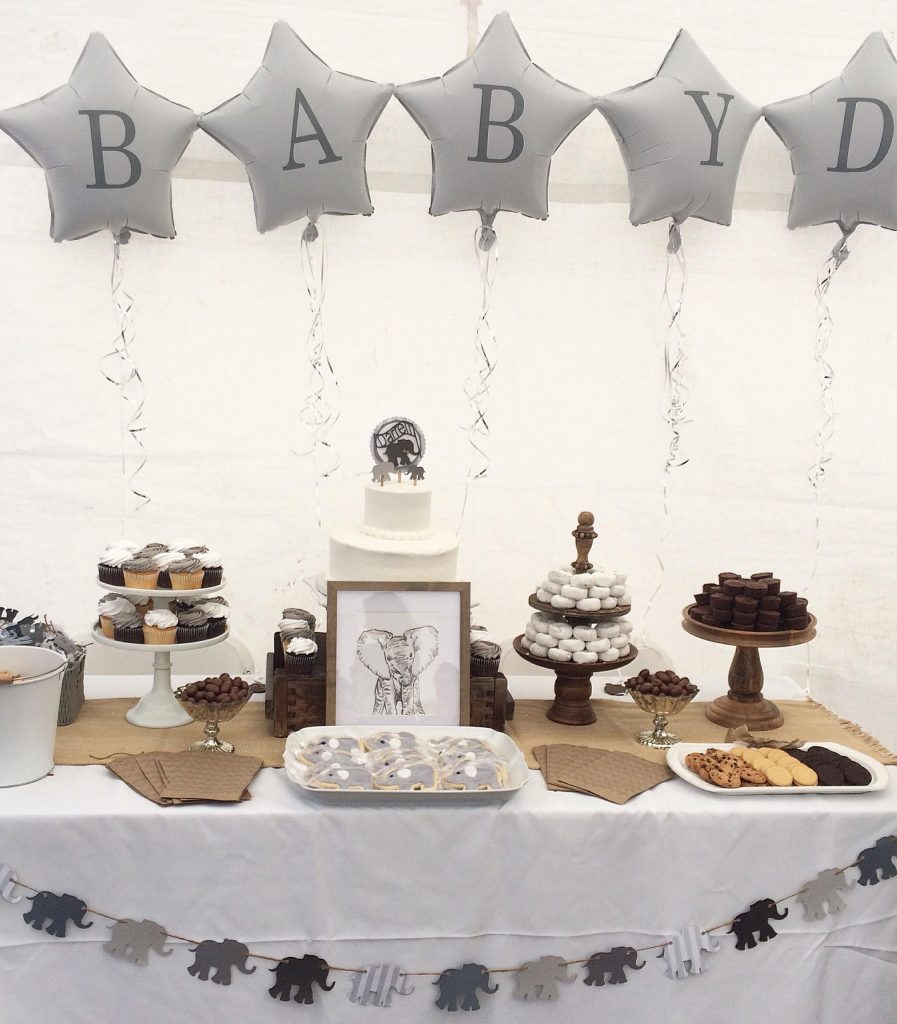
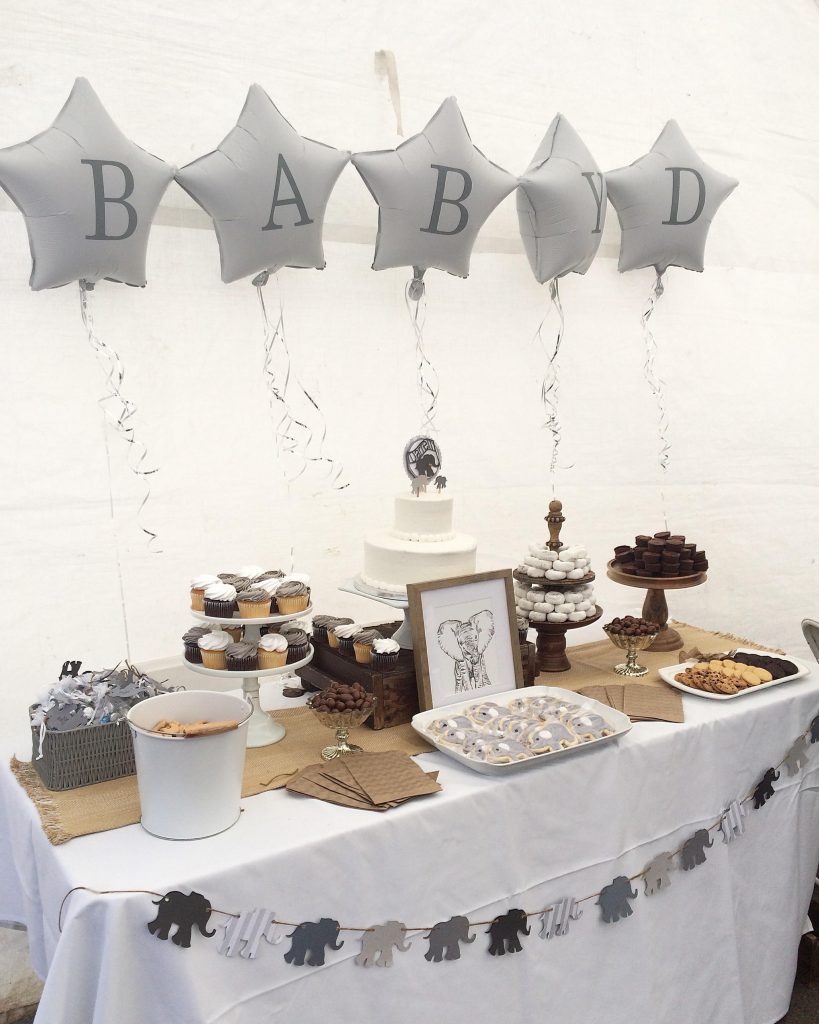
I decided I wanted to create a fun backdrop for the dessert table at an upcoming baby shower with custom mylar balloons. I looked into getting the large inflatable balloon letters, but it was going to be $50 plus shipping for the phrase I wanted to spell out. That was a bit out of the budget for me, especially since it was just for one day and I would also have to pay for them to be inflated once they arrived. Then, I remembered the affordable dollar tree balloons and I figured I would only need to buy five balloons {FIVE DOLLARS vs FIFTY, yes please!} by placing one large vinyl letter on each balloon to spell out BABY D.

Supplies:
– Dollar Tree Balloons (inflated)
Slate Grey vinyl
Transfer tape

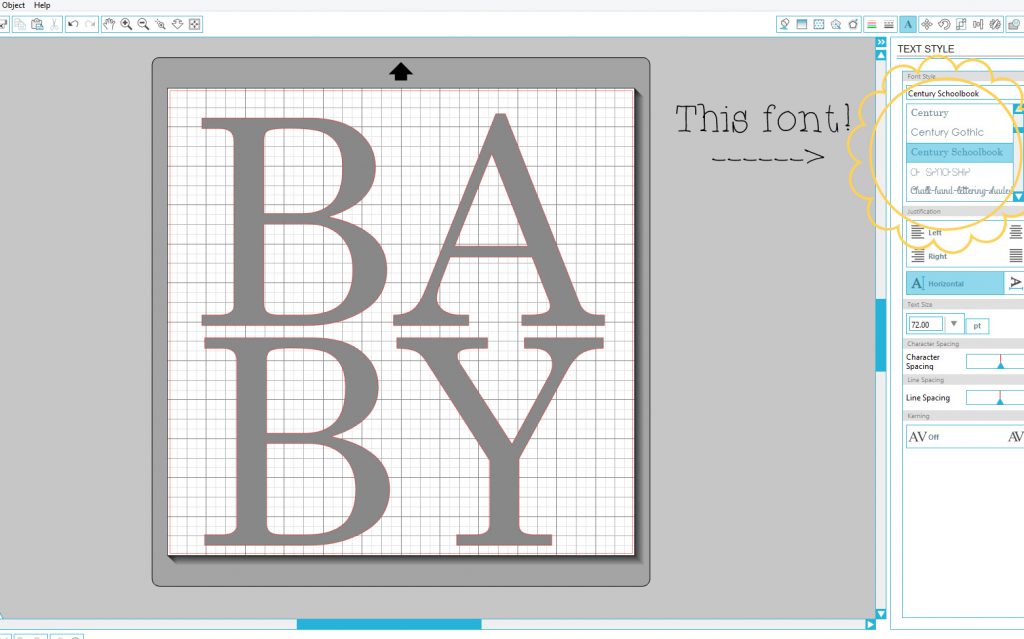
I decided to go with a classic, simple font for the balloon letters, Century Schoolbook.

Once I had the design mapped out and sized, I got to work with my Cameo Silhouette. Once the machine cuts were done, I cut out each letter separately with scissors, weeded away the extra vinyl and applied the transfer tape. Next, determine where you want your design to be on the balloon and carefully place on the inflated mylar balloon {TIP: I purchased the balloons the evening before the event, made sure to keep in a cool area, and they lasted through the next day}. Finally, gently pull back transfer tape and voila, you have a custom balloon!

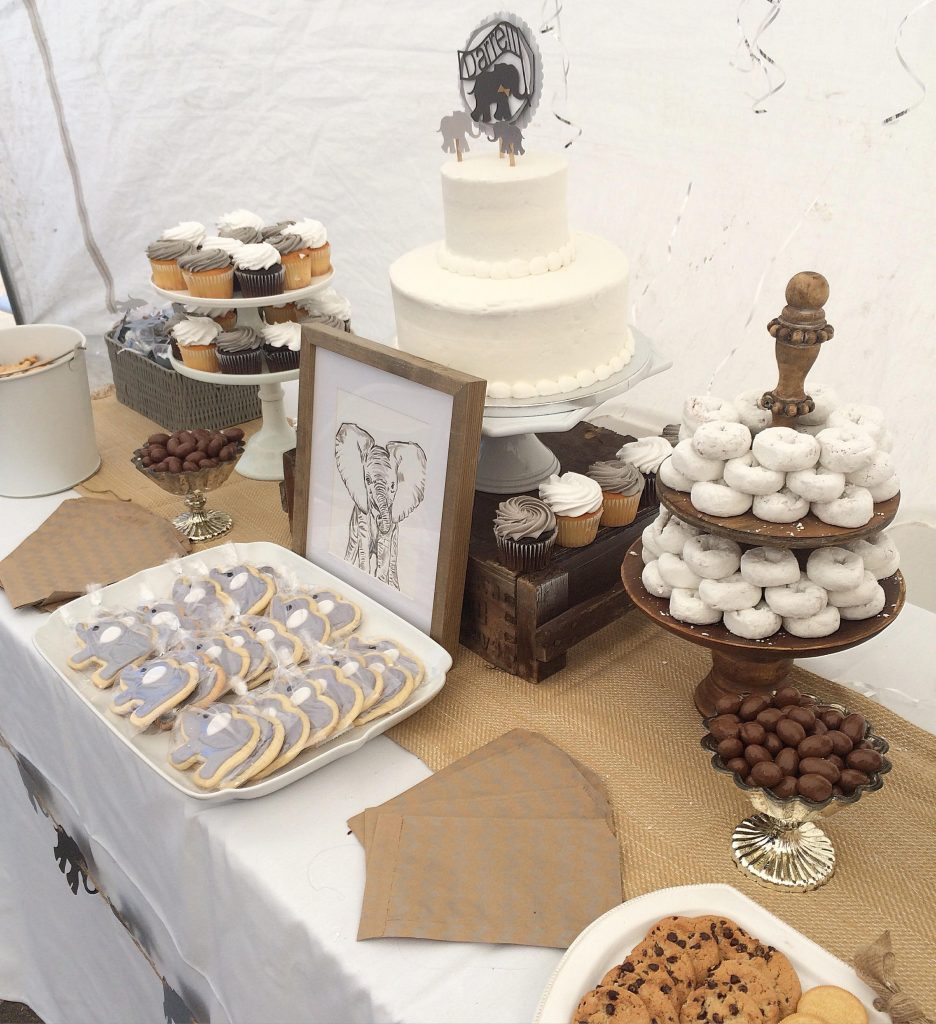
These balloons made an excellent backdrop for the dessert table, not only is it unique and custom, but AFFORDABLE! I love how it all came together { cake topper and elephant banner also created with my Cameo} The mommy to be received so many compliments!

The possibilities are endless as to what you can create with these balloons and vinyl. We hope this post has inspired you to create a little something special for your next event or party!

Be sure to follow us on Instagram for more DIY inspiration!
Liv and Market
xo Mel