Hello everyone!!
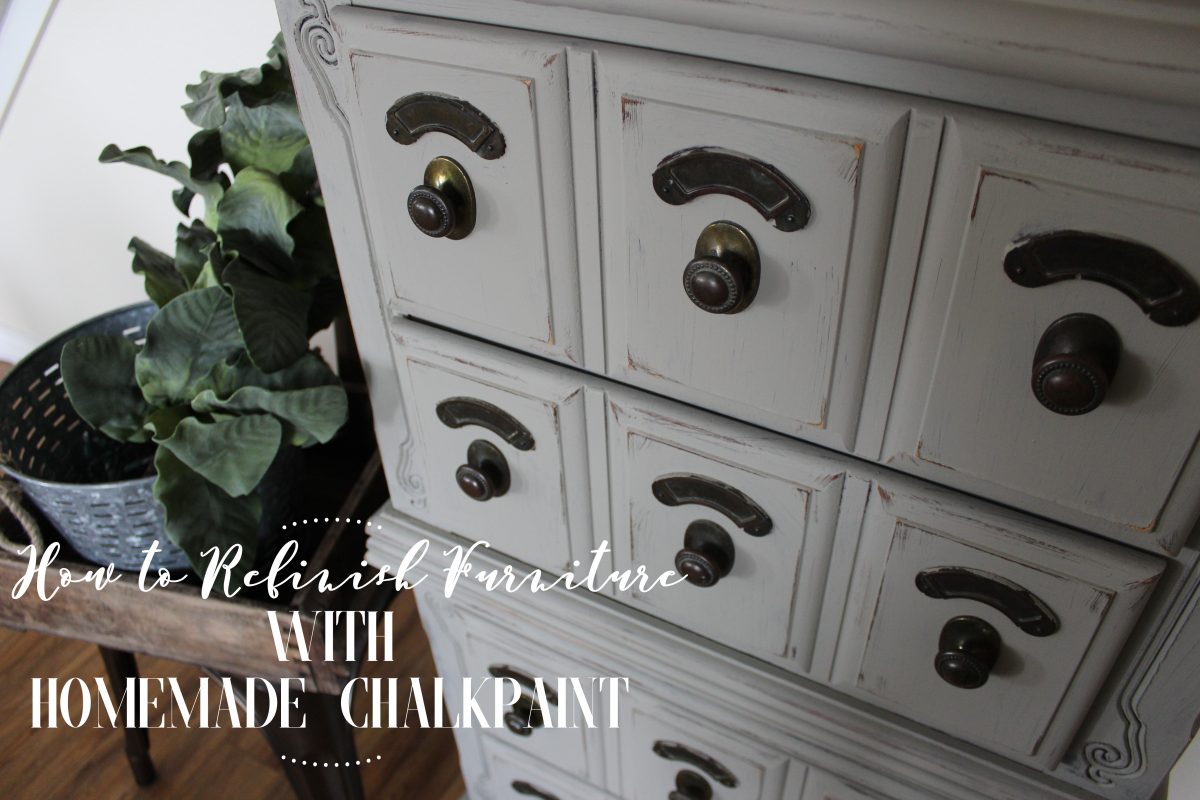
I can’t believe October is almost over and before you know it, we will be rolling into Thanksgiving and then pulling out all the Christmas decor. I wanted to finally take the time to sit down and blog about refinishing furniture with homemade chalkpaint. To say that this blog post is very overdue, is an understatement. When we first started our blog, this was one of the first tutorials that I planned to post. Now, here we are months later and still no post…….. until today!
I also wanted to give credit to my friend Annette for sharing this AWESOME recipe with us! She sells some super adorable and comfy clothing, you can find her page here —–>> Cute clothes here!!
We get tons and tons of questions on how to use chalkpaint on a regular basis, so I wanted to share how we have refinished several pieces using this homemade recipe. It’s actually really easy to make and will save you tons of money! Here is what we like about working with the homemade recipe:
PROS:
- More color options: You can literally use any latex paint in ANY color to create your own chalkpaint. This is a plus because sometimes the ready to go chalk paints sold in store don’t have the exact shade or color you are looking for. By making your own, you get to pick the color you want.
- It saves you money: You can buy a gallon of regular paint for a fraction of the price than a quart size of the brand name chalkpaint. For small projects like a chair or nightstand, I like to buy the sample sizes from Lowe’s or Home Depot (usually around $5 or less). Even better when you score the marked down “oops” gallons and quarts!
- Easy to make: With just three simple ingredients, you are in business! Please see recipe below!
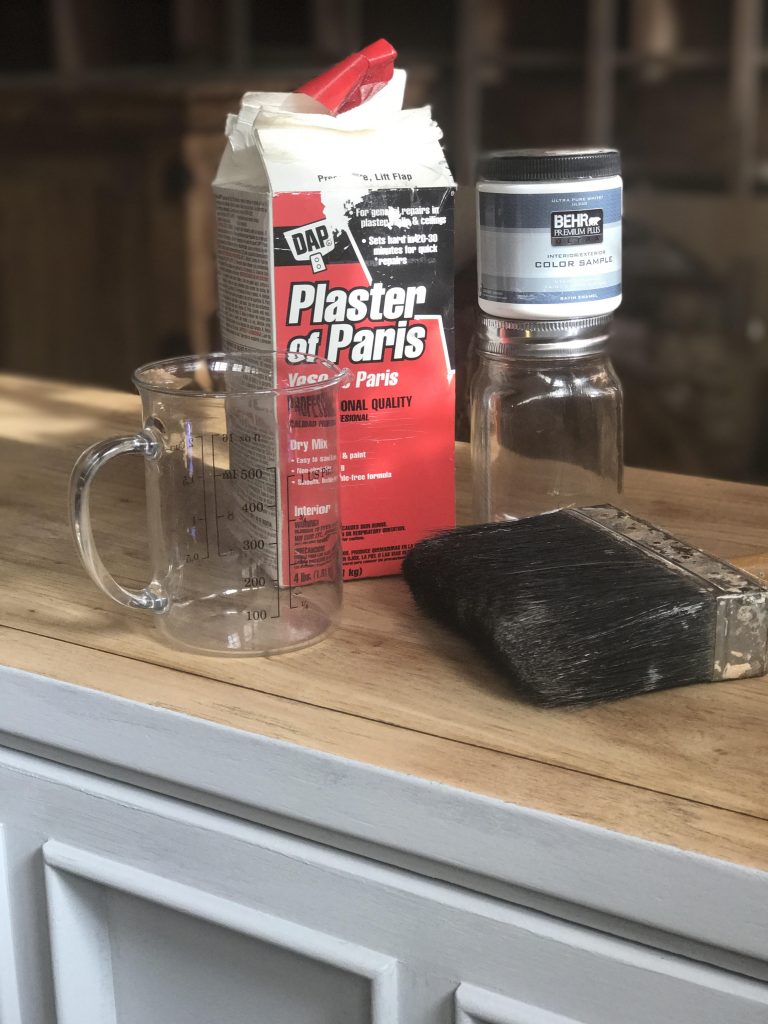
Chalkpaint Recipe:
- 1.8 oz latex paint in the color of your choice
- 2 1/2 TBSP plaster of paris
- 1 TBSP of water
- Mason jar and something to mix with
DIRECTIONS:
- Mix water and plaster of Paris together until smooth, make sure you don’t have any lumps!
- Mix in the paint
- If you have any left over, store in a mason jar until you are ready for your next project!
How to use chalkpaint 101:
- #1 question we get is…..do I need to sand or prime the furniture?? The answer is NO! It is not required to prime or sand down furniture for the chalkpaint to adhere well but sometimes is it necessary to sand if the surface you are working on has peeling paint, stuck on gum or food, etc.
- How many coats will I need? It really all depends on the look you are trying to acheive. If I am going for a rustic, shabby look, sometimes just one coat is enough. But overall, I would say we apply at least two coats.
- When do I sand to acheive that “worn” or “chippy” look? You want to hit those corners, table legs, edges after you are all done applying all your coats of paint. Then, be sure to dust off before sealing.
- What do I seal with? We like to seal with a polyacrylic in clear matte…see photo below! Use at least 1-2 coats 🙂
If you made it this far, thank you so much for following our blog! We hope that this post was helpful and please let us know what other posts you would like to see. Check out a before and after shots of the projects we worked on using this exact recipe, enjoy!
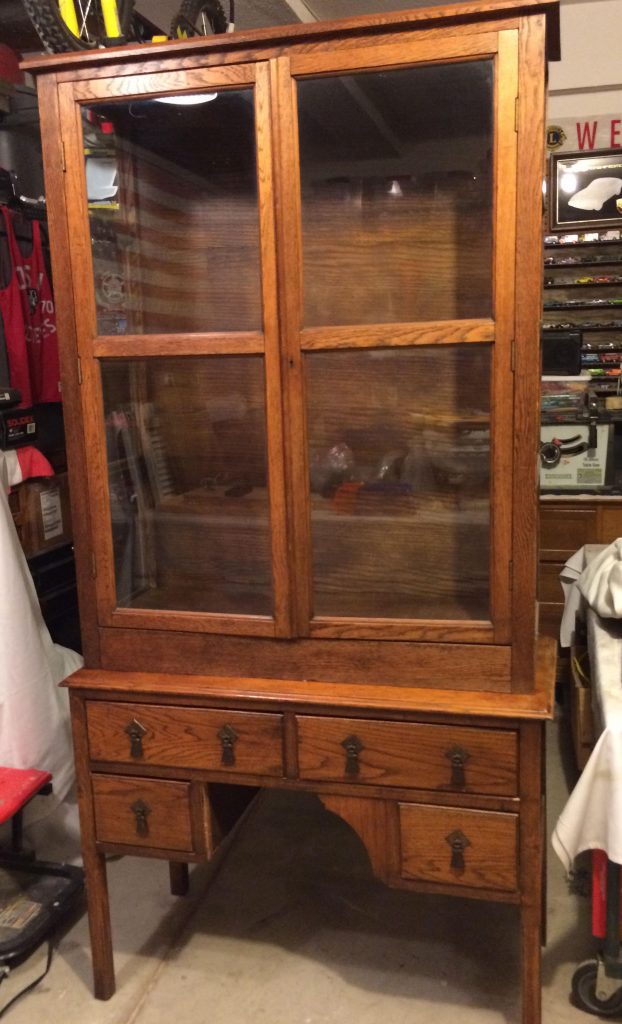
Before
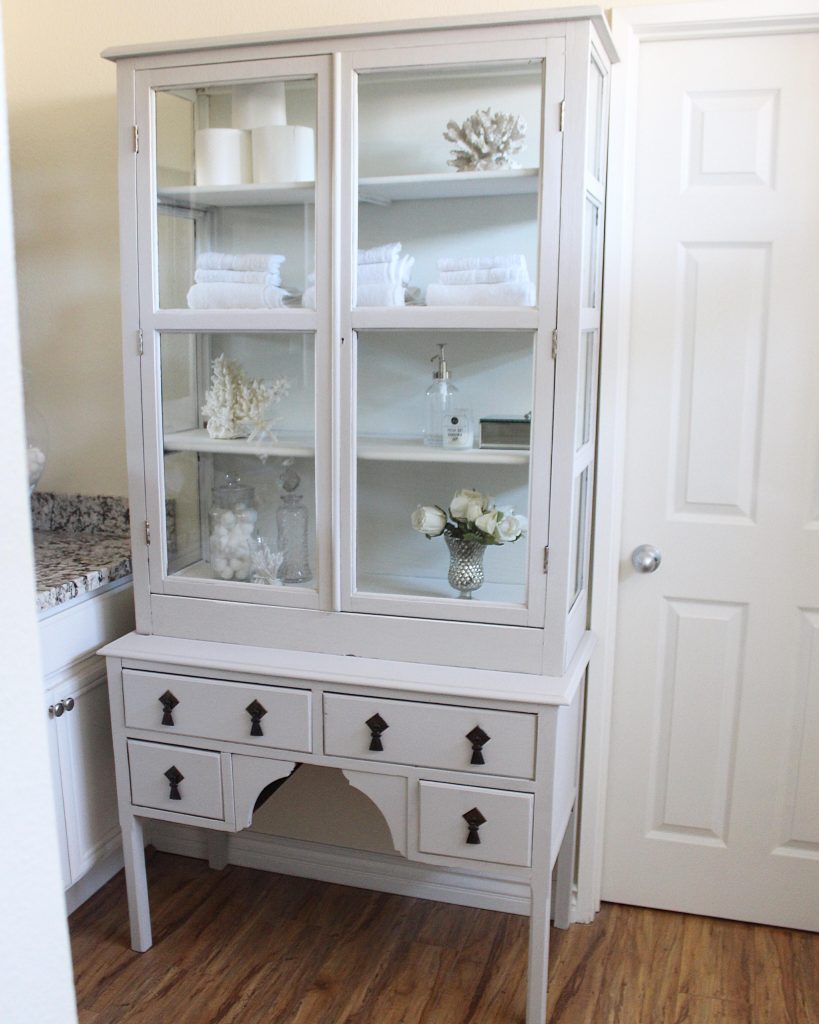
After
We mixed our own chalkpaint with leftover paint that we used to paint our guest bathroom. Interior is white, exterior is Benjamin Moore Revere Pewter.
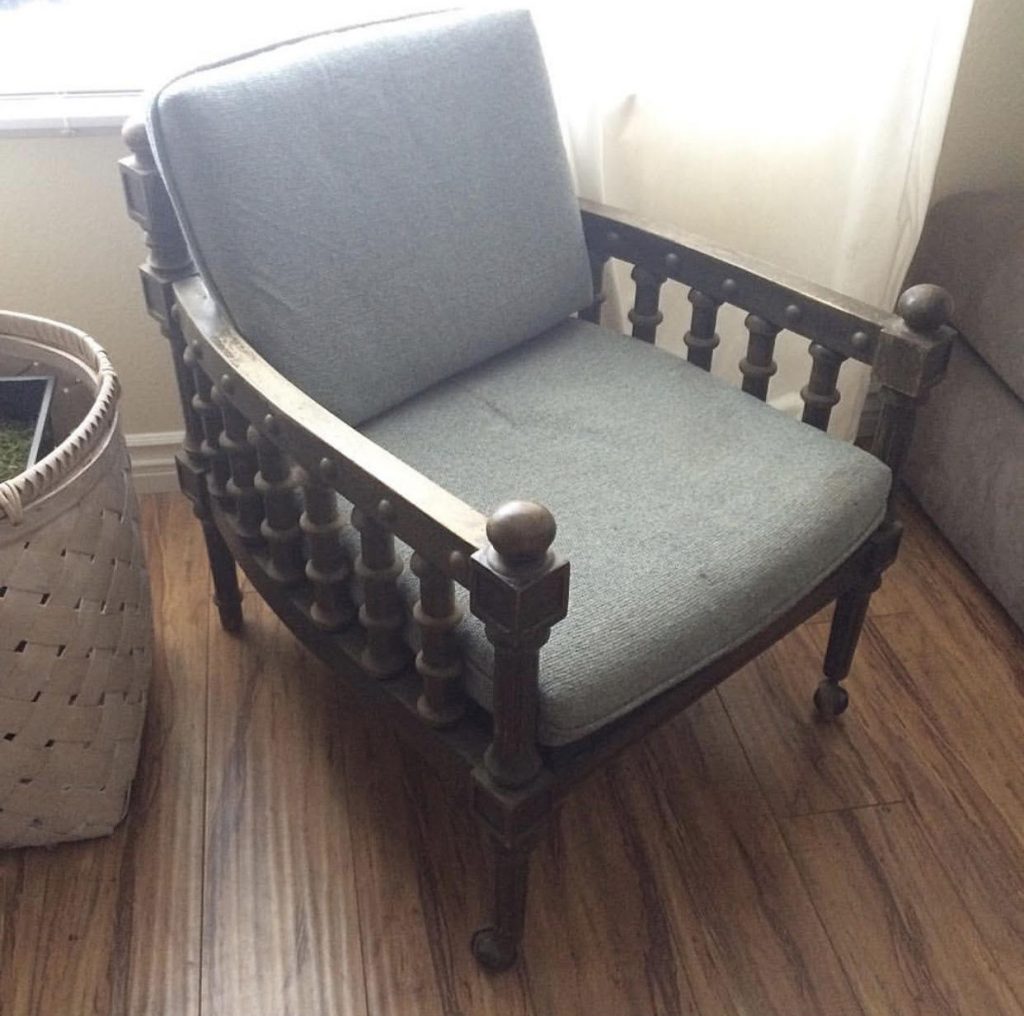
BEFORE: GARAGE SALE FIND- VIntage CHAIR
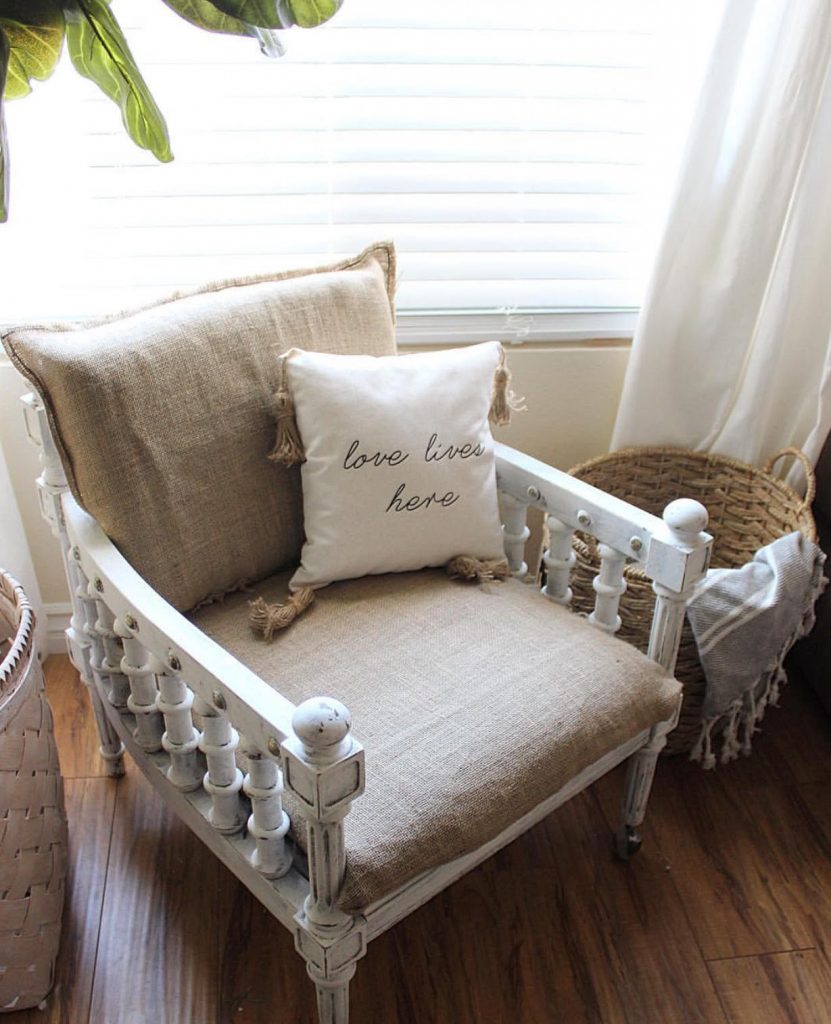
AFTER
Refinished with just one coat and sanded on the carved detail to give it a rustic look. Recovered the seats with remnant burlap.
XOXO Mel & Izzy

