Good Morning!
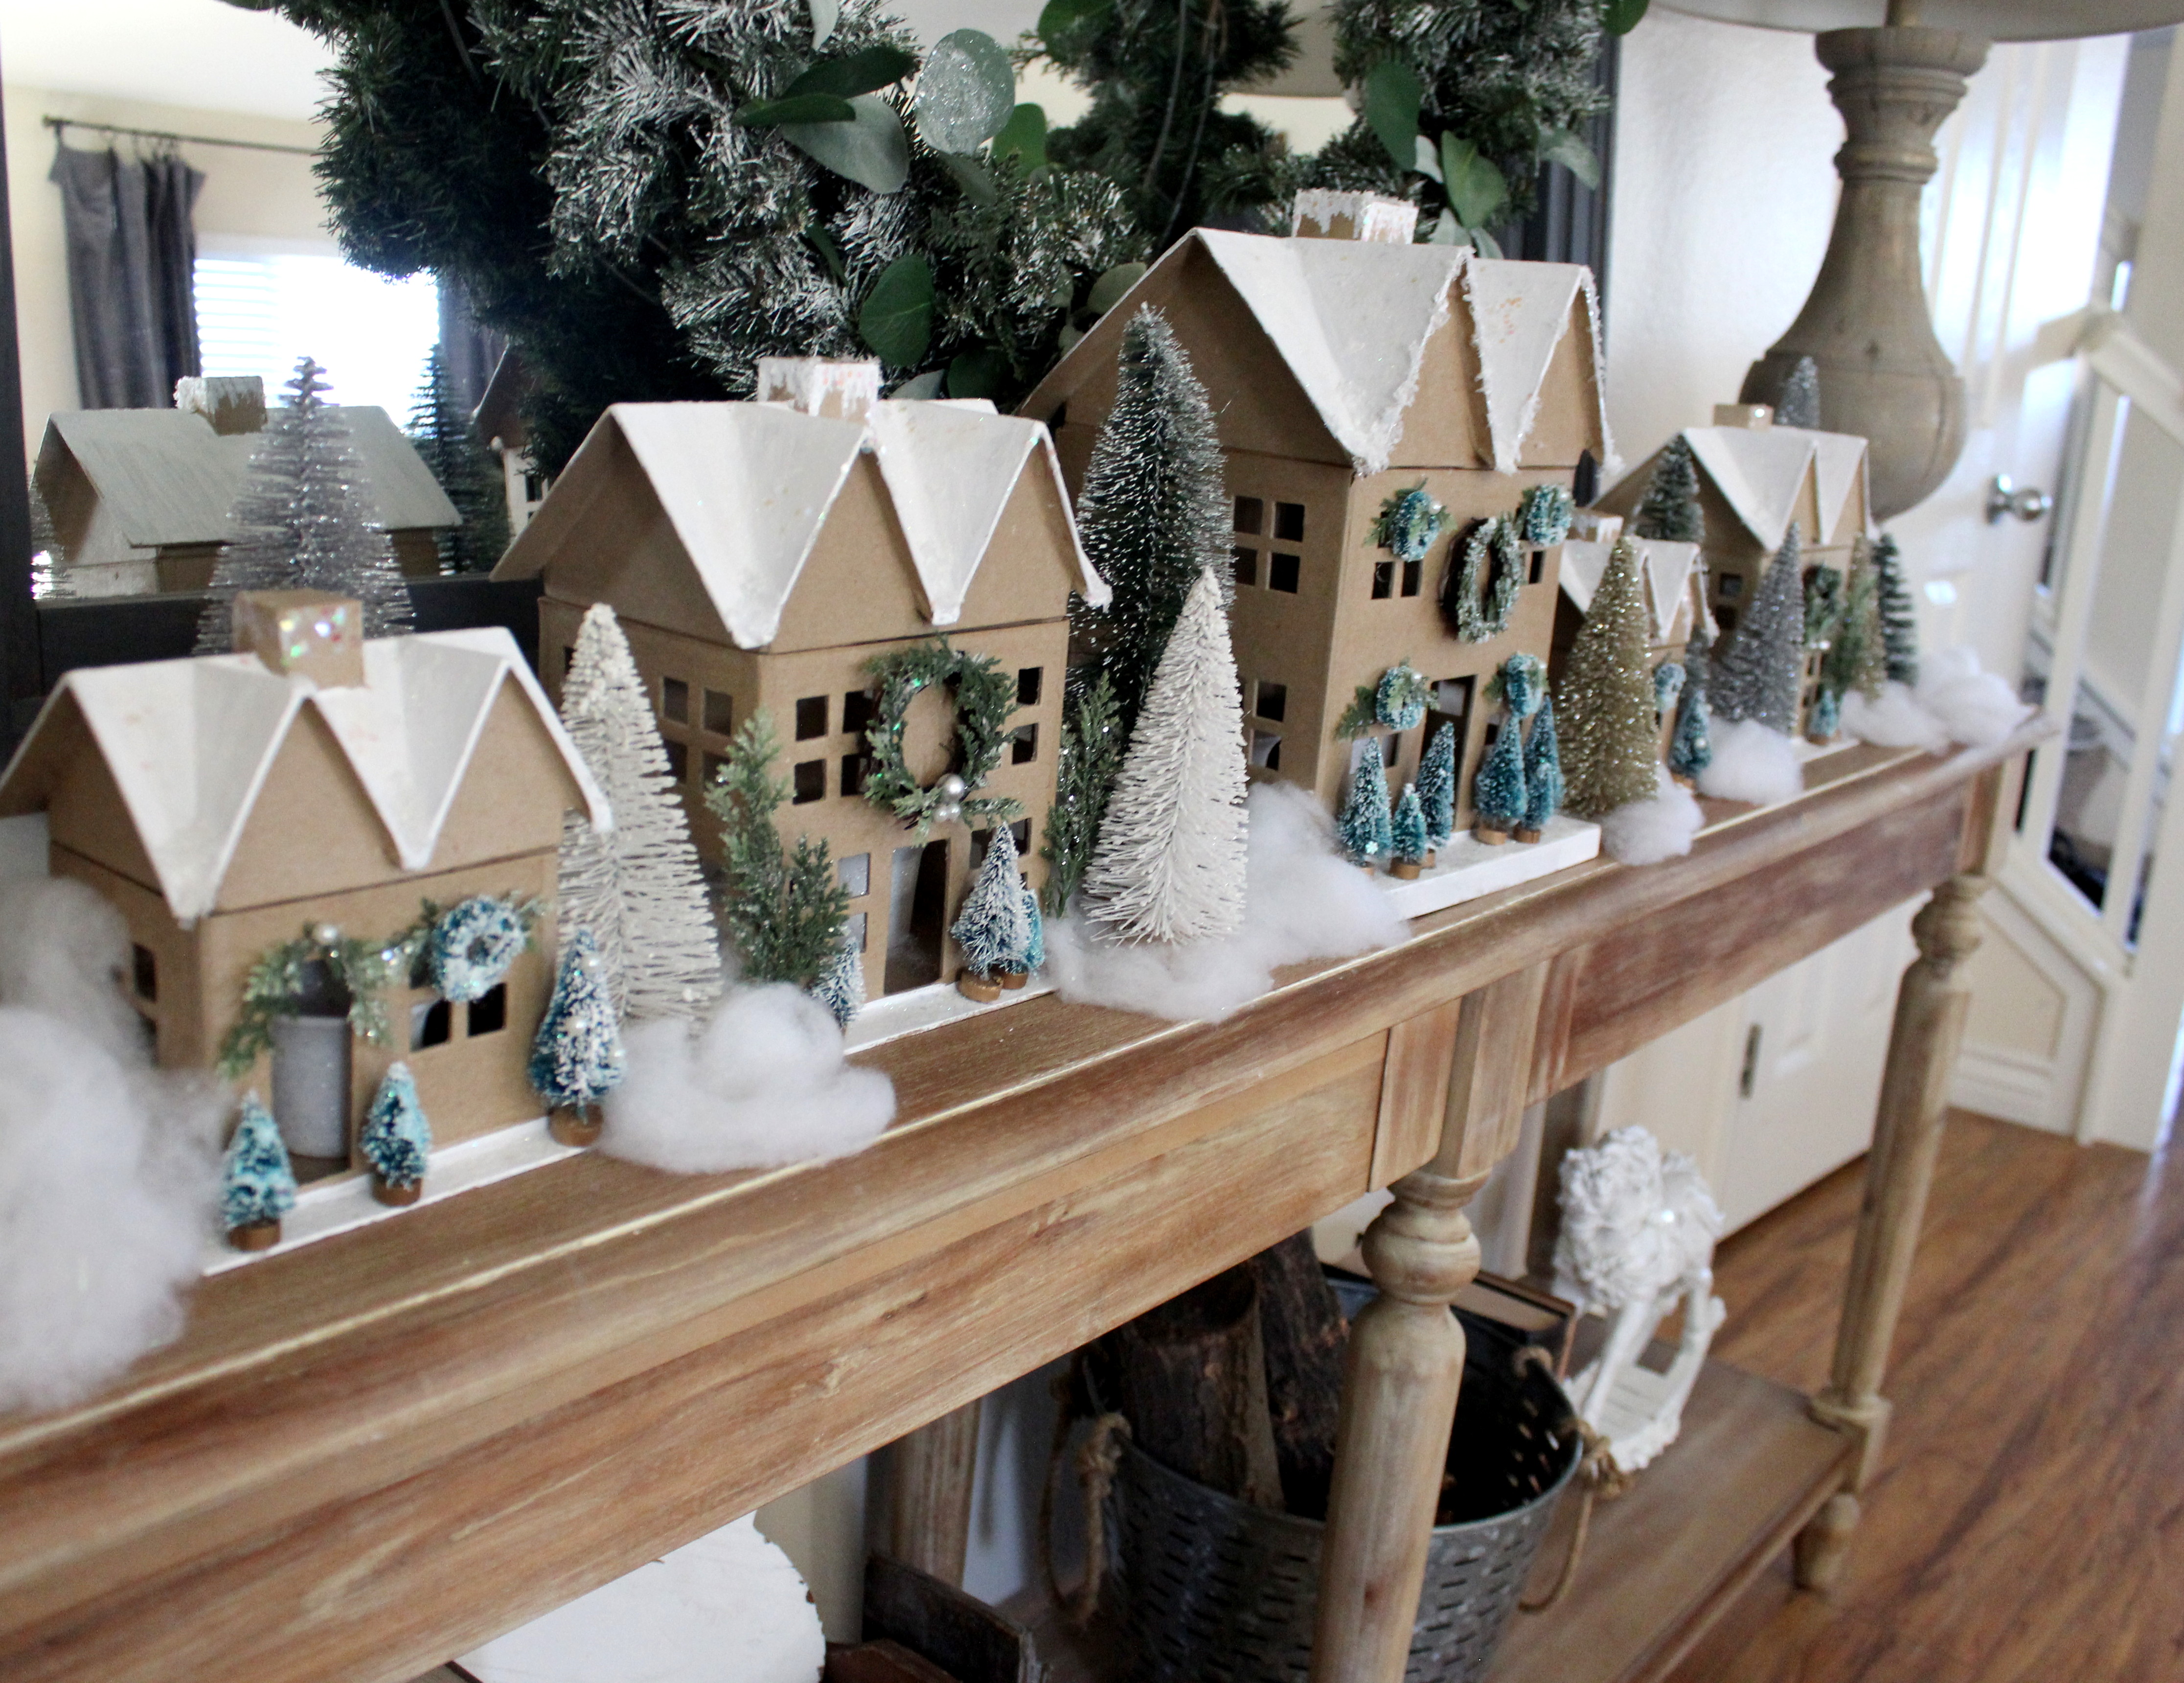
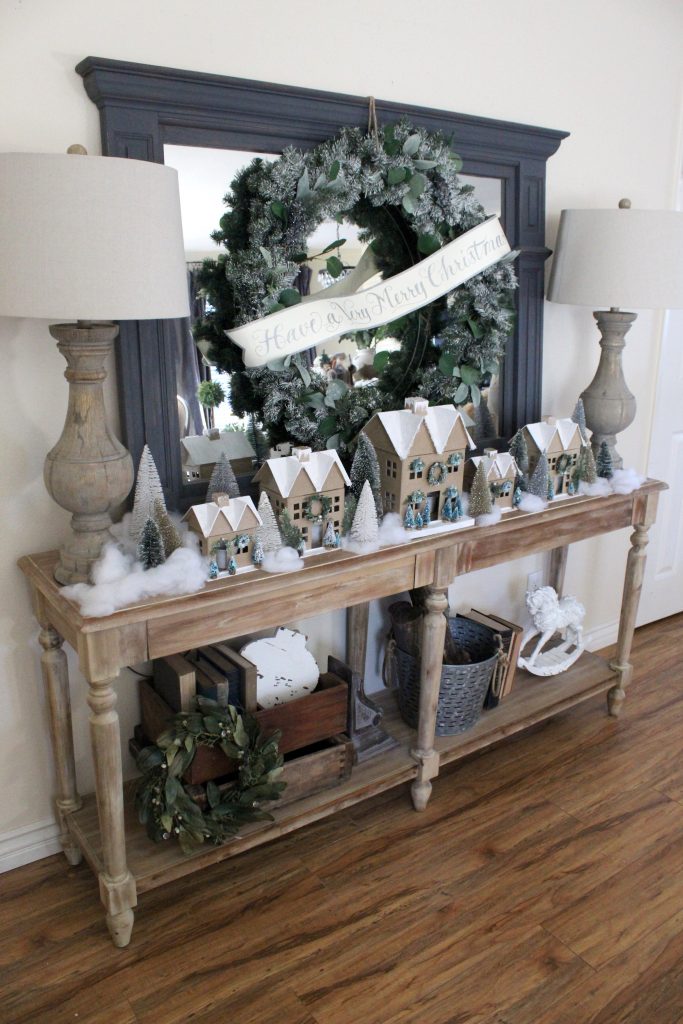
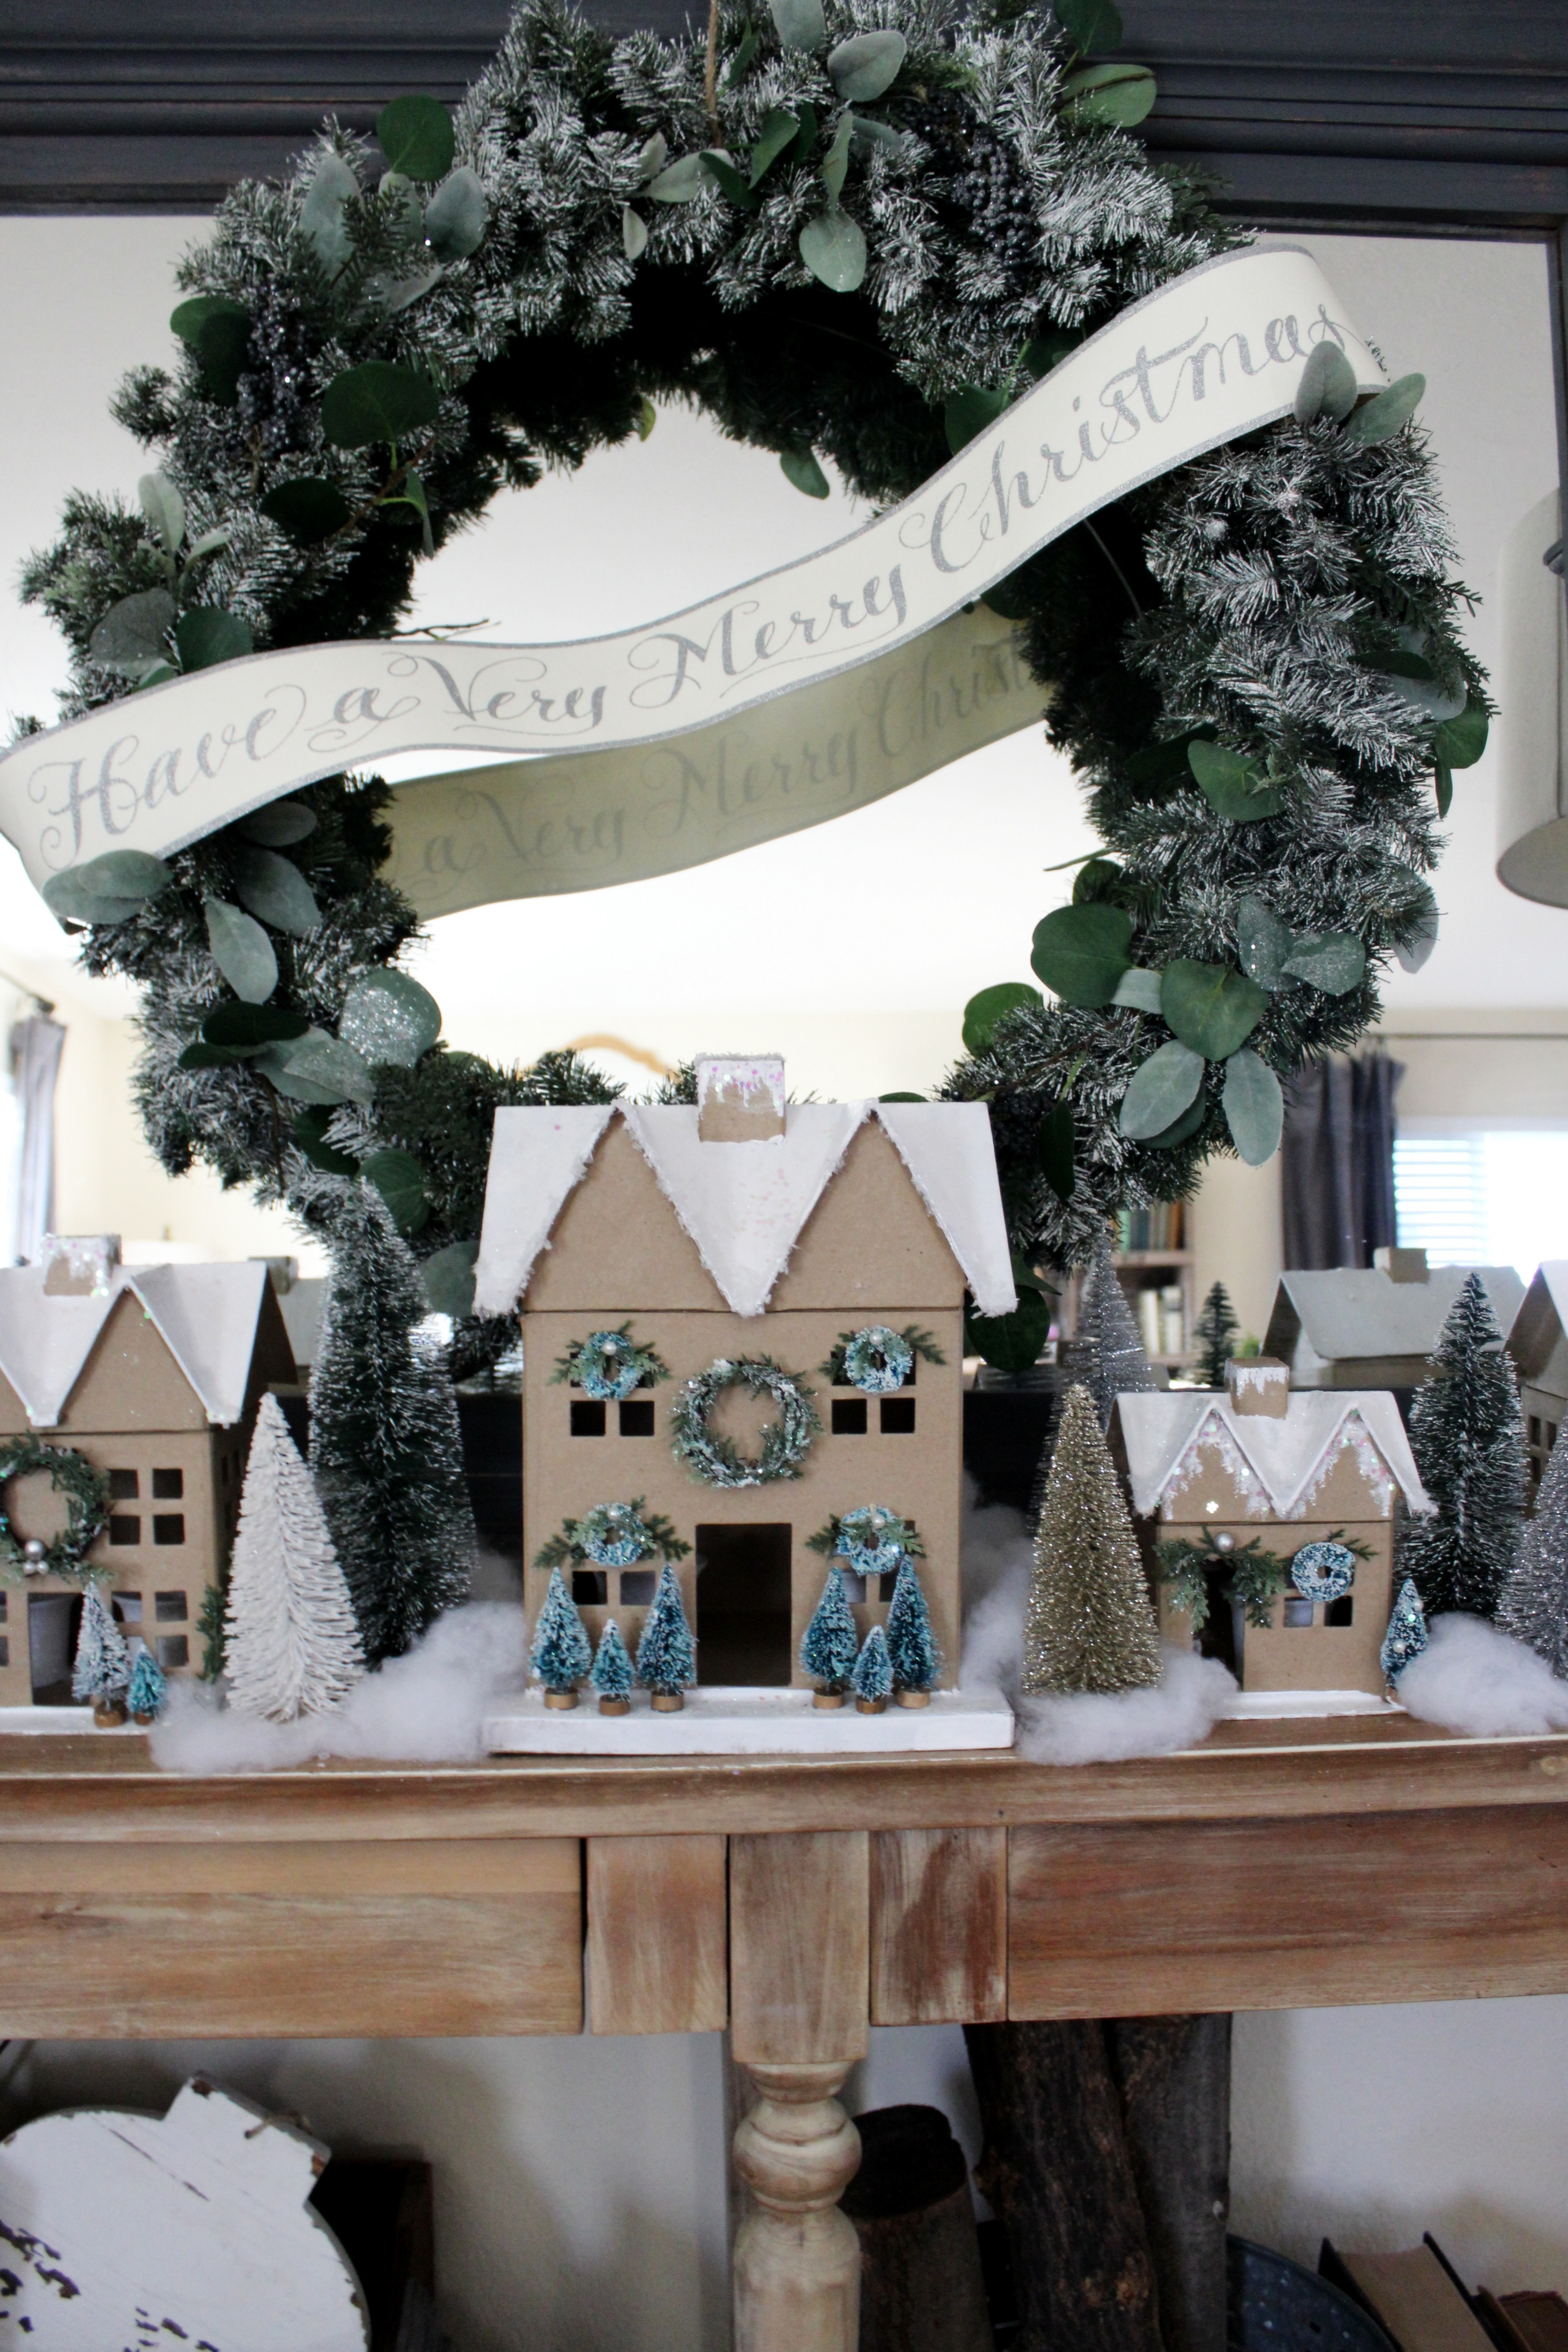
We were overwhelmed with all your wonderful feedback on our DIY Christmas village, so we wanted to create a blog to show you step by step, how we did it!
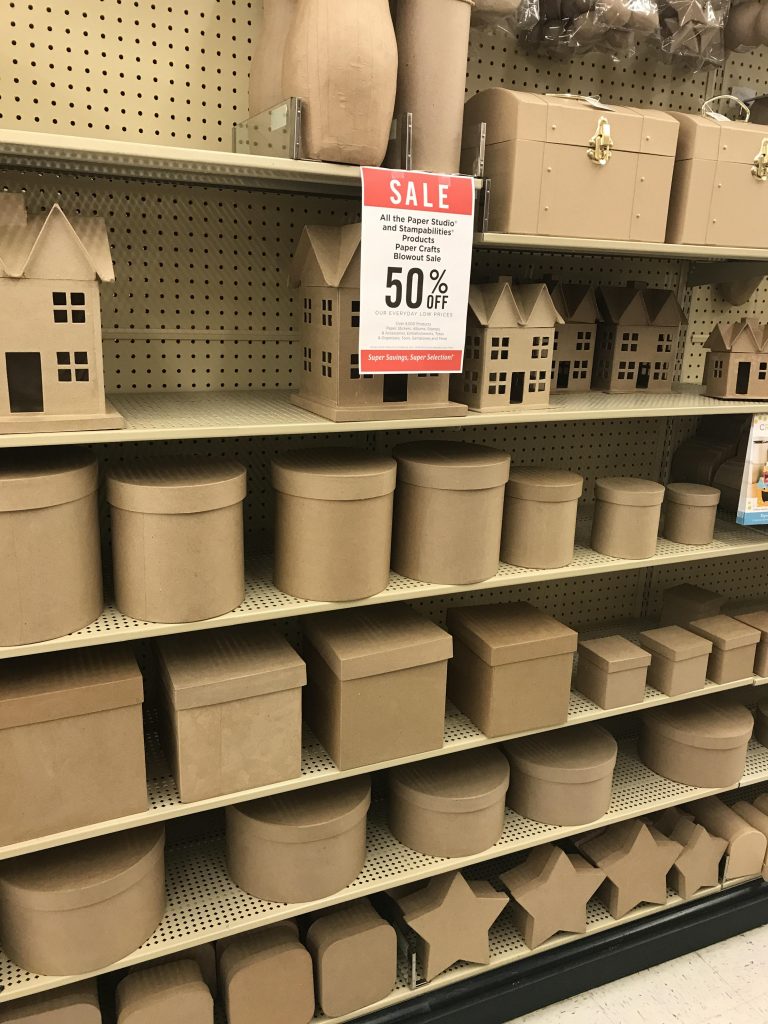
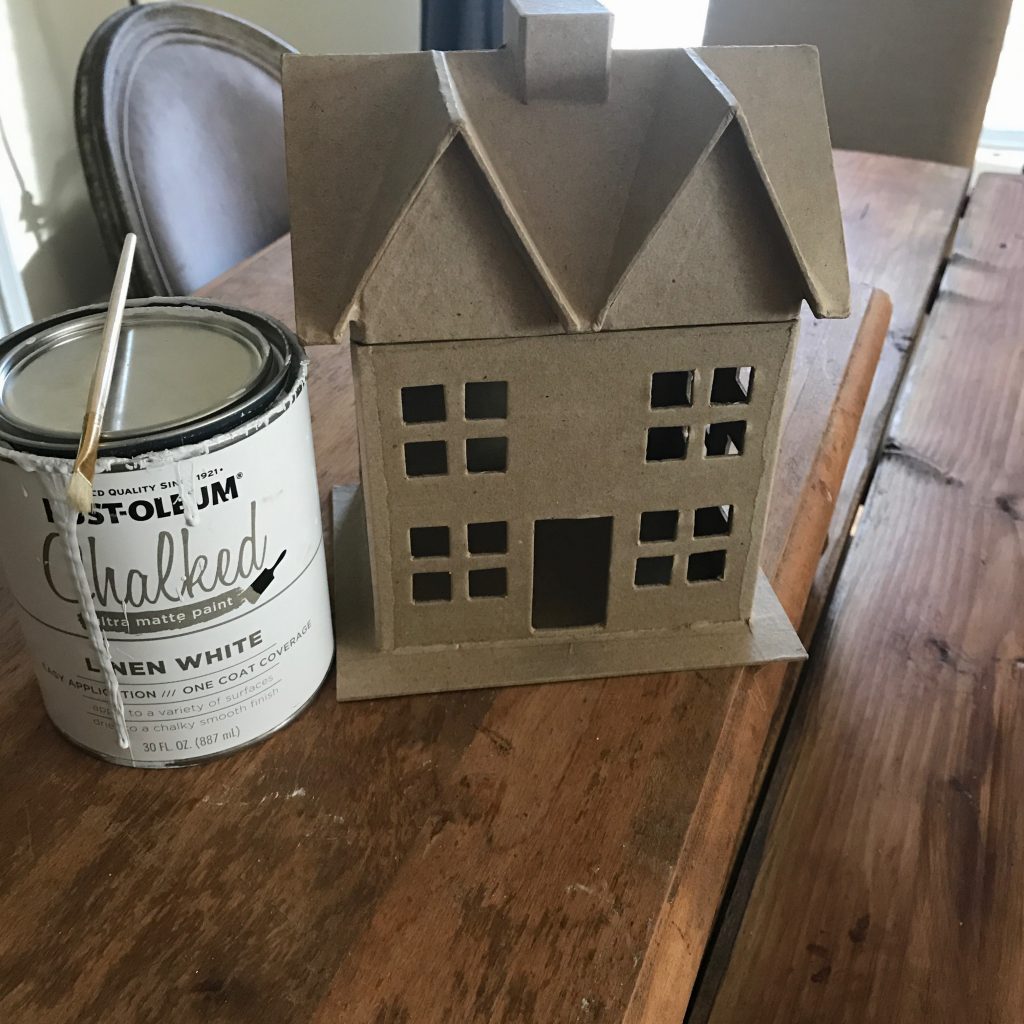
I had been eyeing the embellished mini Christmas houses in stores for some time now, I even bought some last year at JoAnns but then later returned them after I got them home and told myself I didn’t need them. Anyone else do this too?! Well, this year they were popping up again and selling for about $15-$30 each, depending on size and detail. That was a bit more then I wanted to spend, so when I saw these paper mache houses on sale during a trip to Hobby Lobby, I figured I would try to create my own. (The kids and I could make a project out of it)….
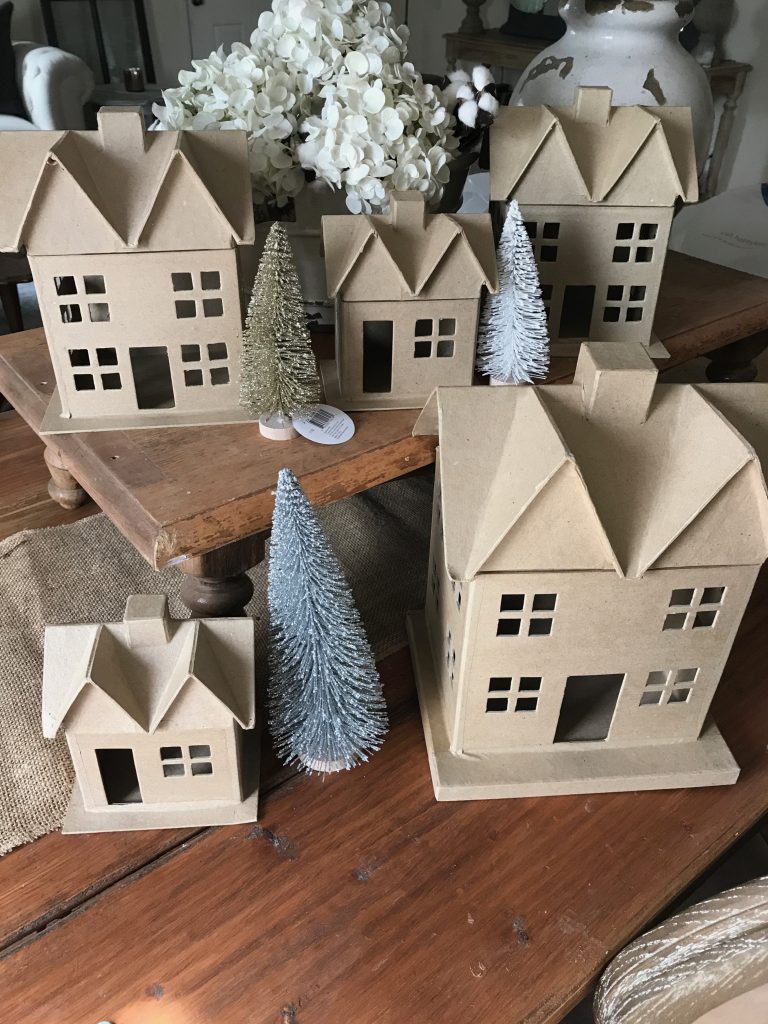
The paper mache houses came out to a total of $13 for all 5. I decided on one large house, 2 medium and 2 small TIP: always work in odd numbers!
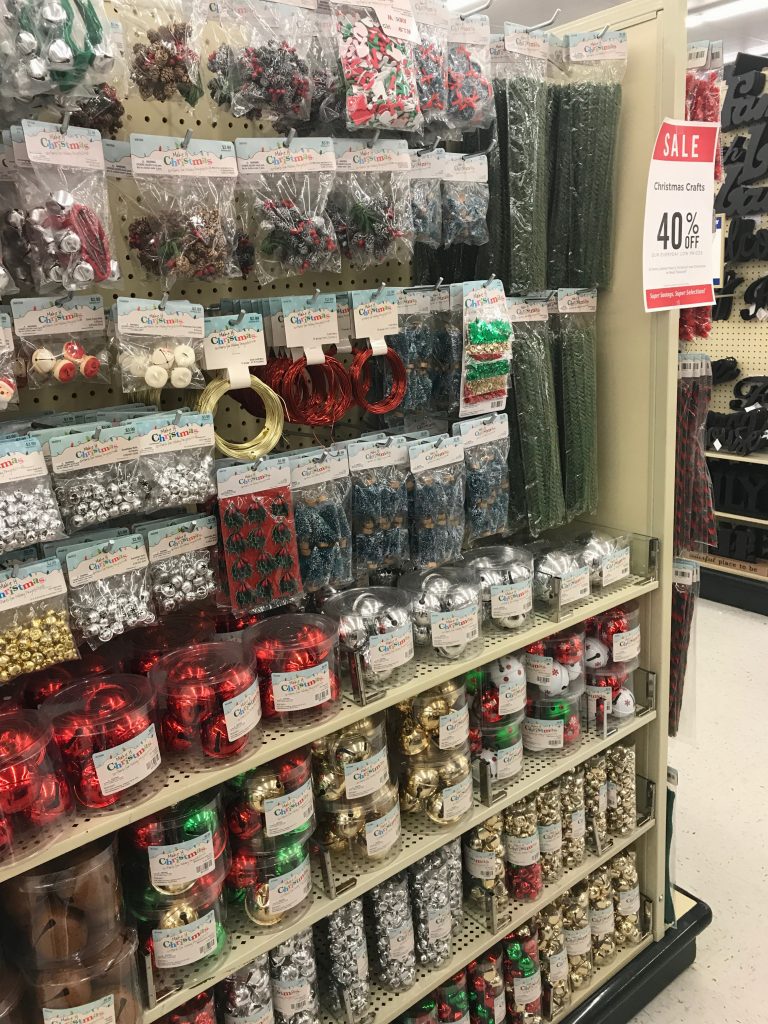
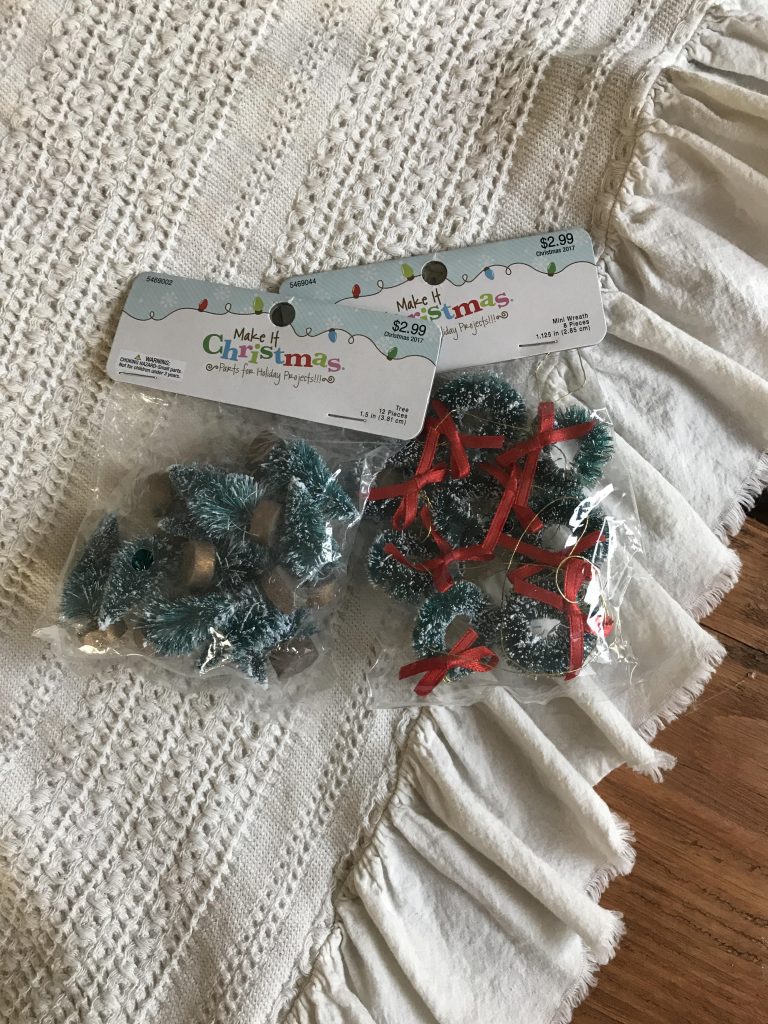
I also picked up some embellishments to decorate the houses: mini wreaths and trees
Fast forward a couple weeks, it was time to start decorating for Christmas, and I wasn’t as enthused as I once was to completely bedazzle five little houses. Feeling a bit overwhelmed, I brought them all out and thought, they look cute enough just like this. ….maybe I should just leave them for a simple, minimal look.
But of course, after some time passed, my brain wouldn’t let me do that. I HAD to decorate them somehow! So, I decided I would just keep it simple, just paint in a white snow roof, maybe add the little Christmas wreaths and tree embellishments.
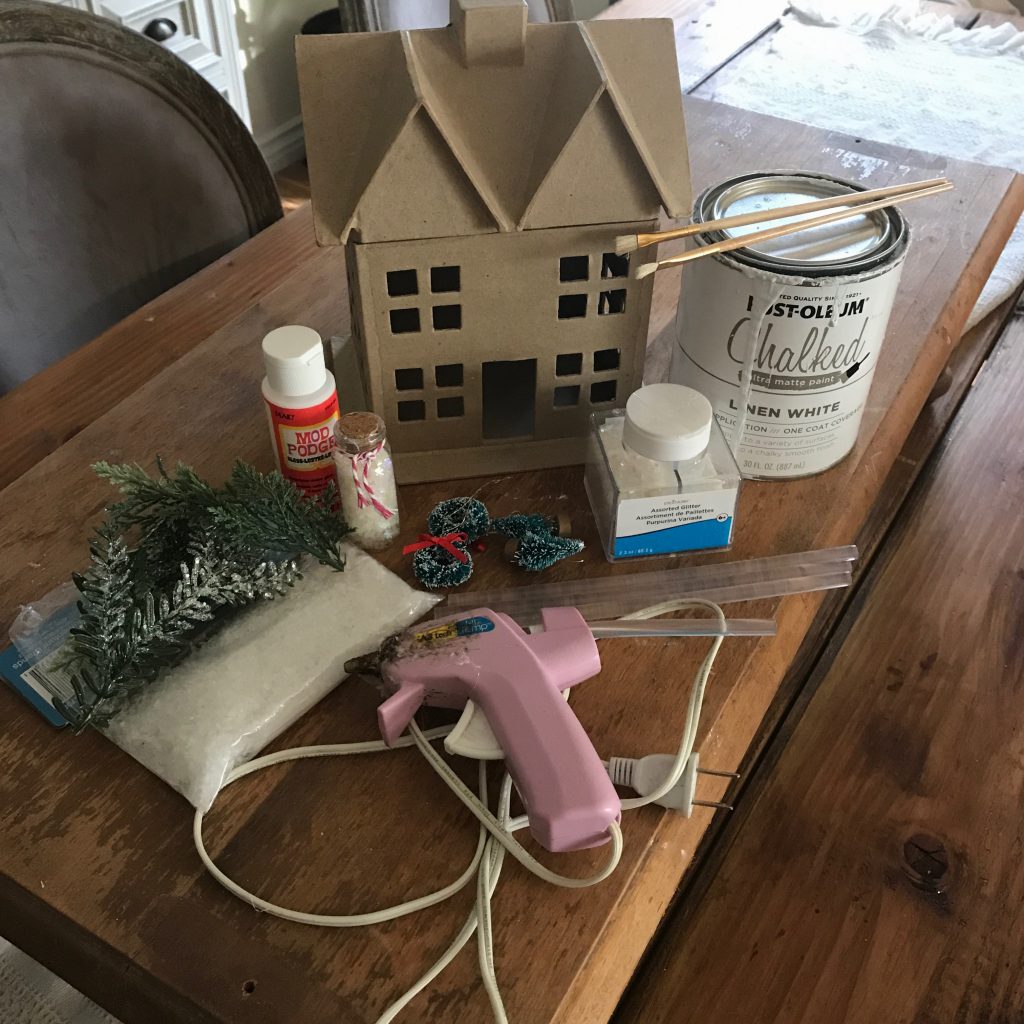
I started out by painting and glittering one roof, I still wasn’t feeling it. Then I decided to add the wreaths and trees…. started to look better. I kept playing with the embellishments, added the sprigs of greenery and glitter until it all finally came together. Once I finished one, I recruited the help of our daughter and we decorated the remaining houses to mimic the first. Here are the supplies used to create our Christmas Village….
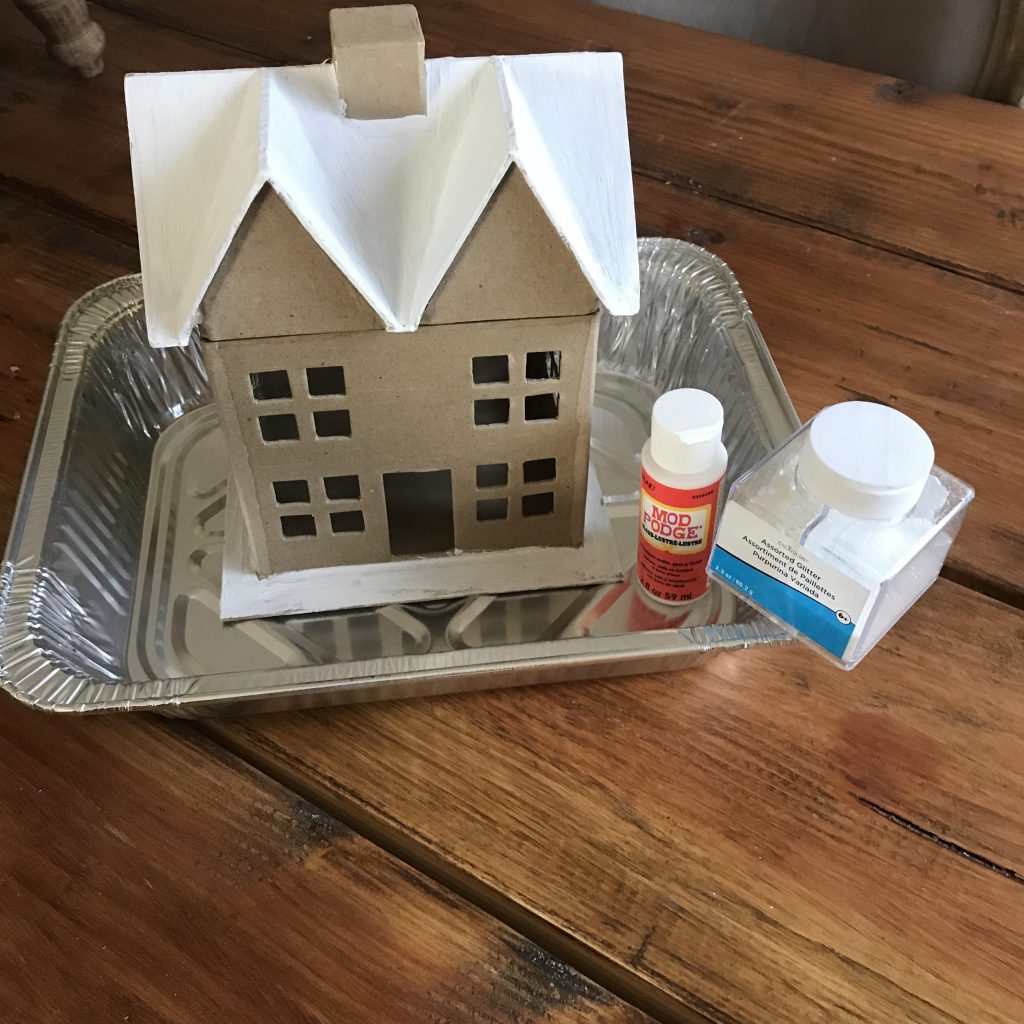
-SUPPLIES-
- Paper mache houses (purchased %50 off at Hobby Lobby)
- White paint (we used chalkpaint that we already had)
- White glitter (we used bot chunky and fine) purchased from Michaels
- Mini wreaths and Christmas trees in two sizes (Hobby Lobby)
- Faux garland trimmings
- Glue gun and glue sticks
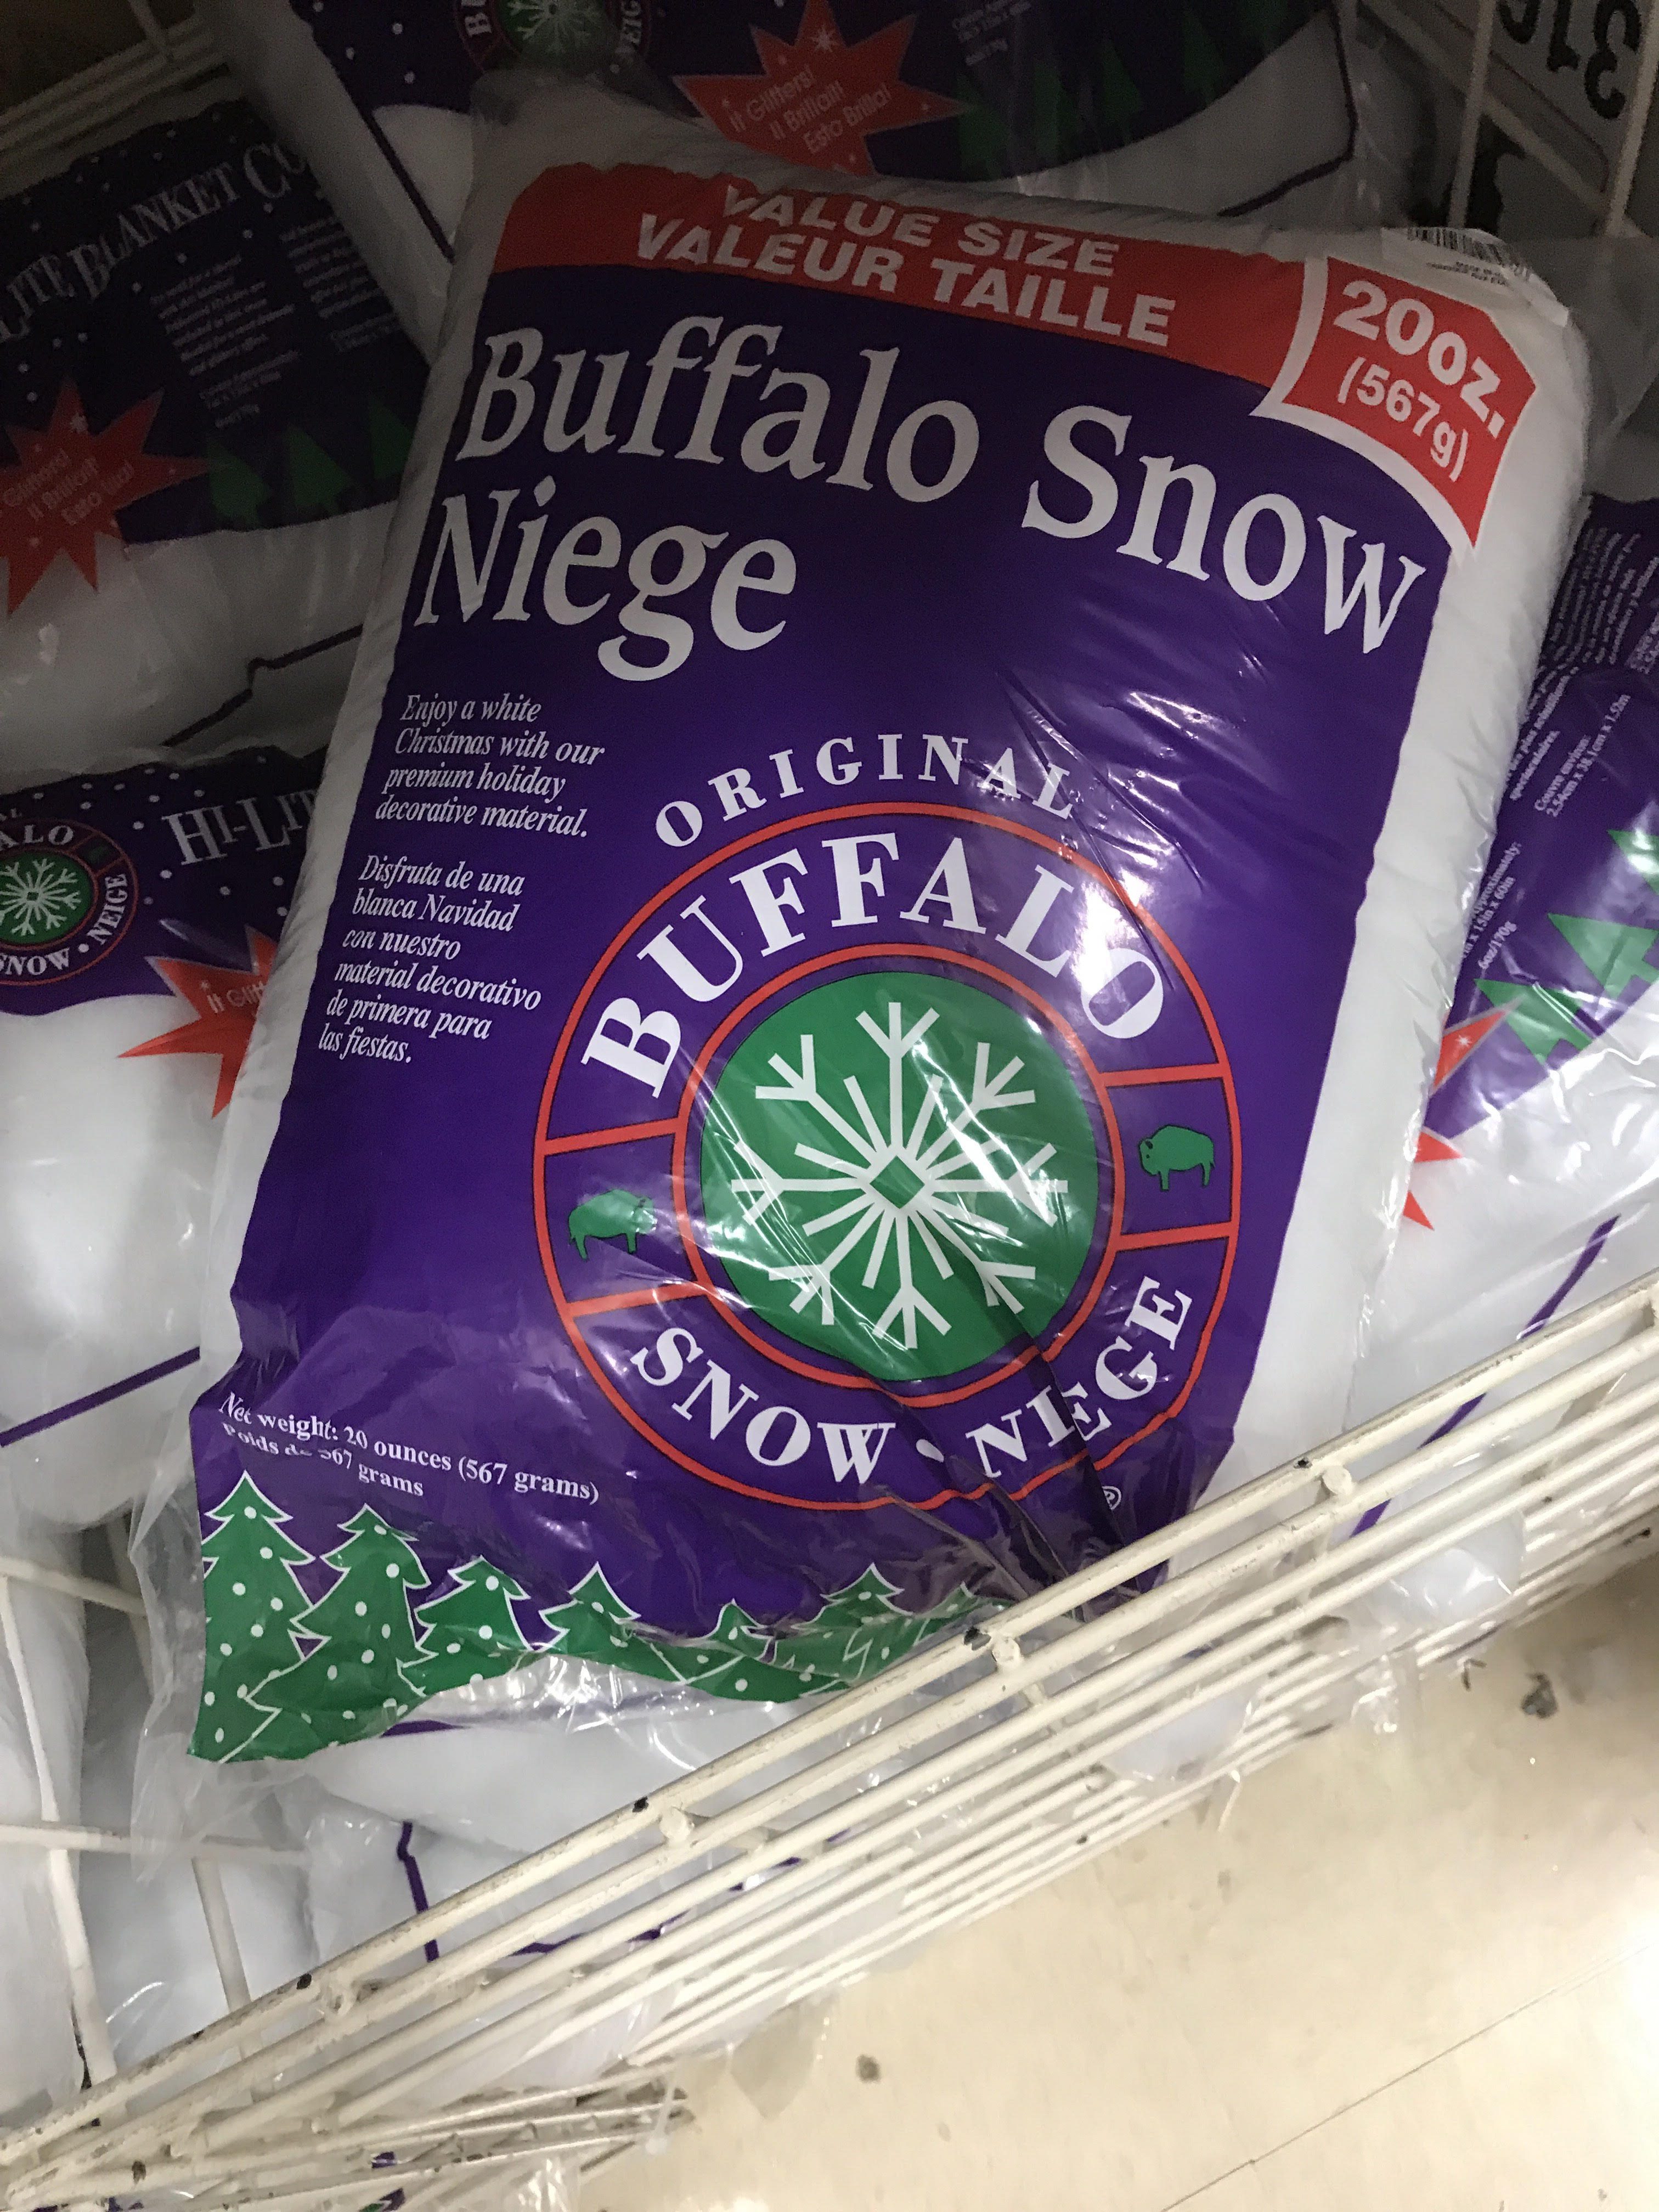
- Faux snow (Dollar Store)
- Mini flatback pearls or rhinestones
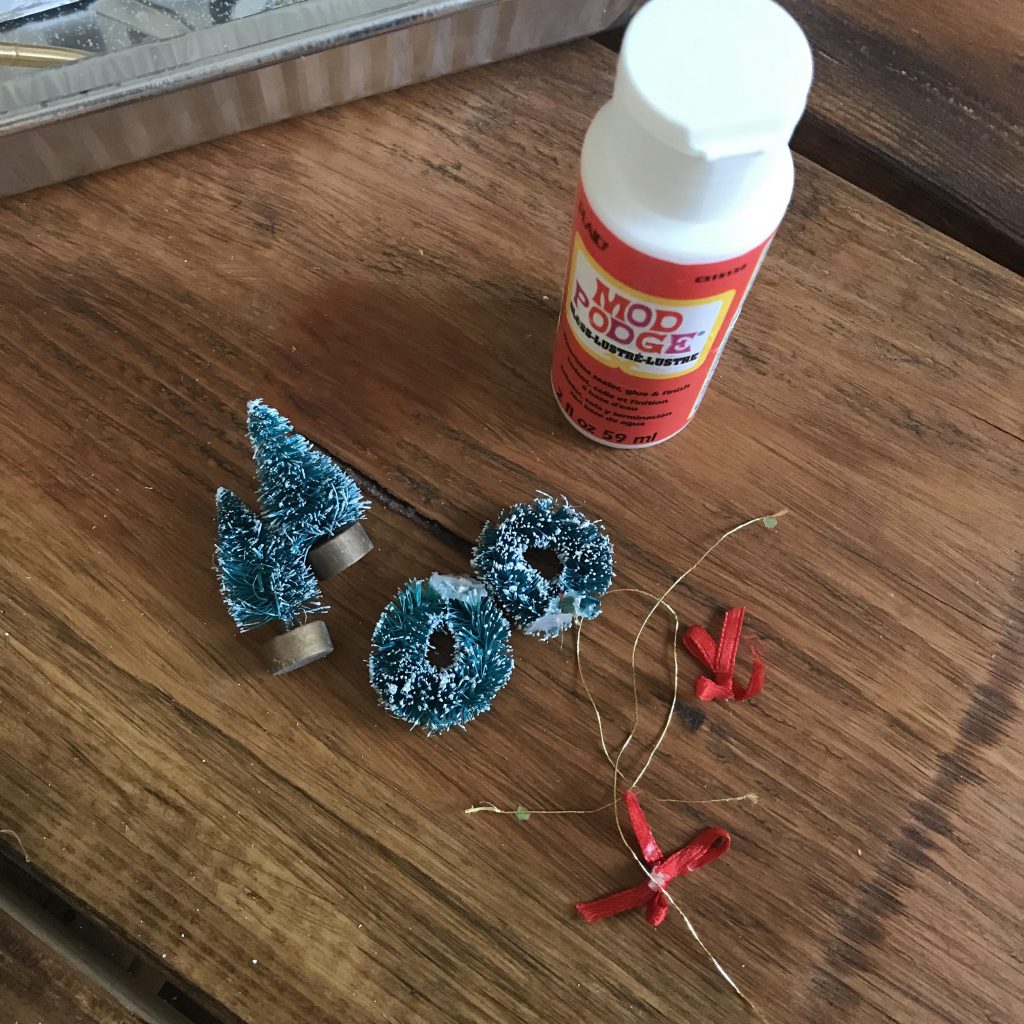
- Mod Podge
- Paint brushes
- Aluminum tray (optional)
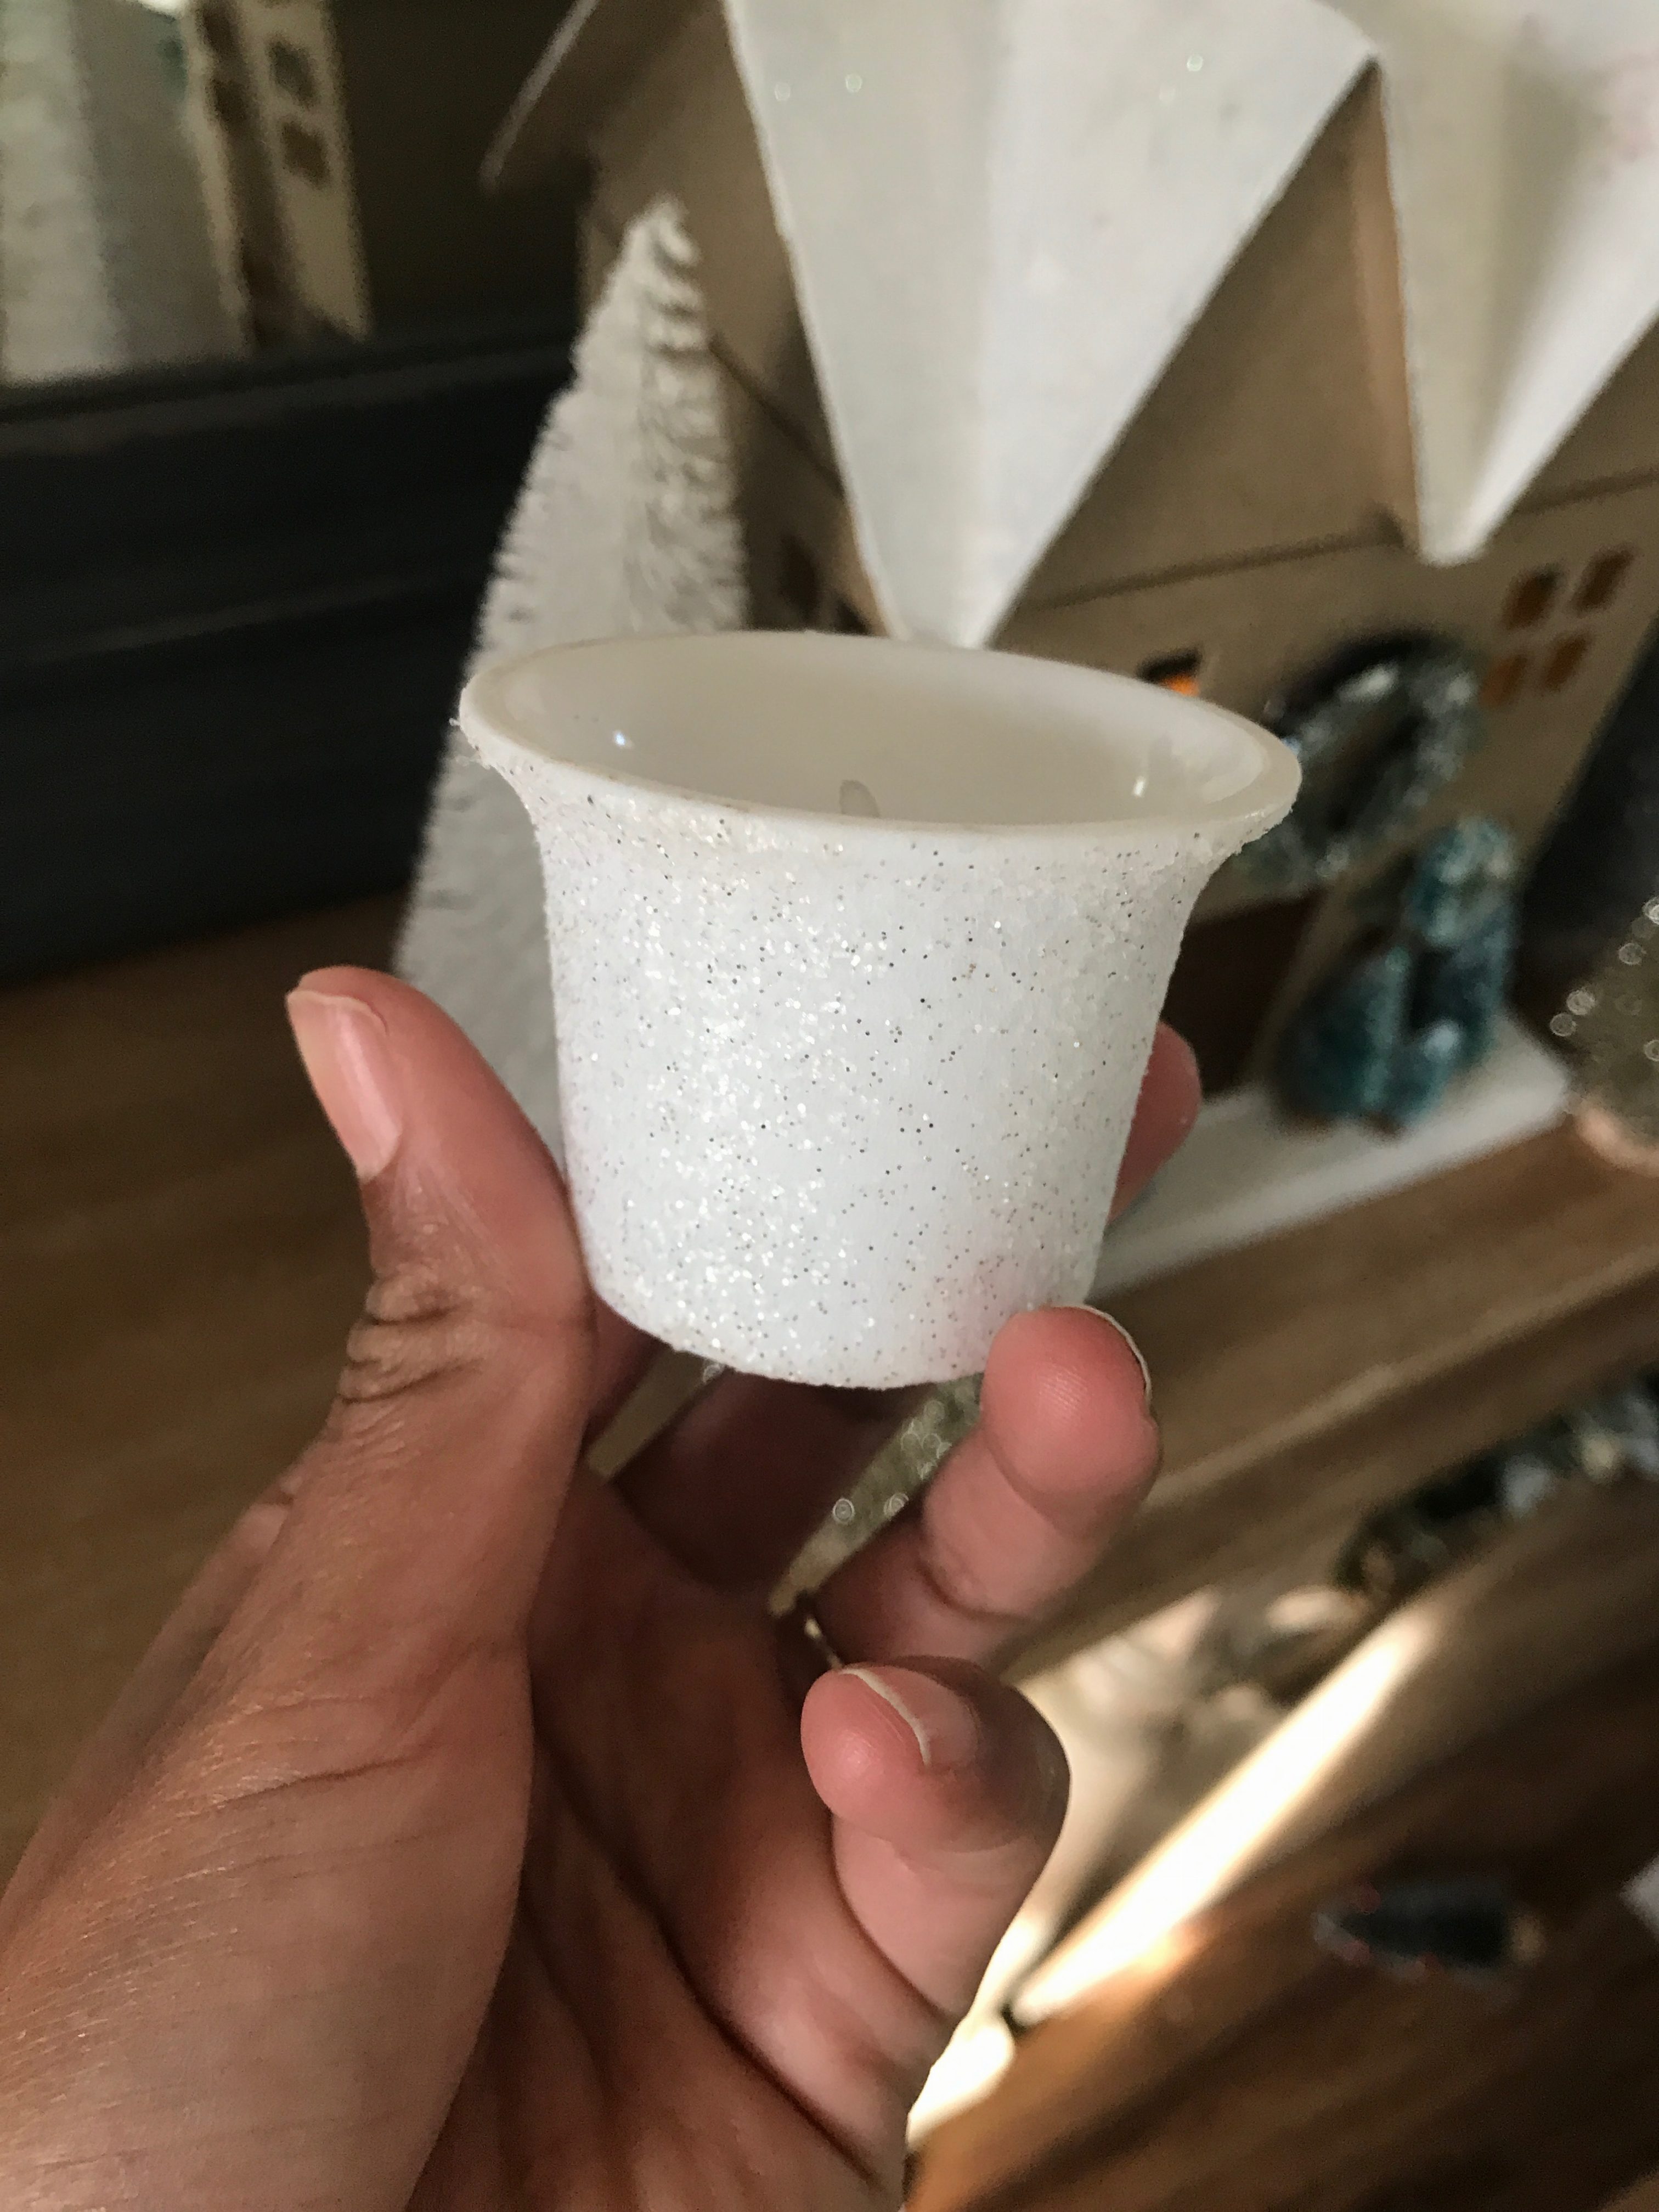
- Battery operated tea lights (optional)
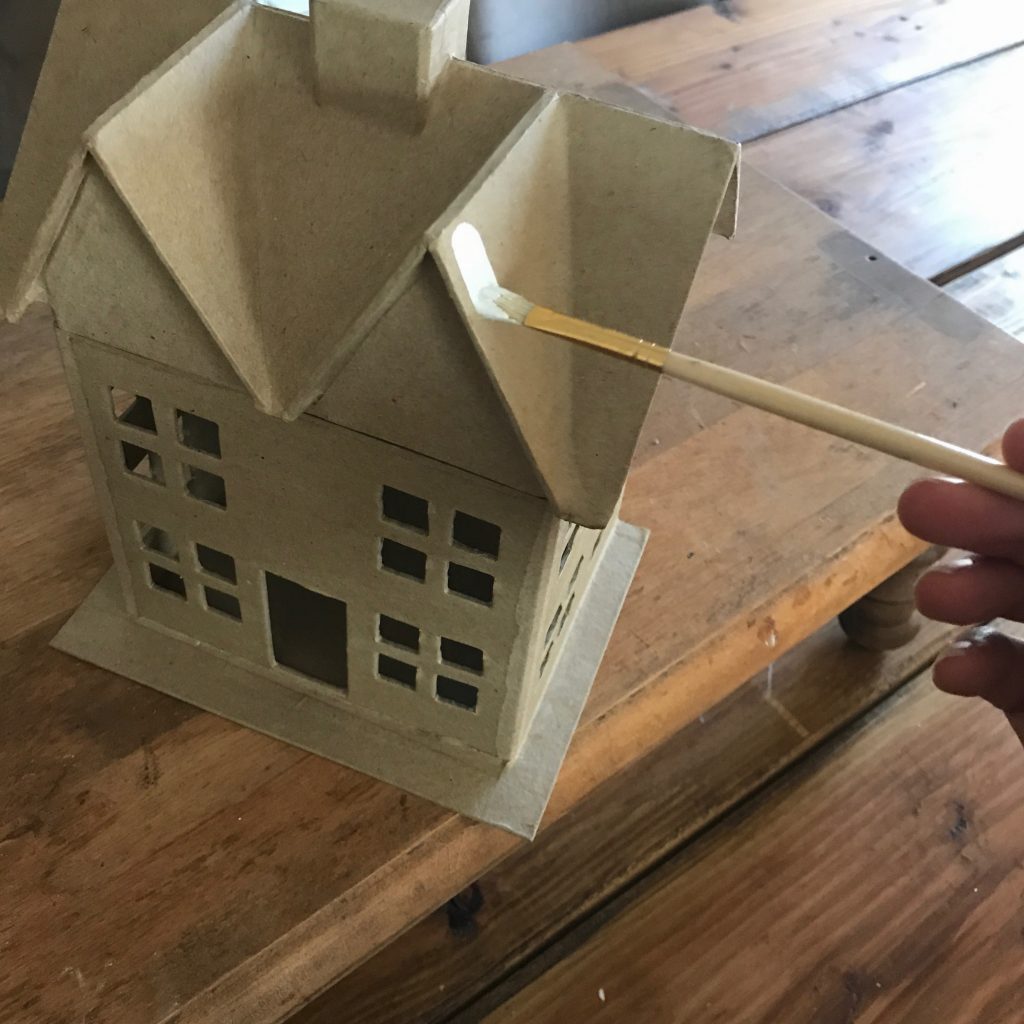
Step one:
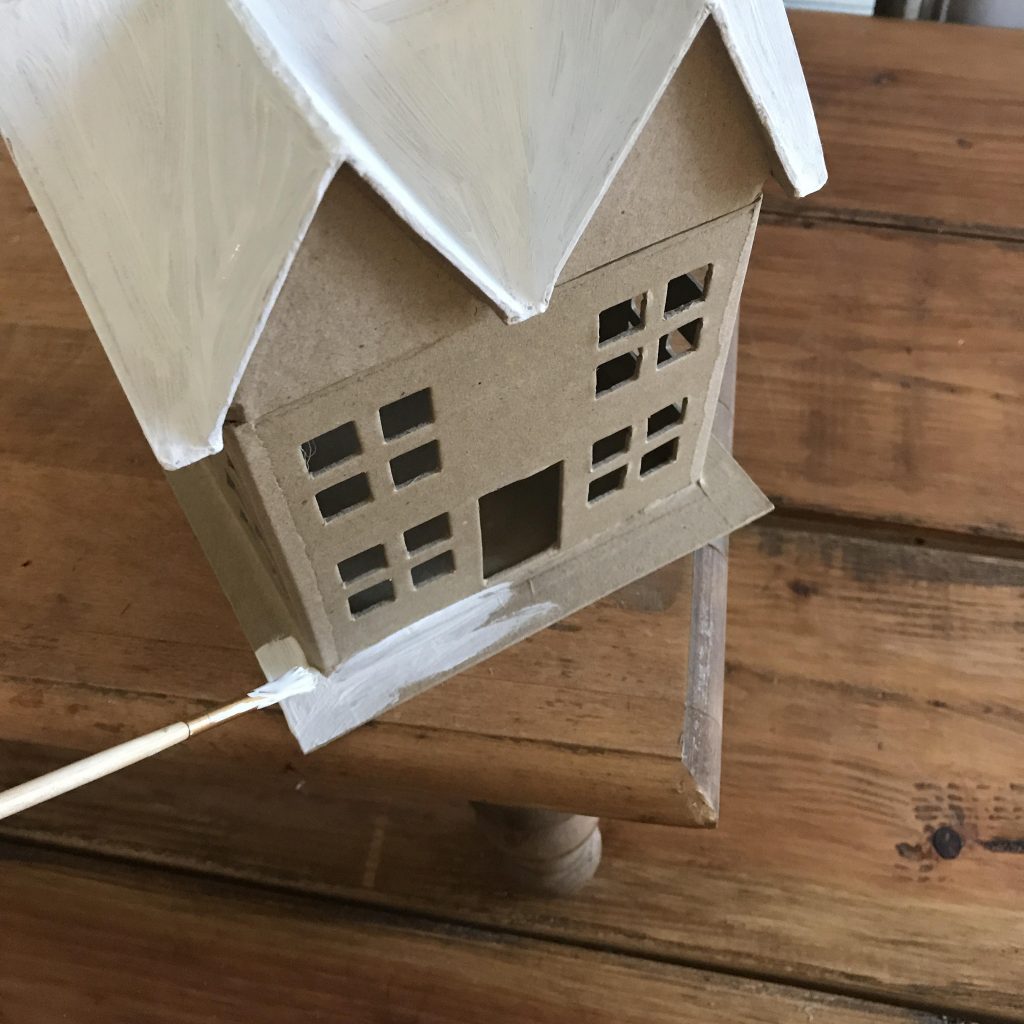
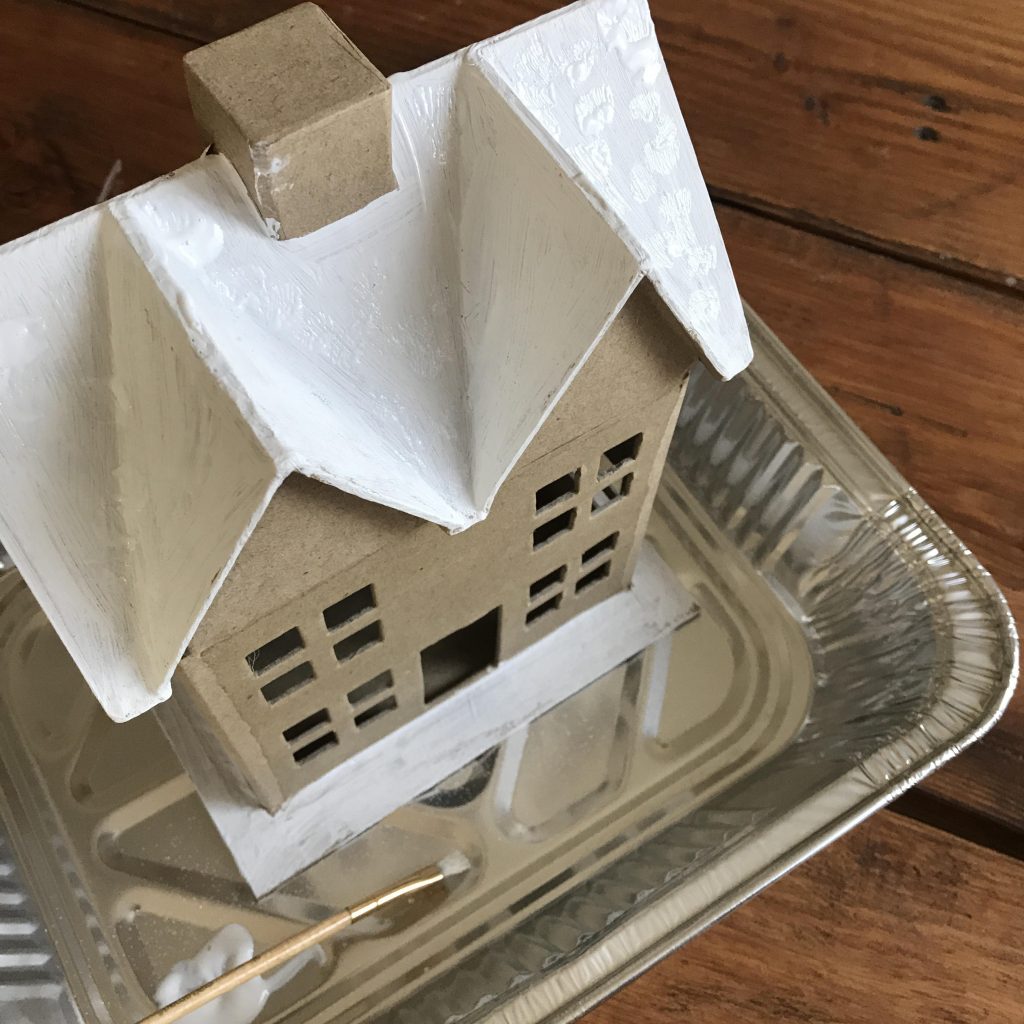
We started off by painting the roof with white paint, one generous coat seemed to work well.
Then we painted the base….
STEP TWO:
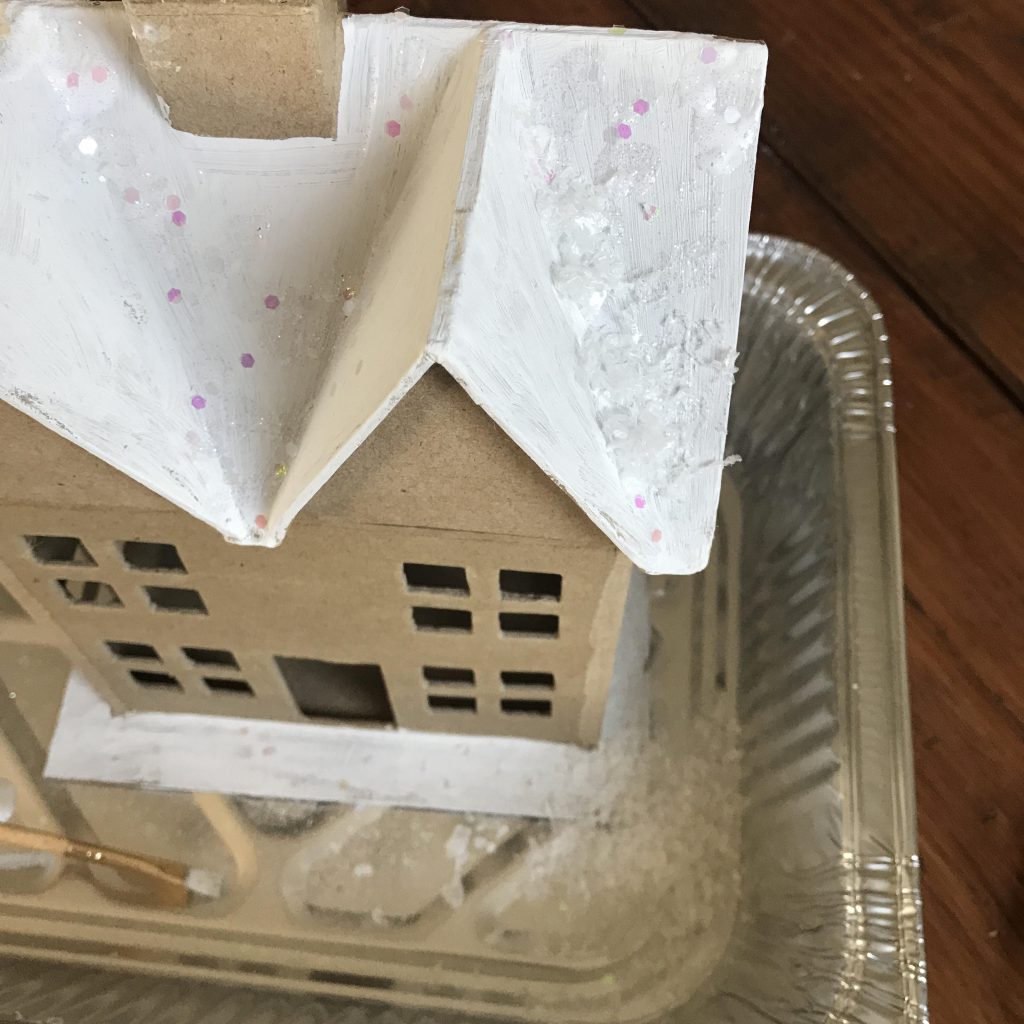
The paint dries quickly, so next we took a different paint brush and applied a thin coat of Mod Podge to the roof and base., then sprinkled over with fine glitter. (We worked in a disposable aluminum tray, to prevent as much glitter mess as possible)
I also went back over to dab the roof with the Mod Podge, for the chunkier glitter to adhere to….
Once that was dry, make sure to shake off the excess glitter into the pan. Then, I applied globs of hot glue in the slopes of the roof, where snow would naturally gather and quickly sprinkled in the fake snow. 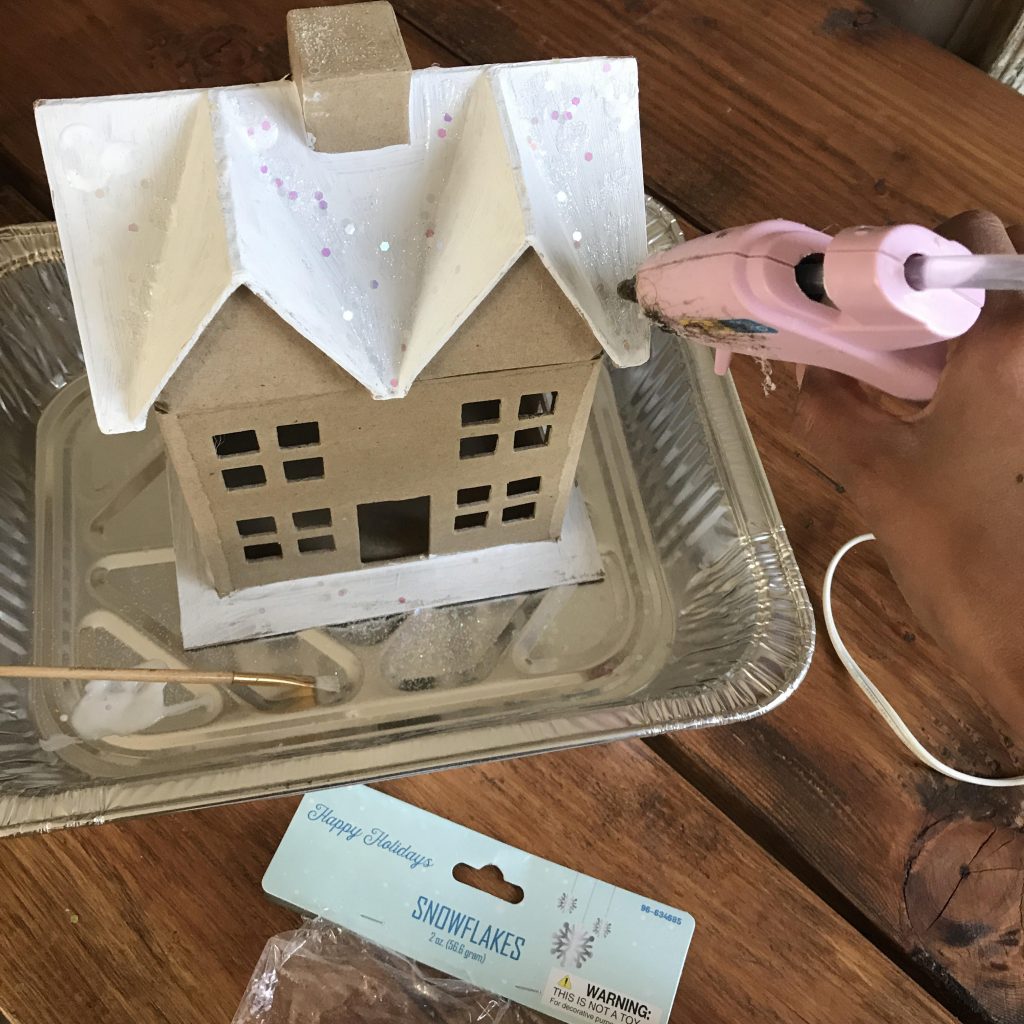
Again, shake off the excess into the pan.
Step THREE:
While that dried, it was time to glitter the wreaths and Christmas trees! These were also on sale half off, came out to about $1.50 each pack. To complete the five houses I purchased one pack of wreaths and two packs of Christmas trees, one pack each in two sizes (Larger size not shown here).
First step was removing the red bows and gold string from the wreaths…
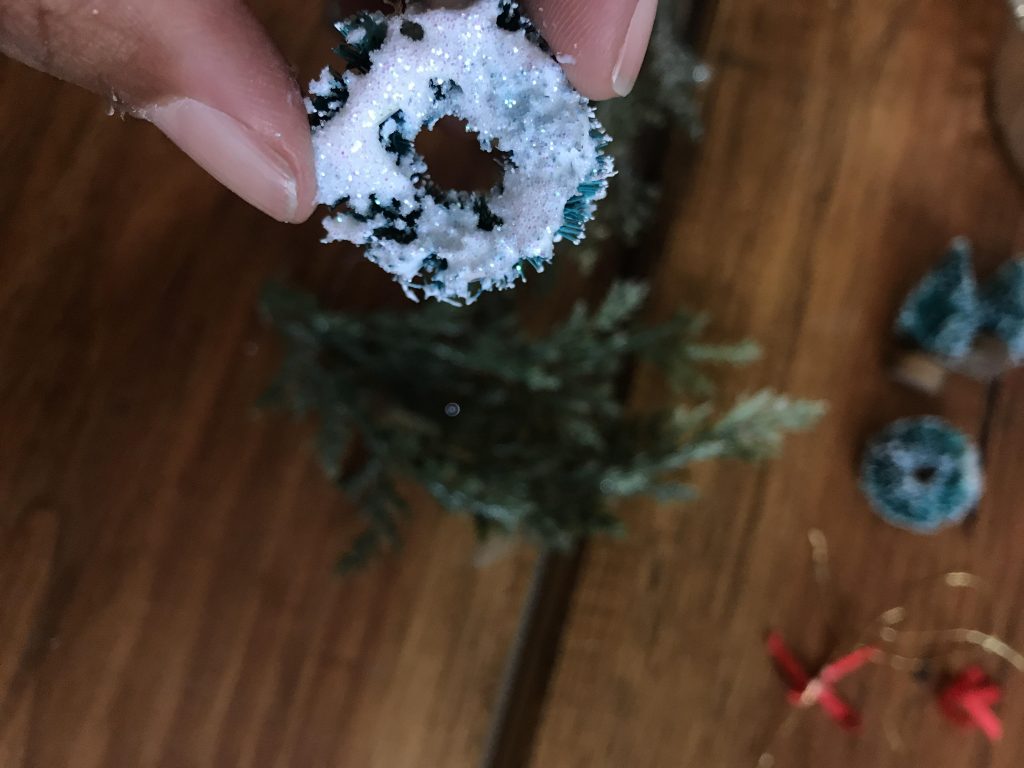
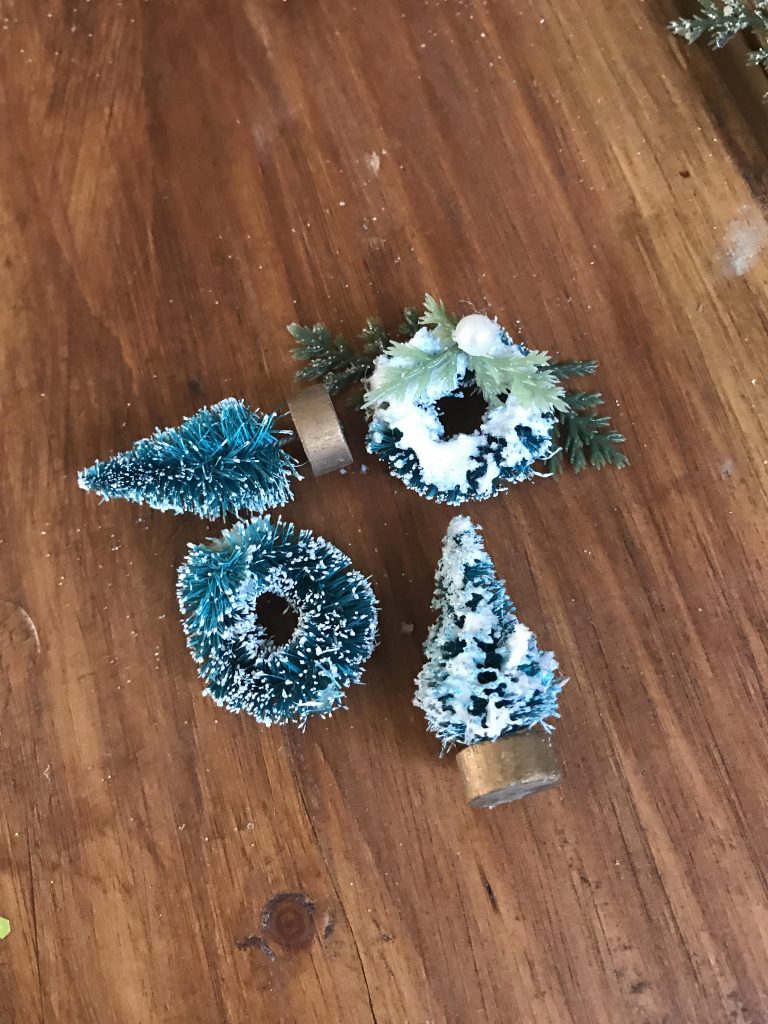
Once those were off, I applied a layer of modge podge to each wreath and Christmas tree, then coated in a layer of fine glitter, shaking off the excess.
Then I cut up bits of the faux pine needles, glued to the wreaths and topped off with mini pearls…
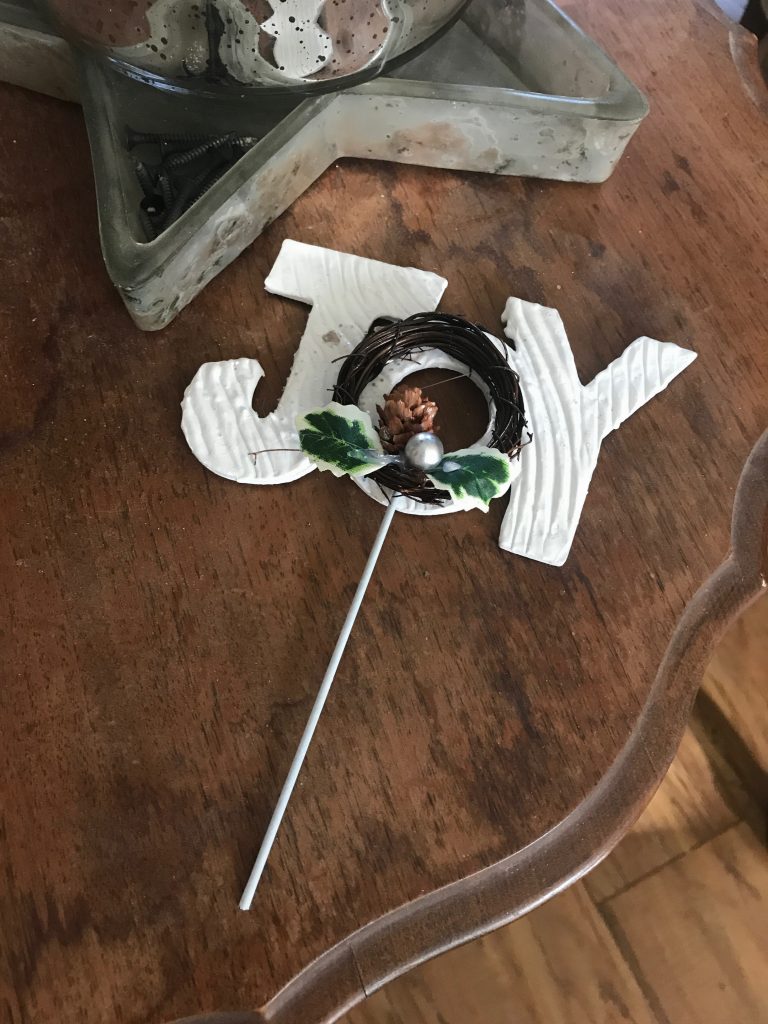
I also had these holiday picks (3) from Michaels for .75 each….the mini grapevine wreath was the perfect size for what I had in mind!
I just removed the wreath from the JOY piece and repeated the glitter and greenery embellishing process on these wreaths as well. (I always try to reuse items, so I cut off the stick and turned the remaining JOY piece into an ornament with a loop of jute twine!)
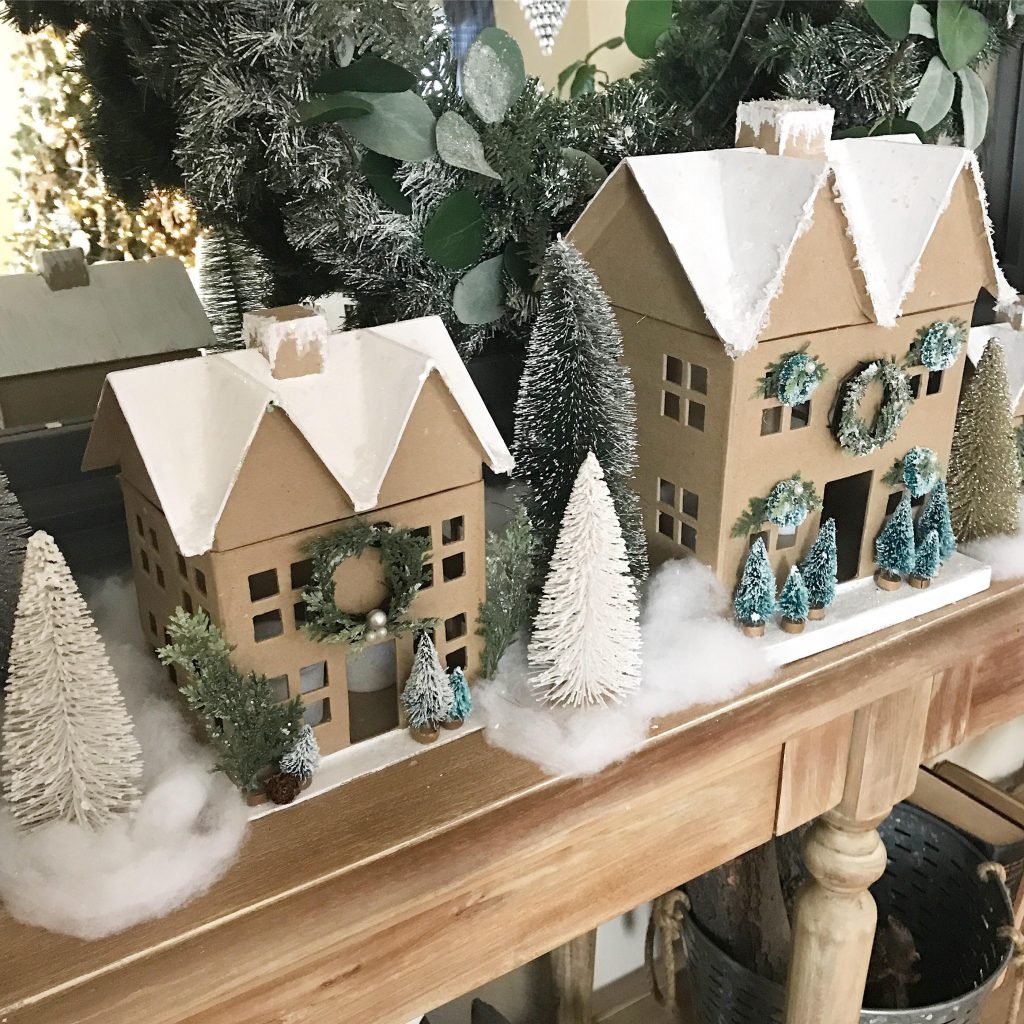
Once all the wreaths and trees were glittered and dried, I hot glued them onto the front and along the base of the paper mache houses, ensuring that each house was a little different.
Then we just added the fake snow and bottle brush trees around to finish off our Christmas village! The glitter trees were purchased from Target dollar spot $1 for the small size and $3 for the large. The green ones were only $1 each from the 99cent only store. We also added battery operated tealight candles for inside, to light up at night.
All together this project cost under $50, including the houses and trees! We already had the fake snow and other misc craft items so the cost will vary, based on the items you already have. It definitely was a process and luckily we knocked it out quickly since our daughter became a glittering master 🙂 I love that we made these little houses together and have decided to make it a tradition to do a Christmas craft together each year!
We hope you all enjoyed this tutorial, please let us know if you have any other questions!
XOXO
Mel & Izzy
Follow is on Instagram @LivandMarket

