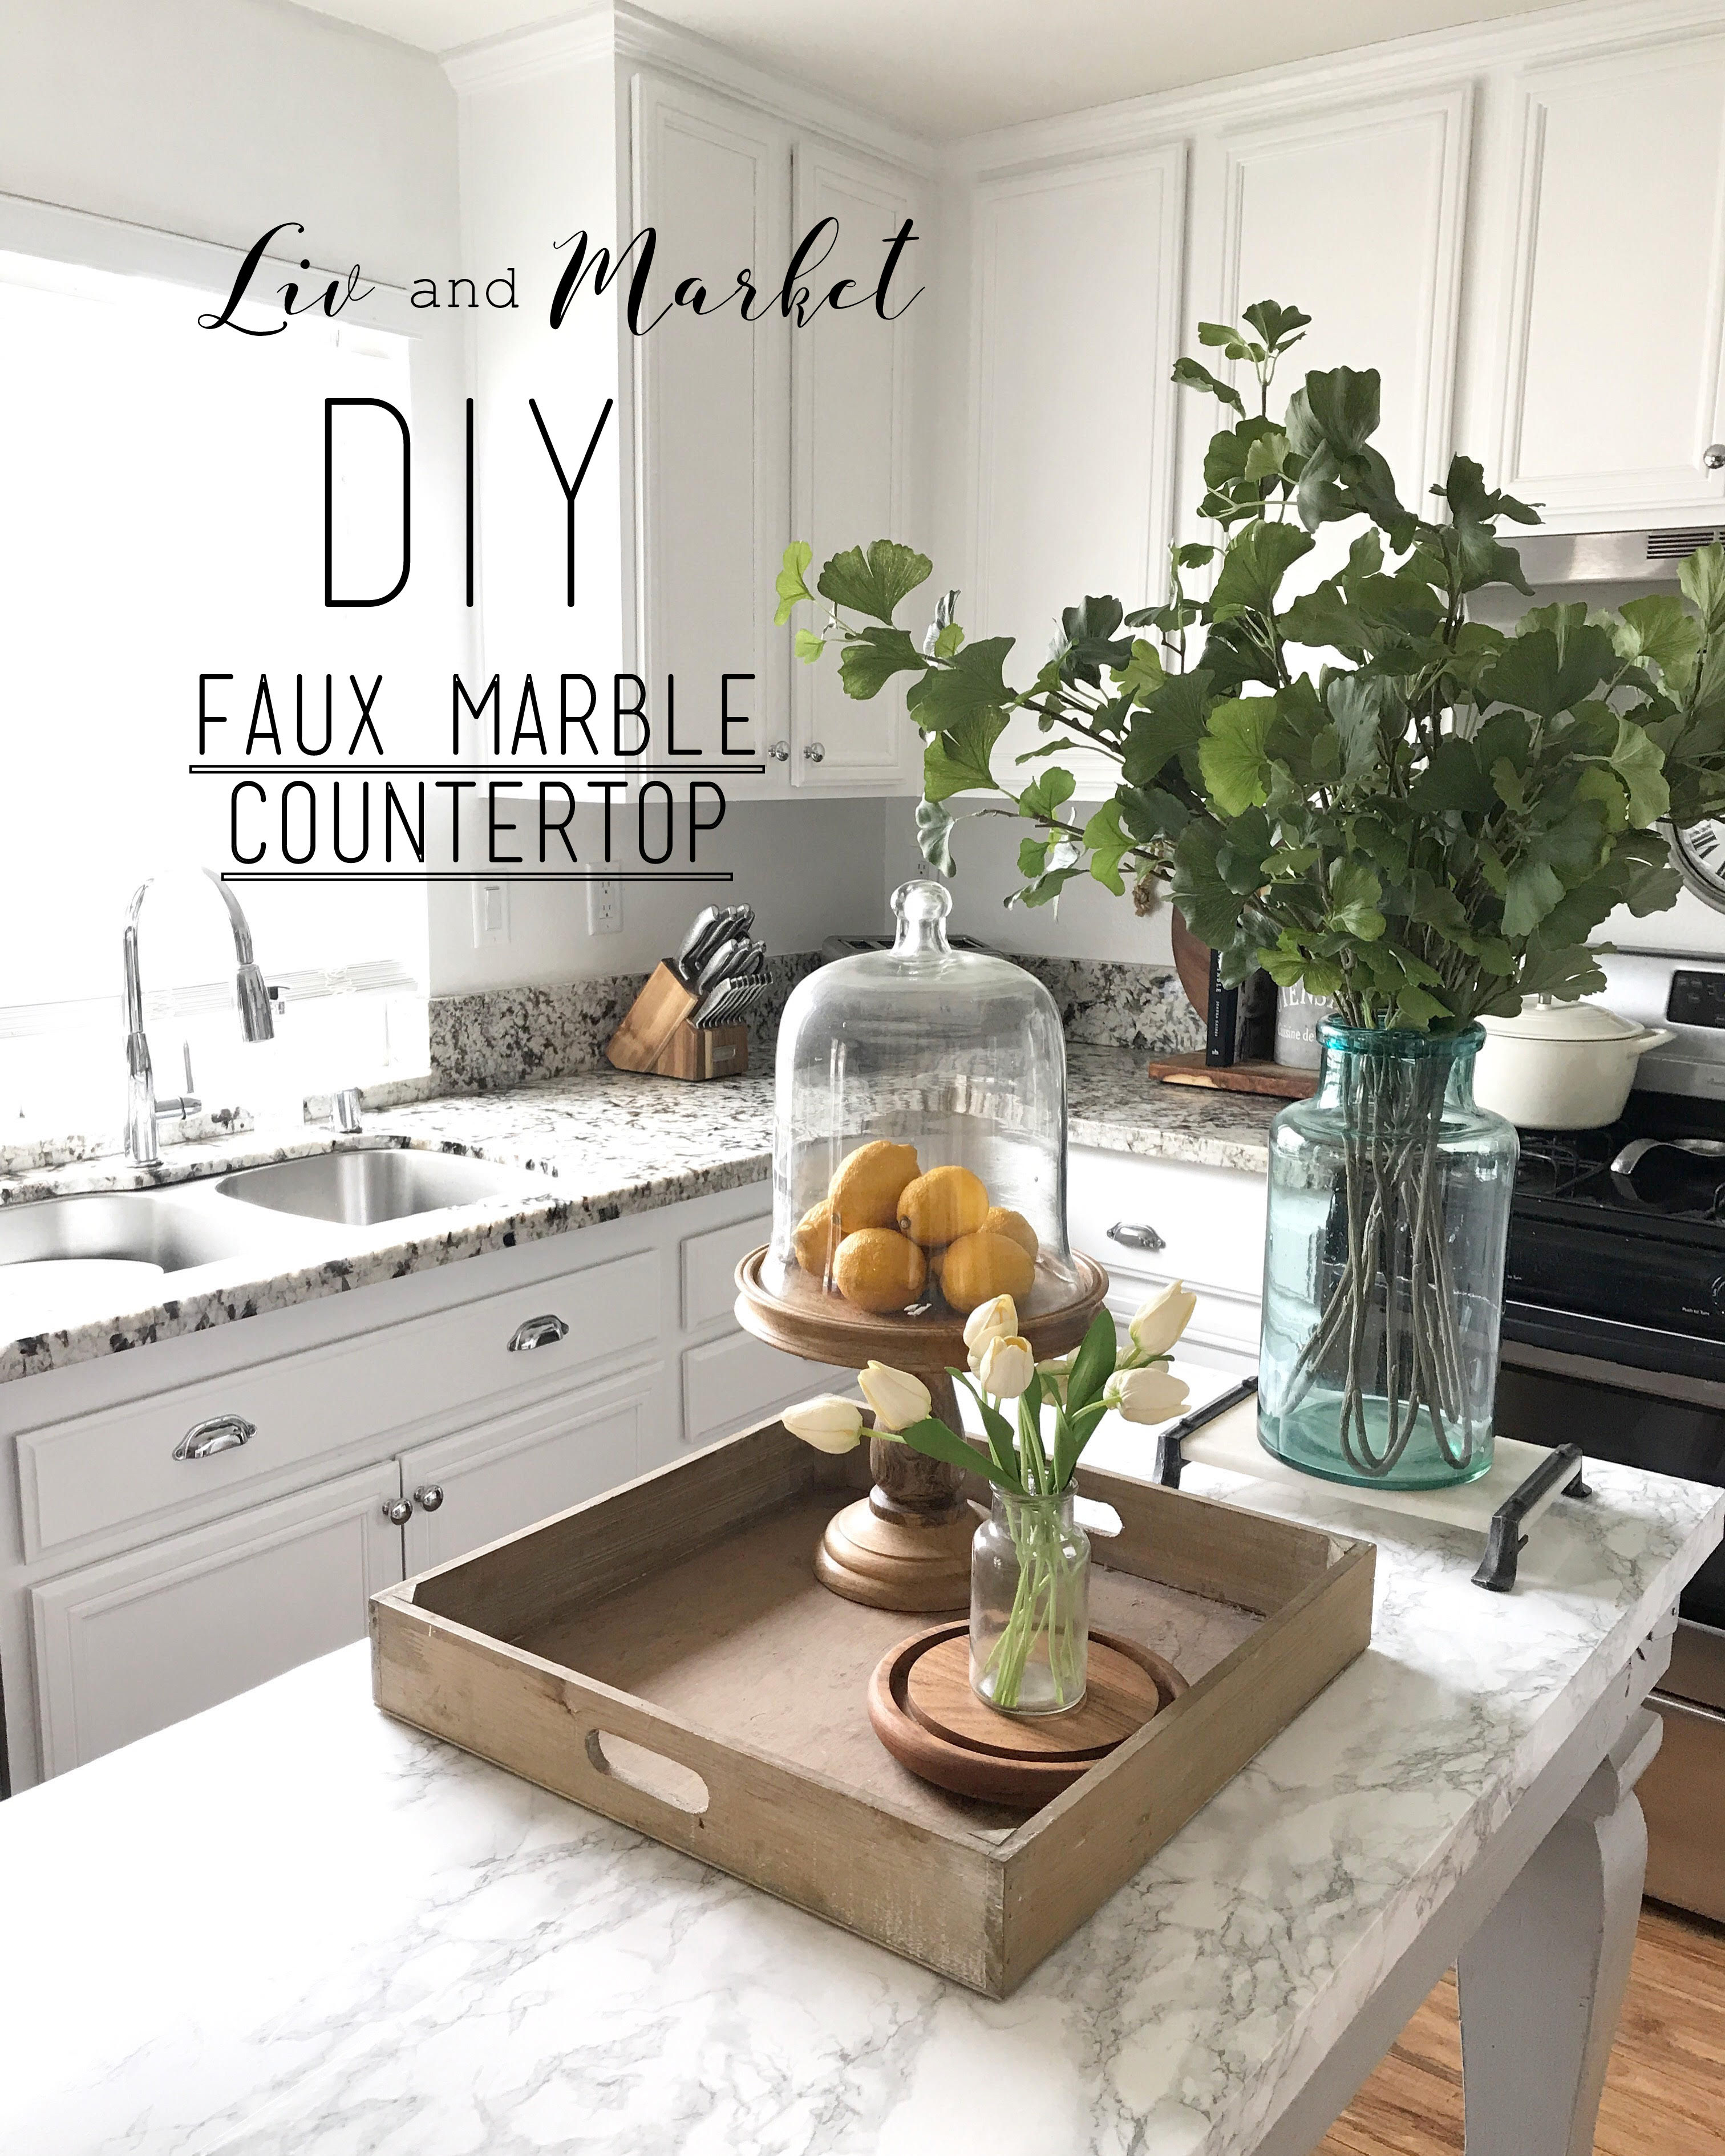
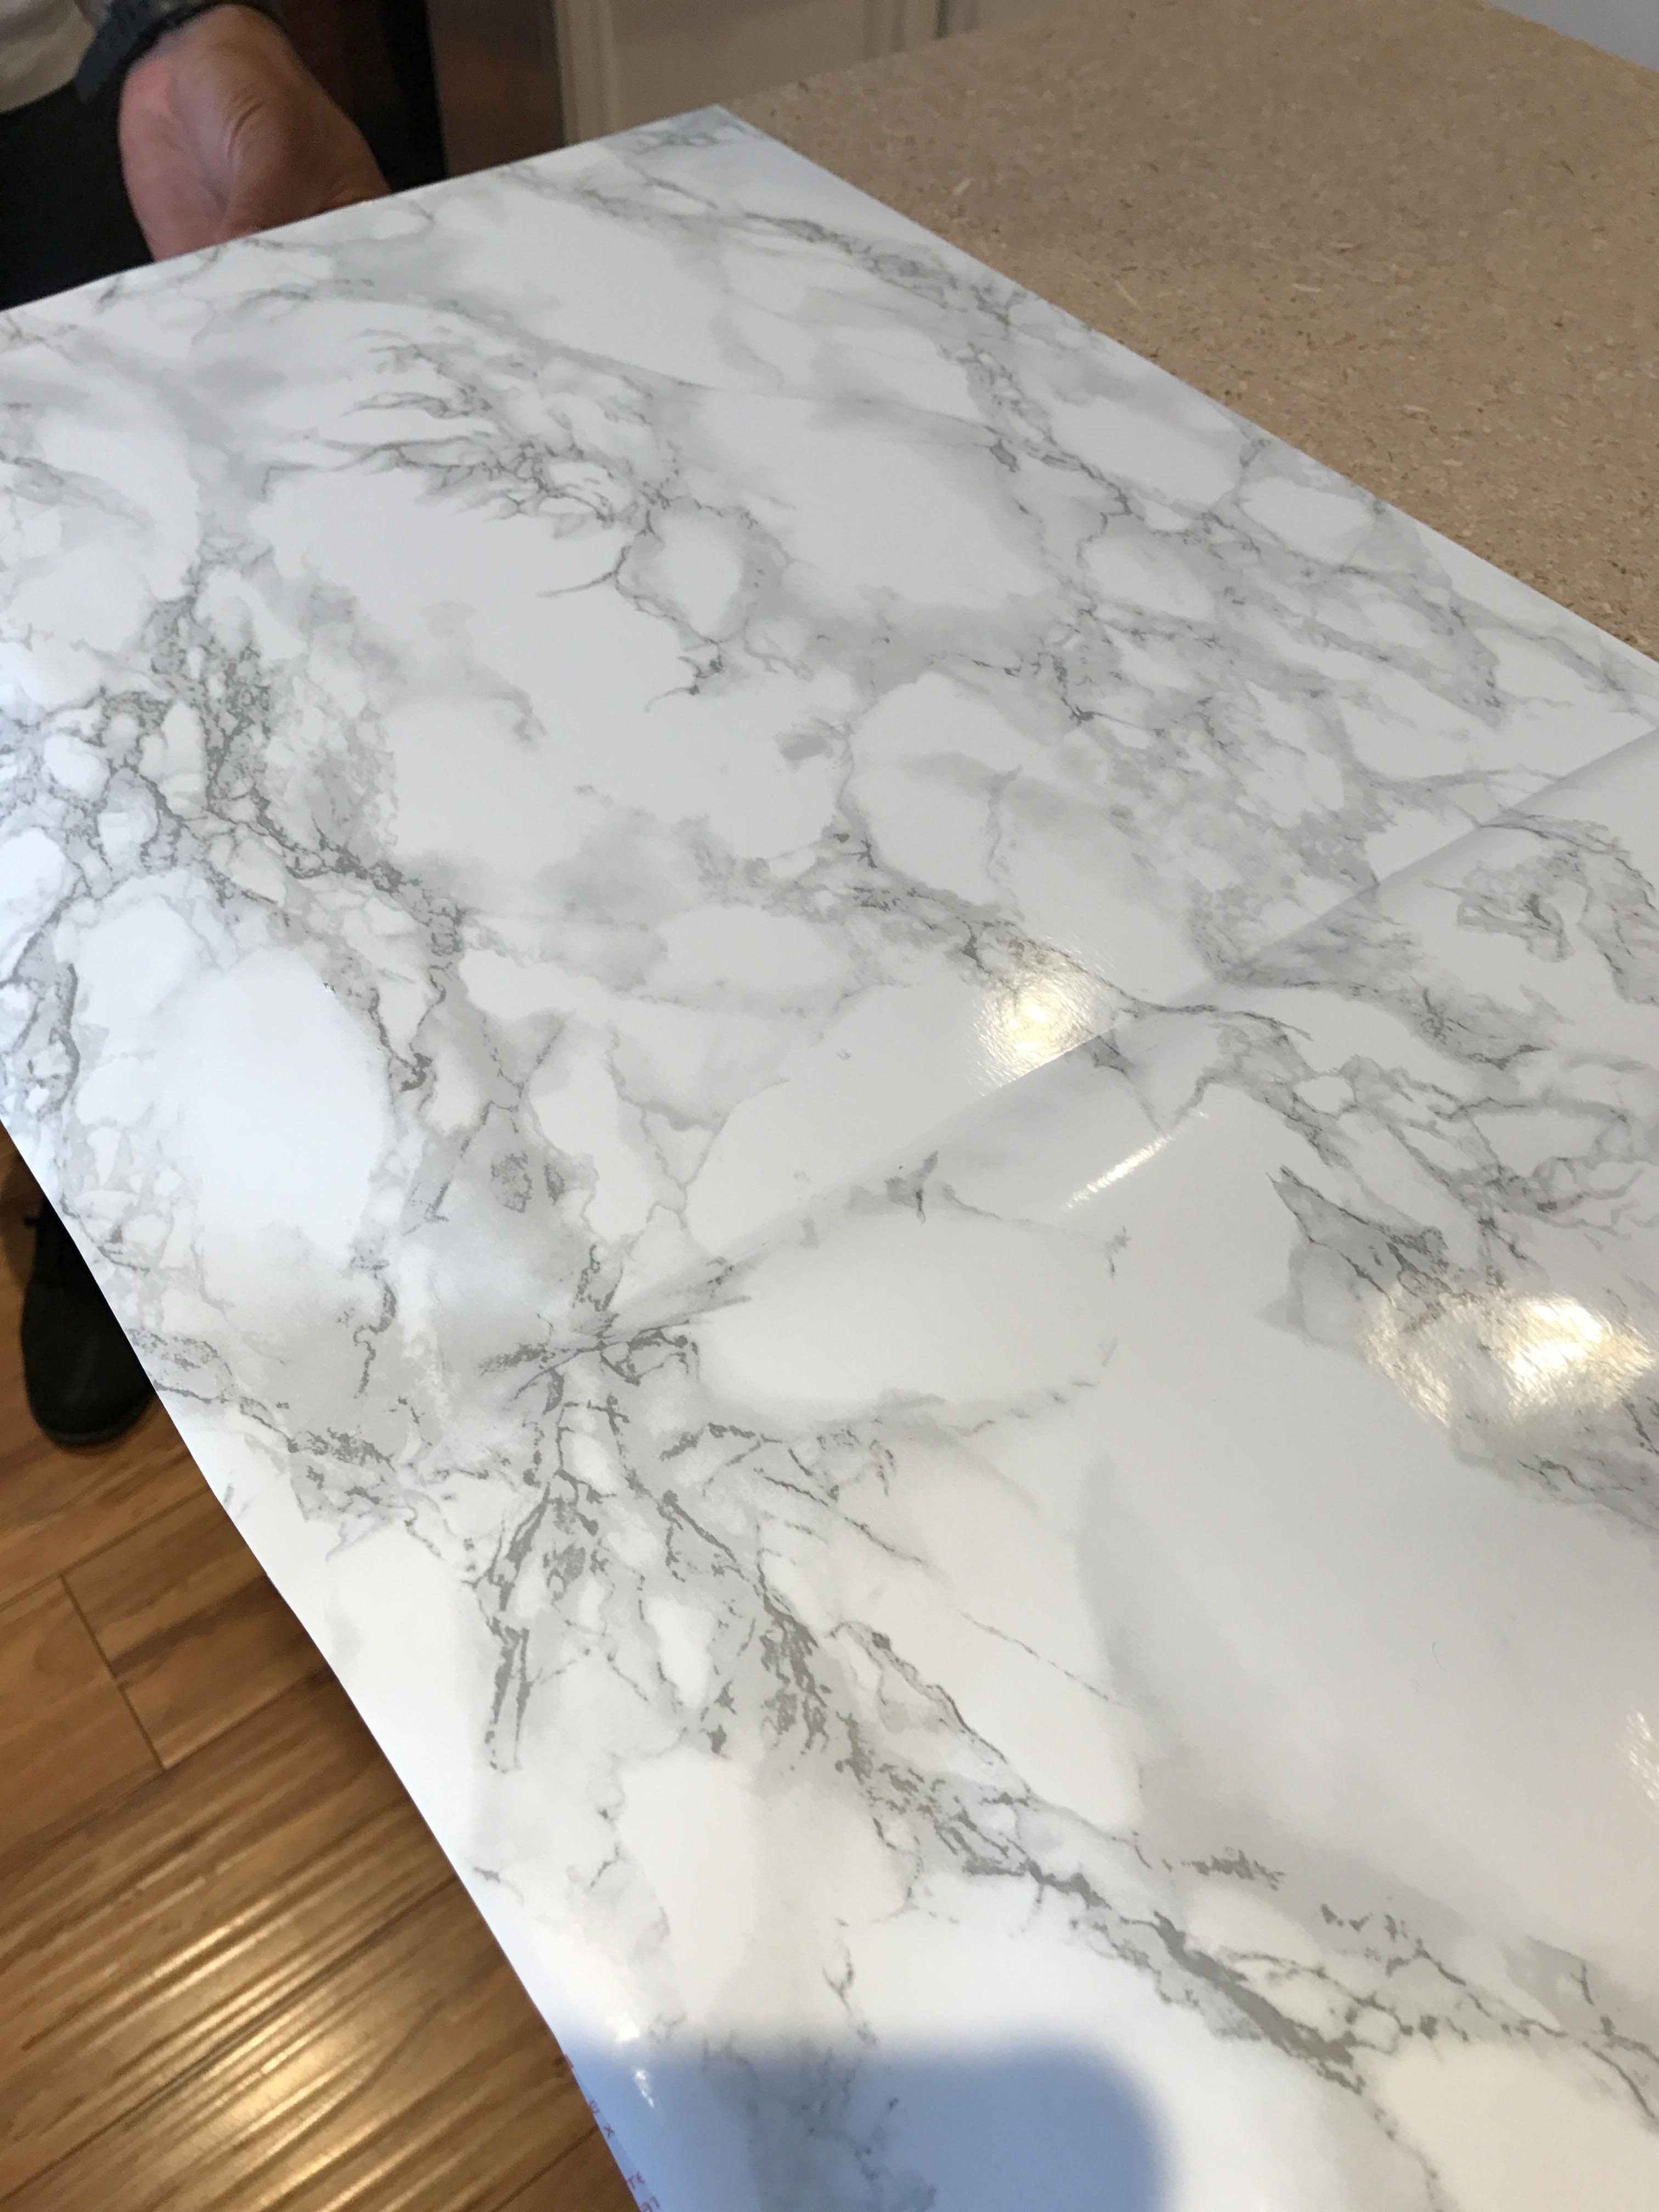
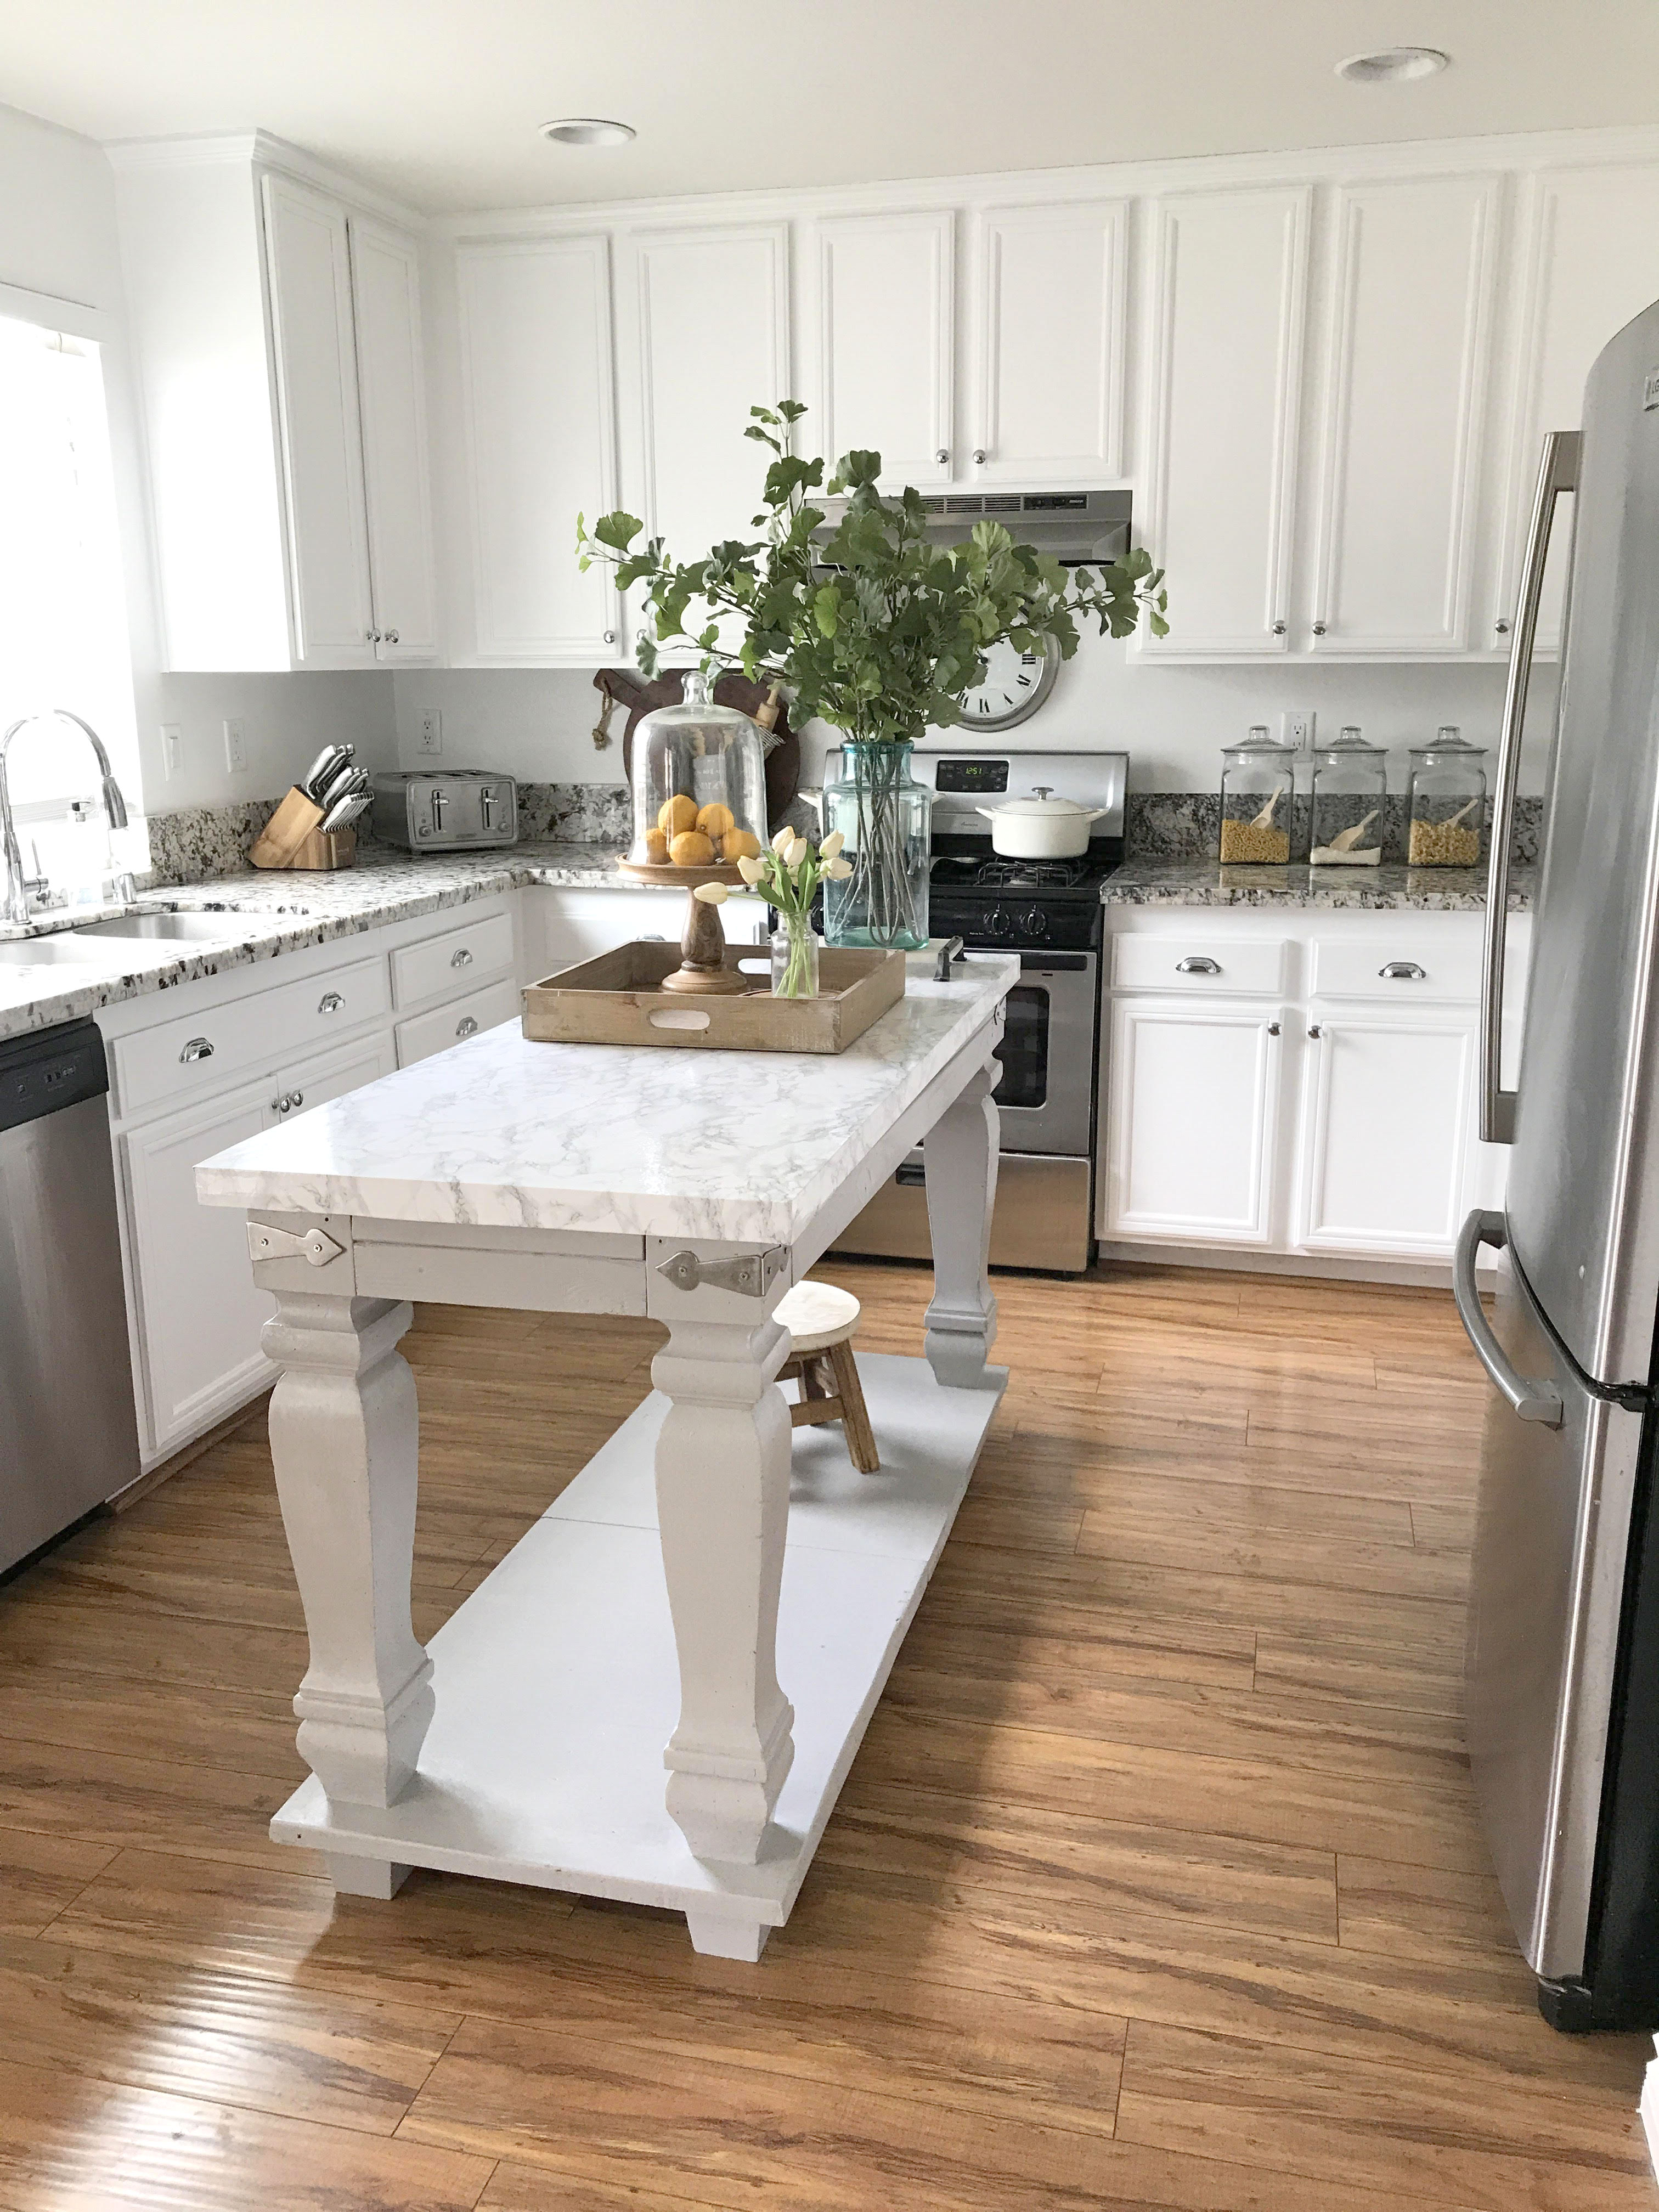
We are very excited to share with you how we finished off our new kitchen island by using marble contact paper! So impressed with how realistic it looks, budget friendly and doable DIY project.
I stumbled upon this gorgeous contact paper while googling… “DIY MARBLE COUNTERTOP” after getting the news that it was going to cost at least $700 to buy a piece of remnant marble and have it cut to the island dimensions. We were a bit taken aback, since it was a smaller size but apparently the labor of cutting the slab was a big part of the cost. Unfortunately, that was much more then we wanted to spend on this project, so I decided maybe we could tile it ourselves with large pieces of marble tile and this lead me look up the cost of tile online.
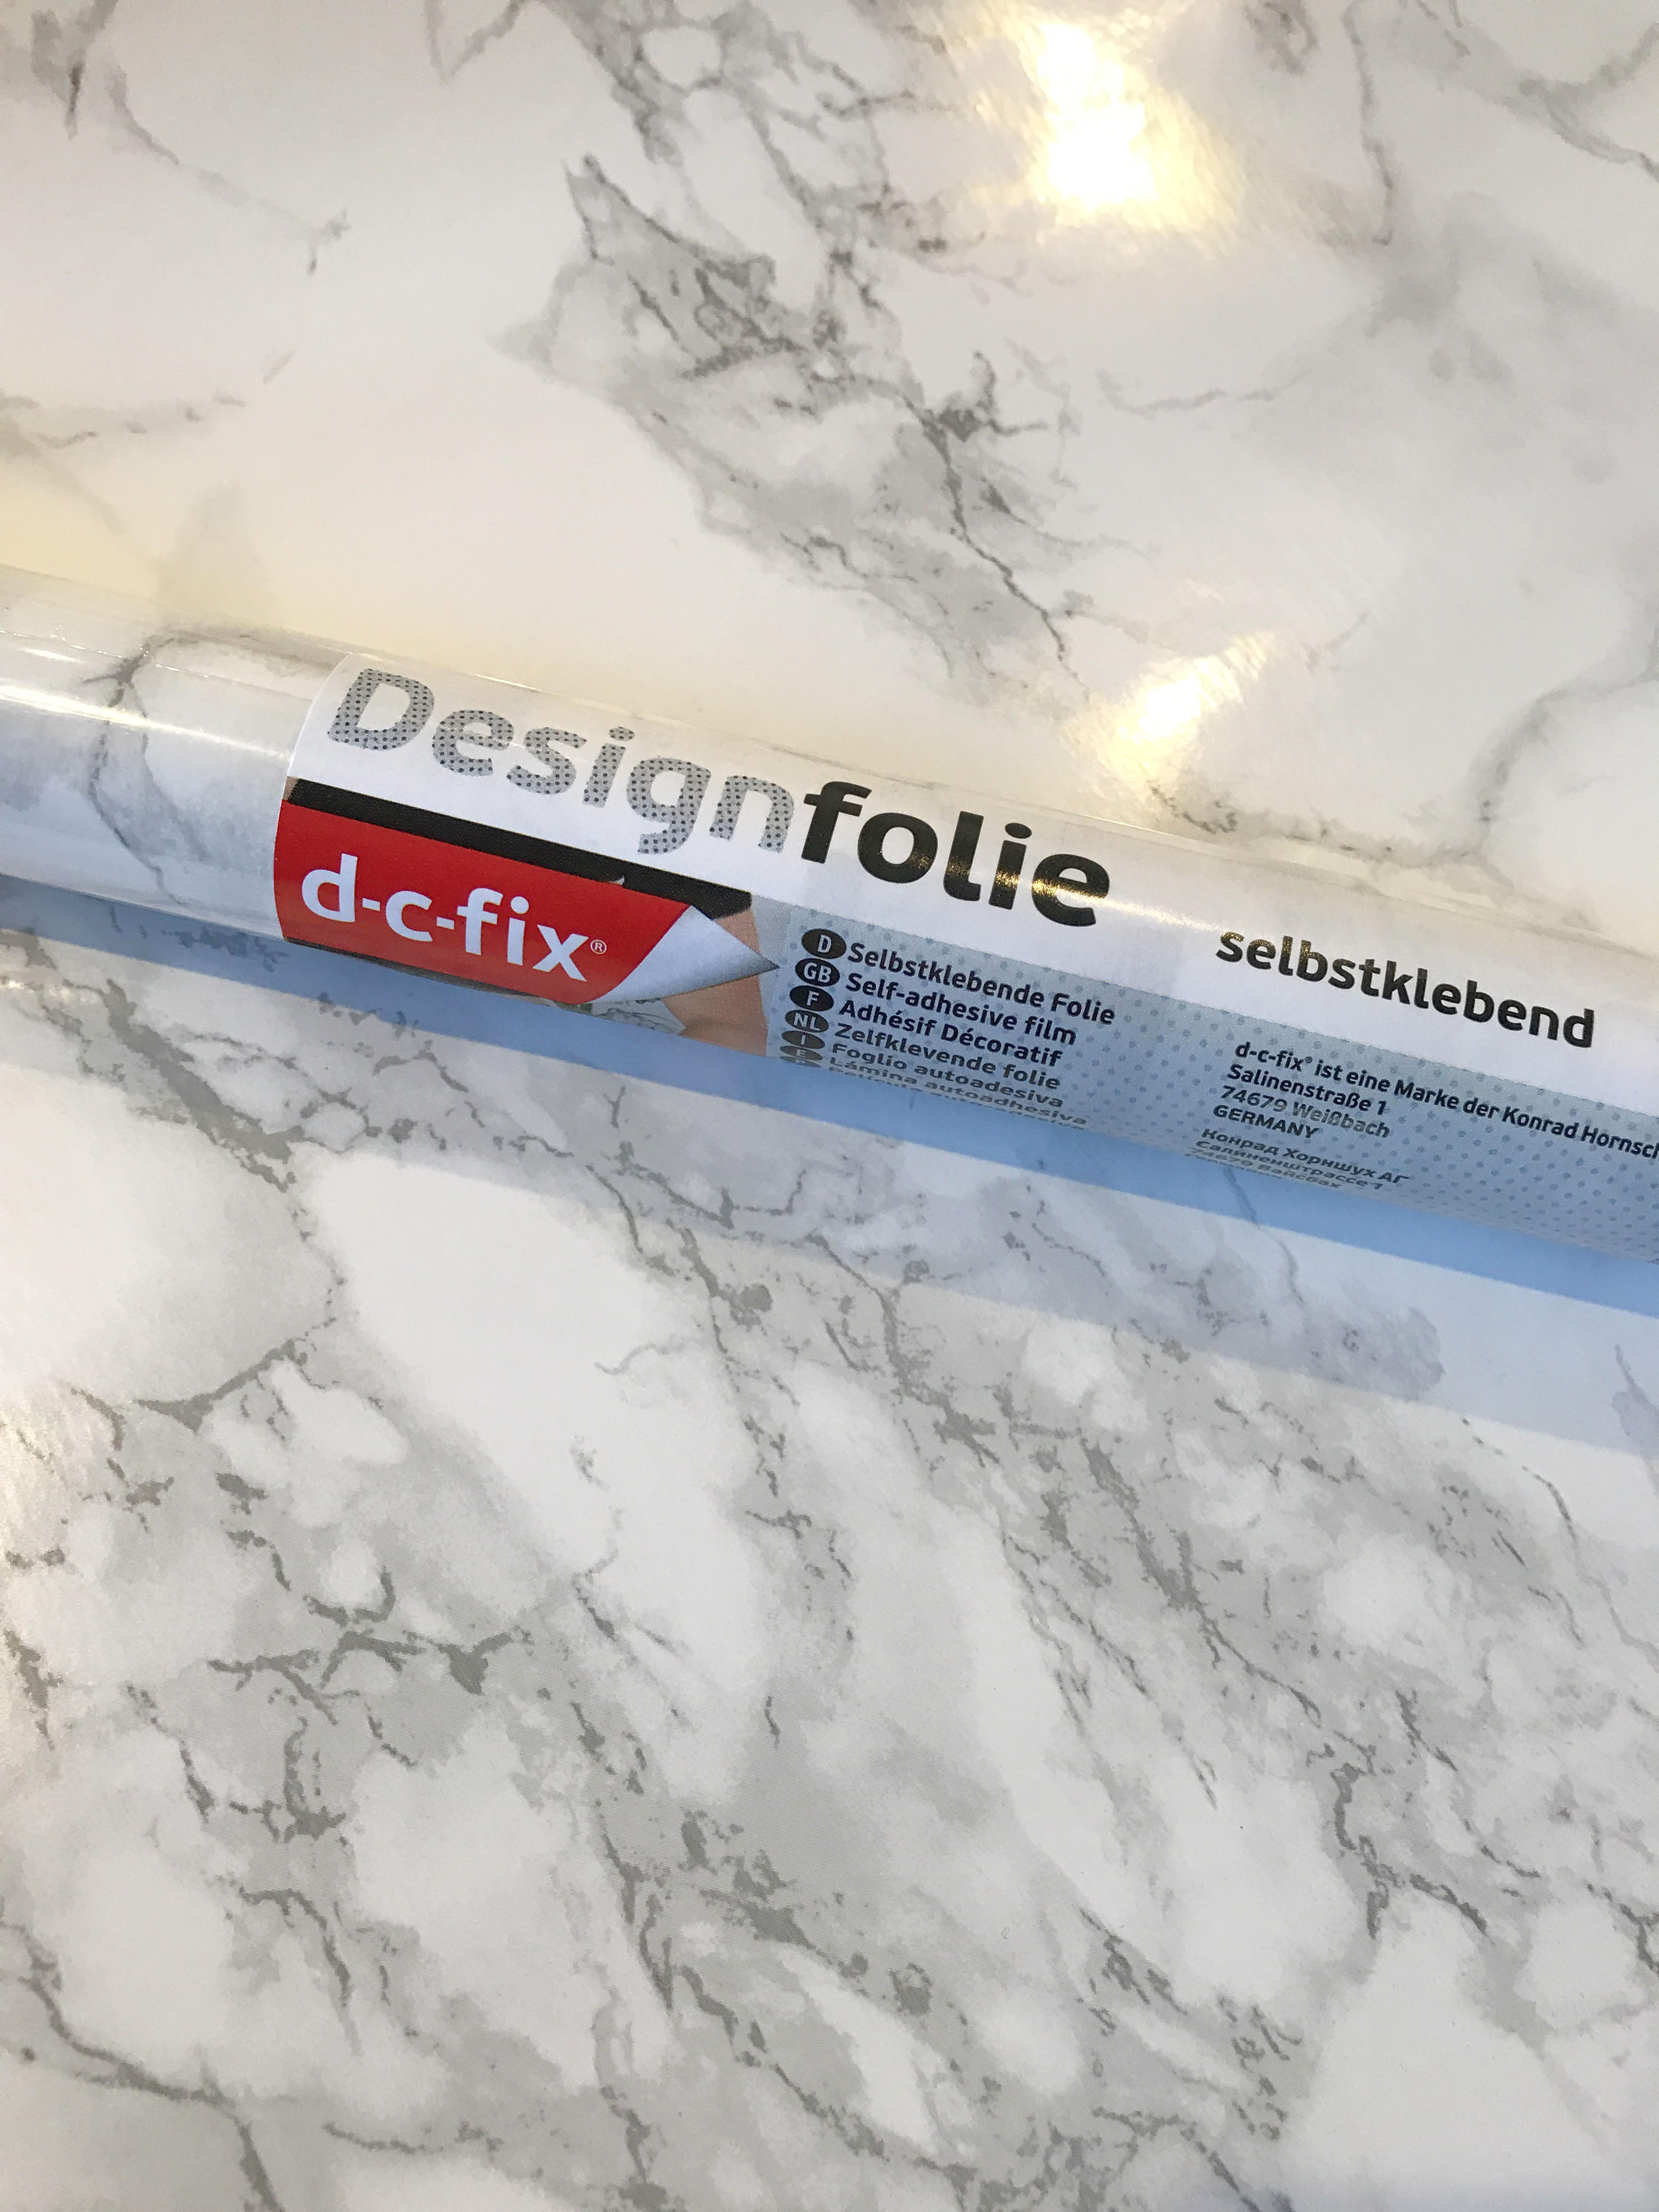
During my google search, I stumbled upon this faux marble contact paper. It actually had lots of great reviews and several YouTube videos showing how others had recovered their surfaces with it as well and it looked AMAZING! I compared the dimensions for the island countertop to the roll measurements and determined I would need 2 rolls. The rolls were priced at $9.99 each and free 2 day shipping with PRIME membership. I was a bit nervous ordering them as I was unsure how it would turn out but I figured I would give it a try for $20!
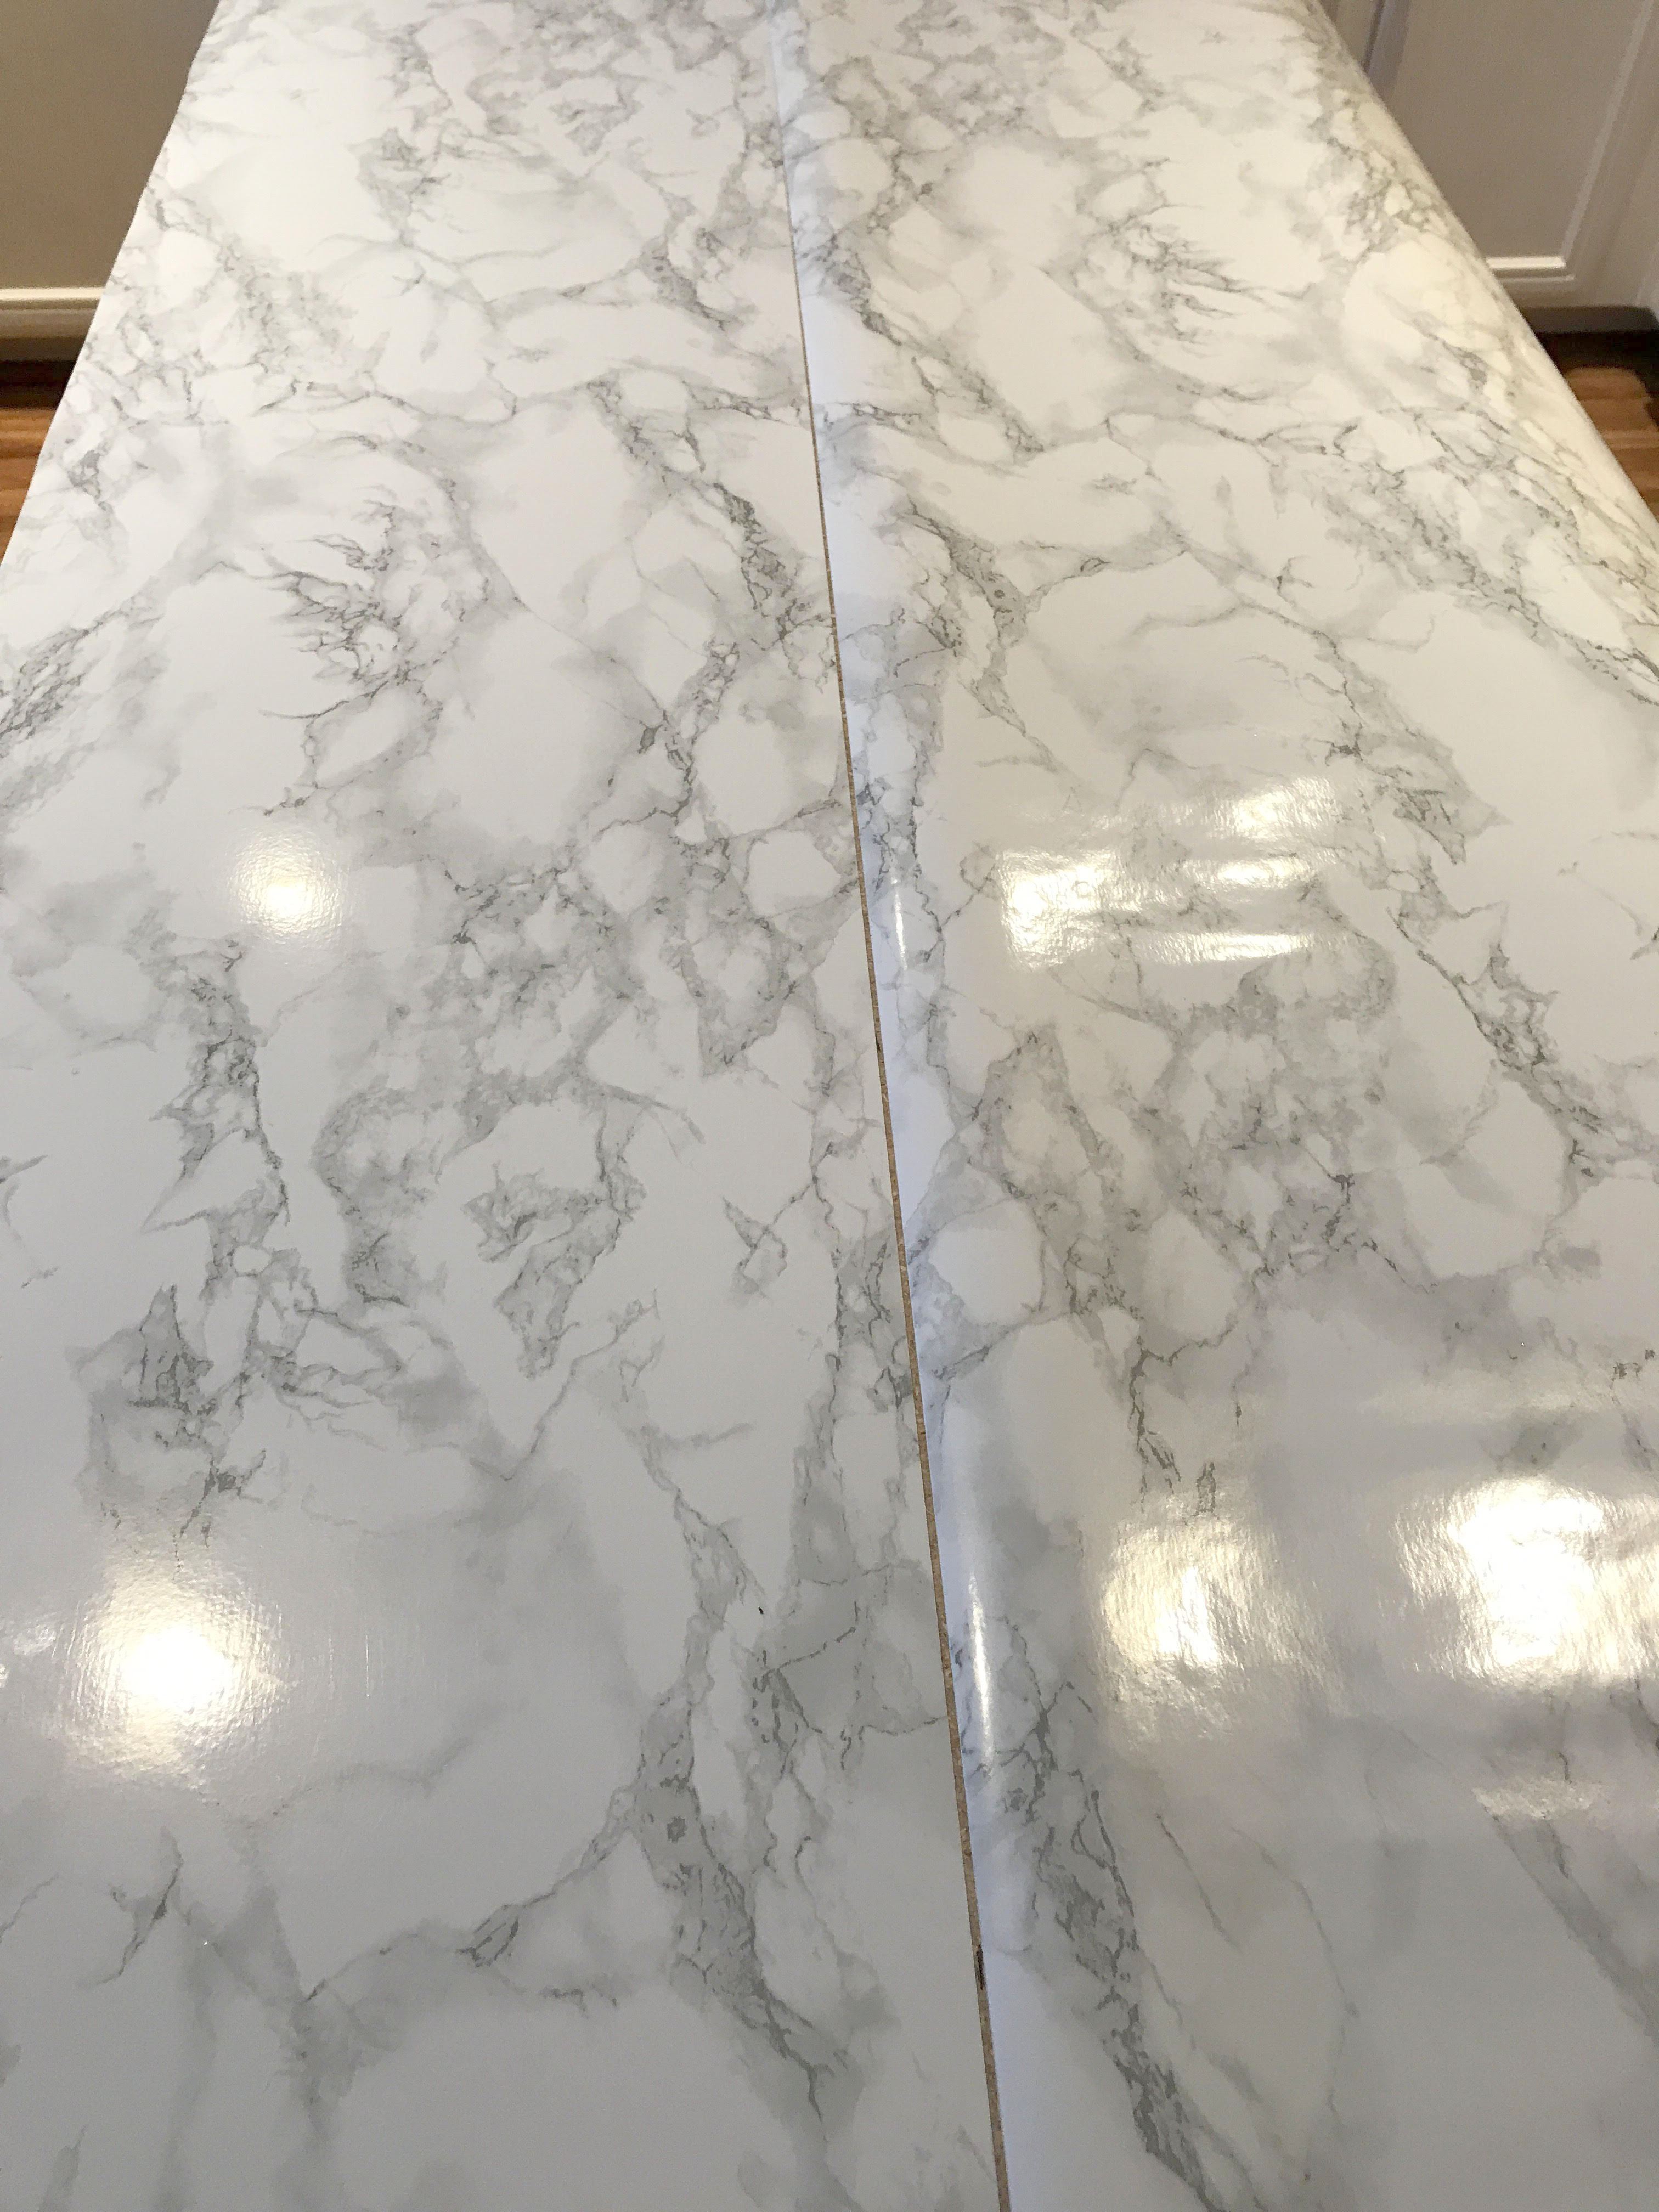
Once the rolls arrived, we got to work applying it to the island top. We ended up adding a piece of MDF to the top of the existing top to give it a bit more thickness to give the look of a chunky marble slab. It also provided us with a nice smooth surface (shown below).
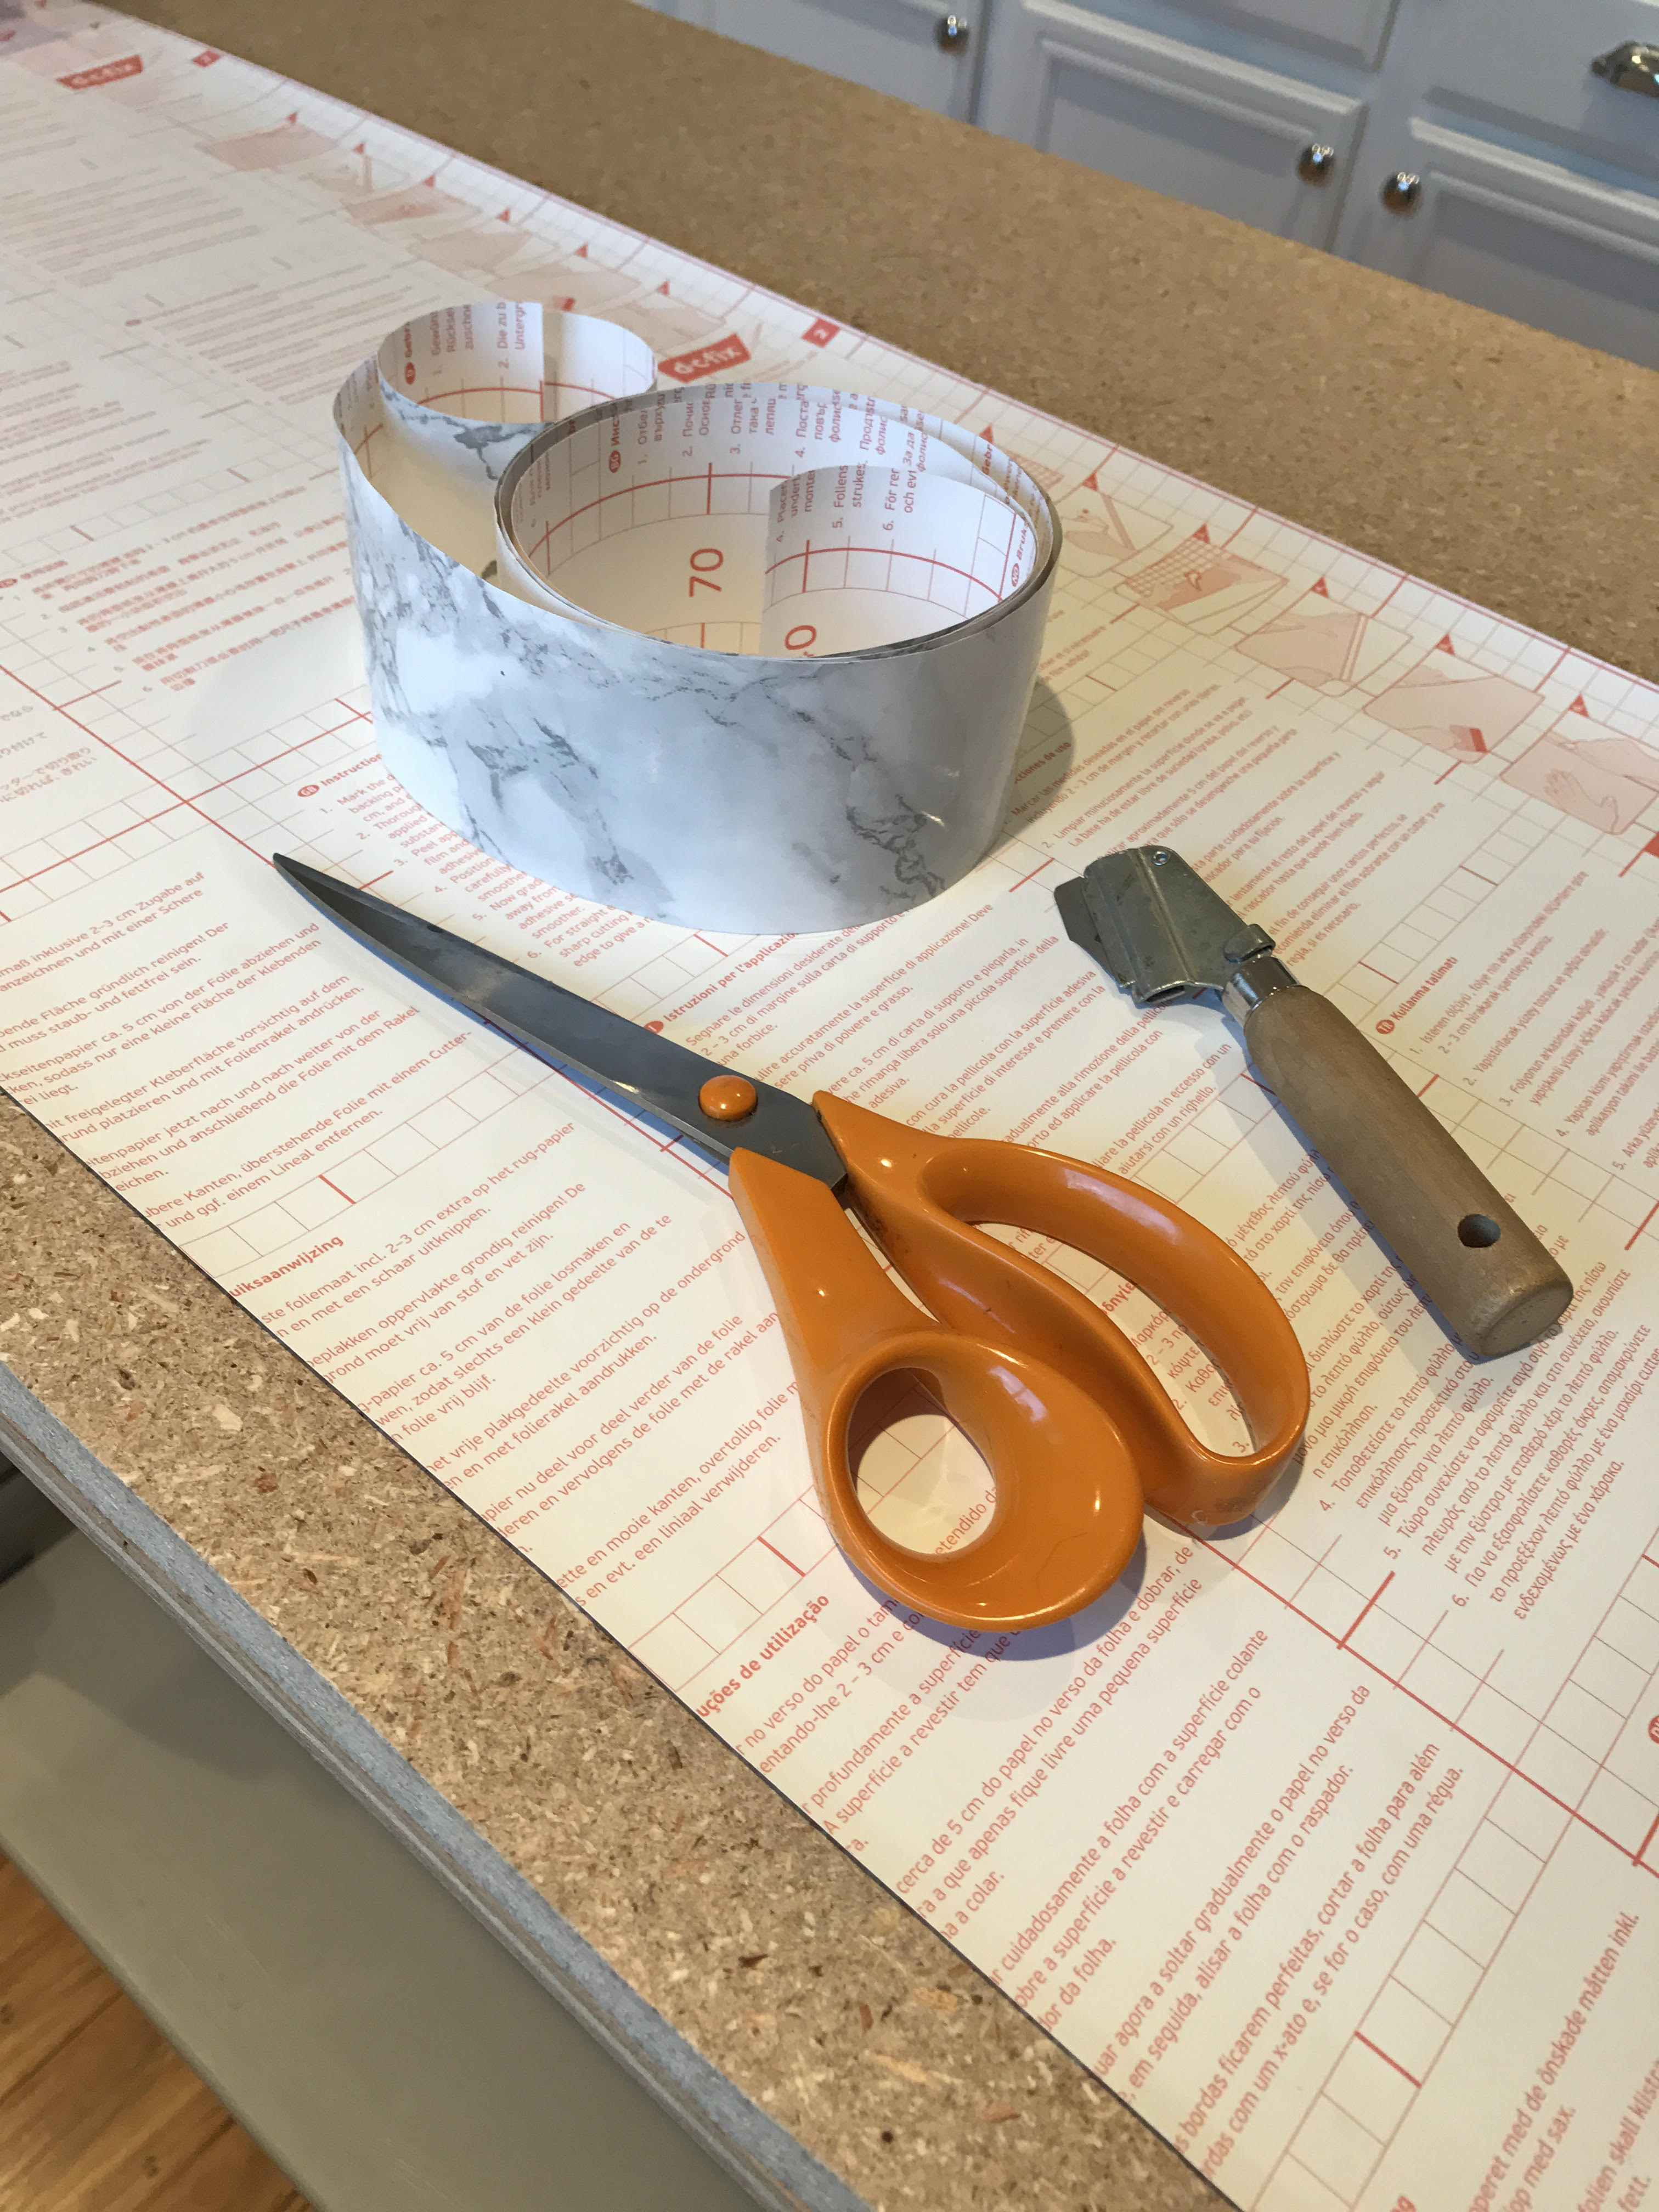
Supplies:
- Scissors
- Measuring tape
- Razor blade or X-Acto knife
- Pen/Pencil for marking
- Old GC or credit card for smoothing
- Hair dryer or heat gun (optional for corners)
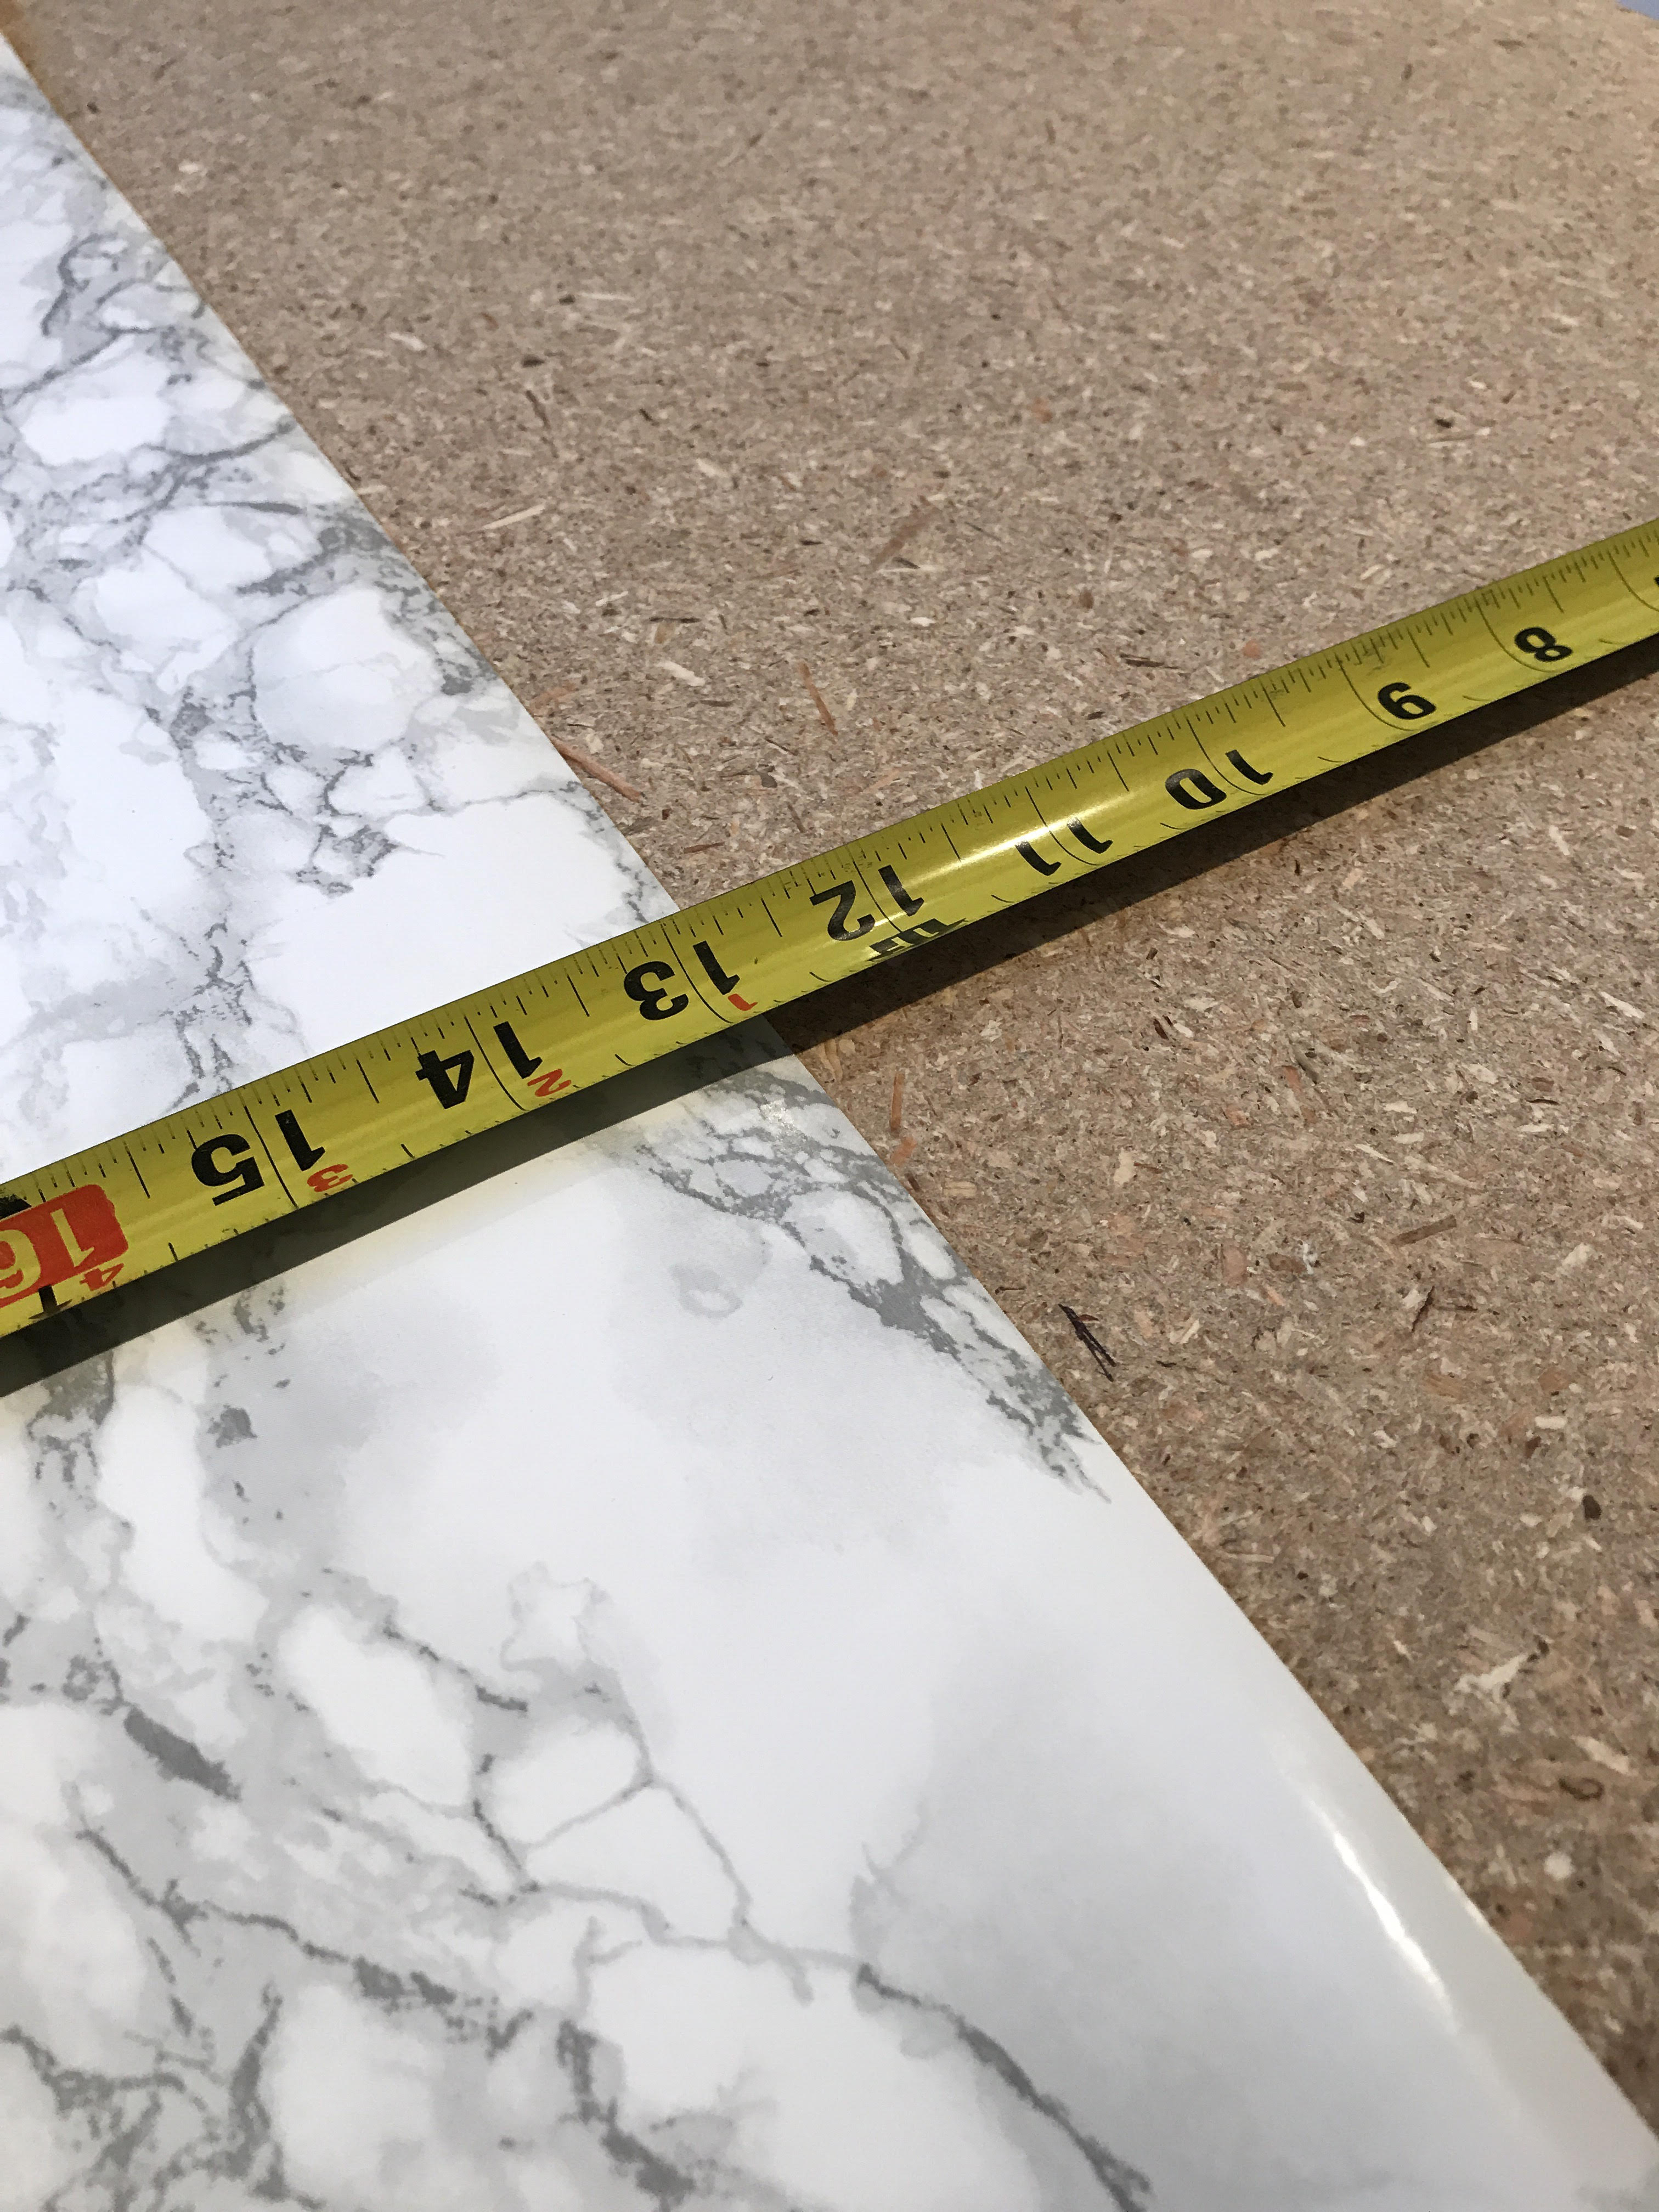
Begin by measuring your surface area. Since the width of our island was larger then the roll, we had the “seam” of the contact paper meet right down middle.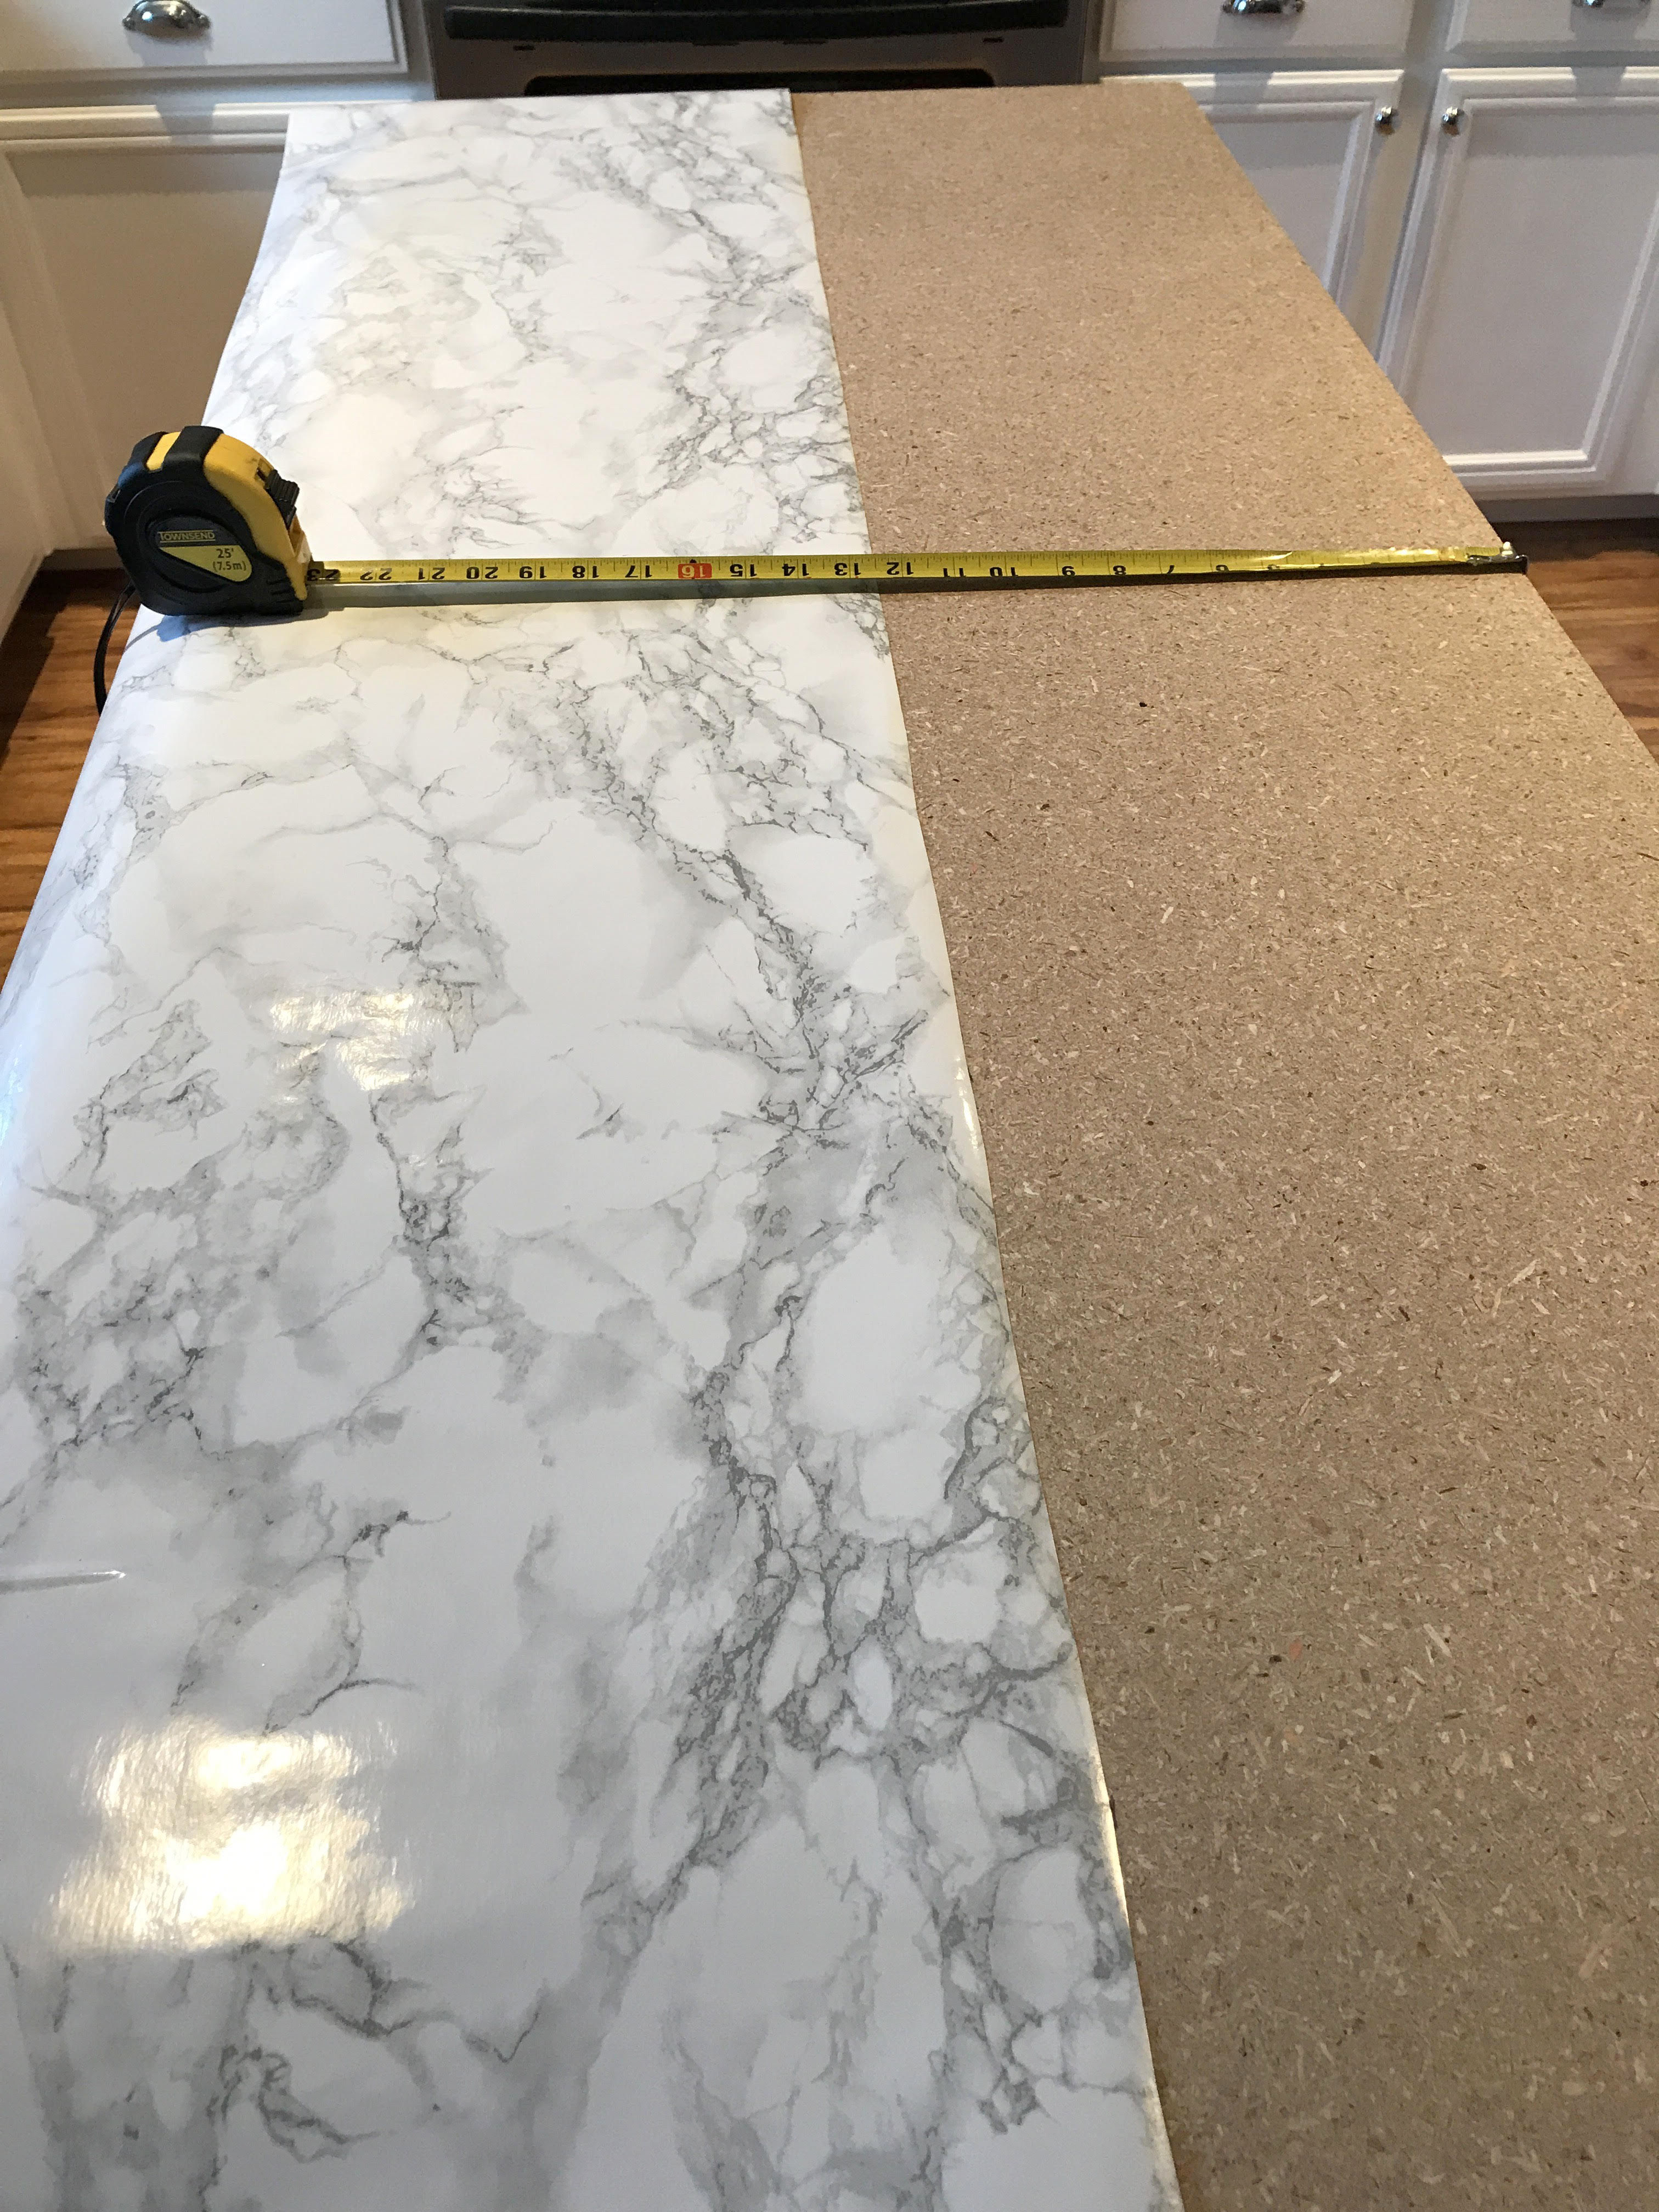
Once we determined our “Center” we marked it down the length of the island top so it provided us as a guide to keep the contact paper as straight as possible as we worked down.
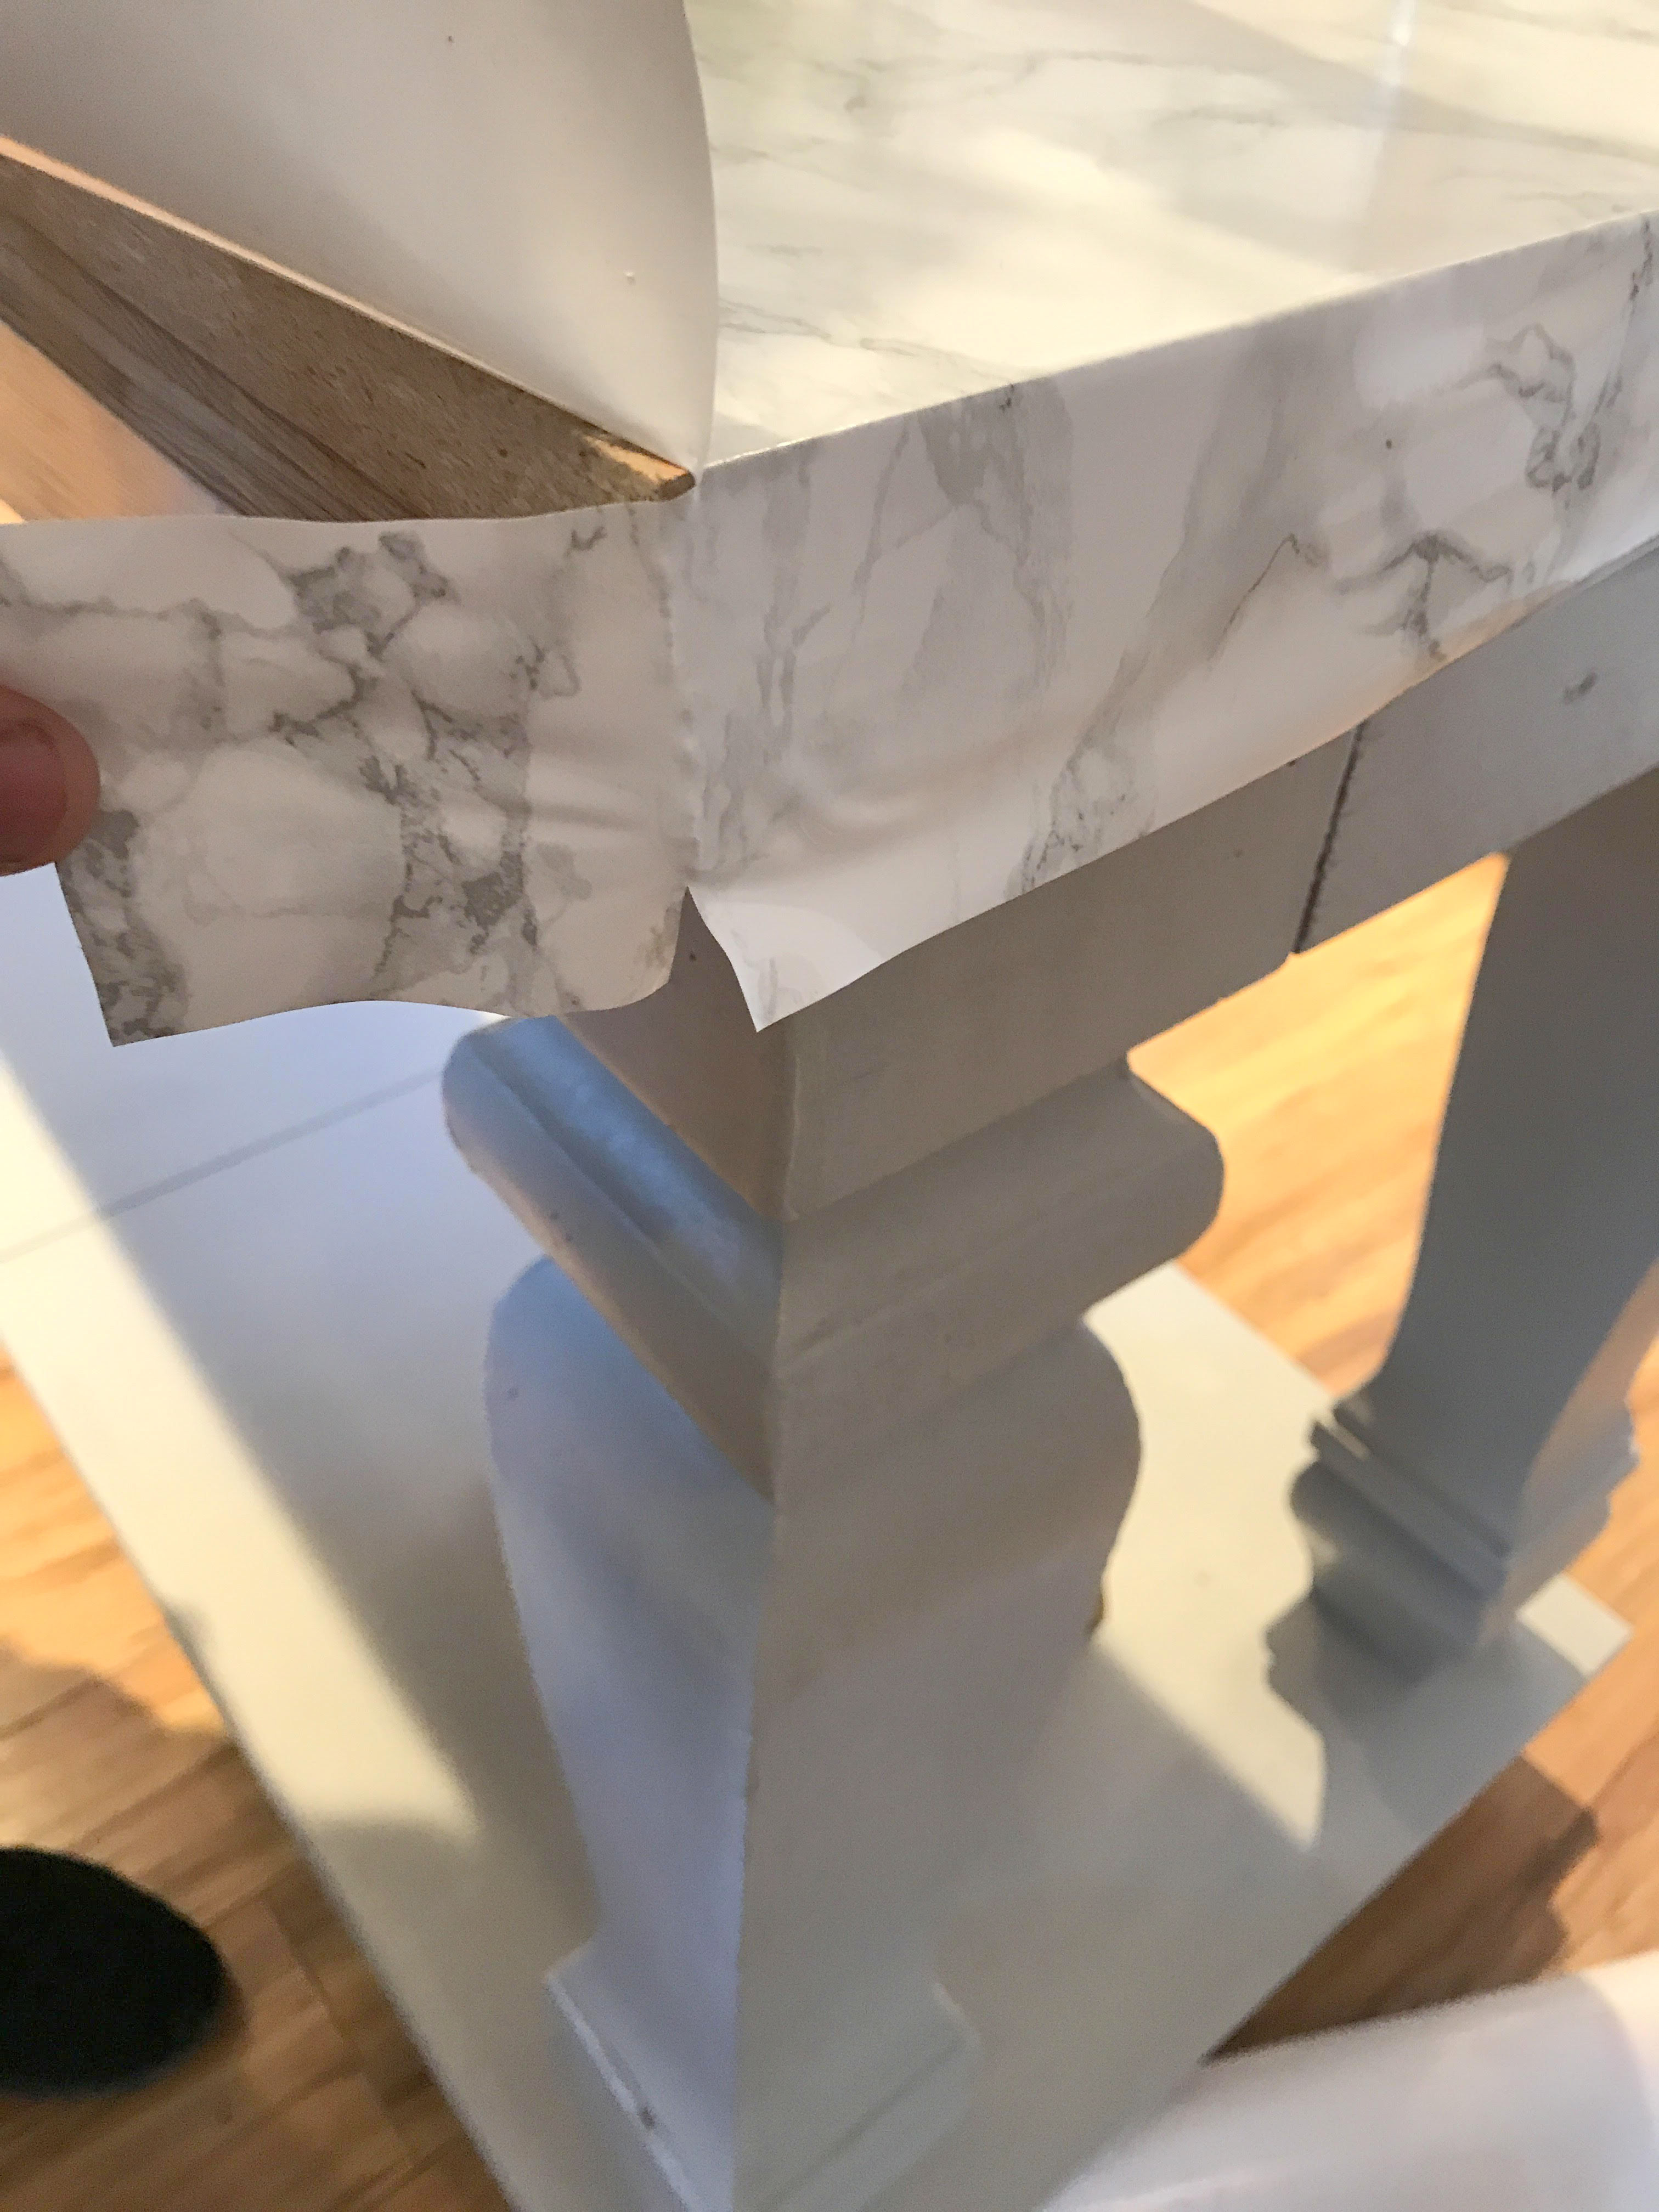
Once all our markings were down the center, next we had to trim the the overhanging edges off (length and width). We allowed enough so that the paper wrapped around the counter edges and just tucked in the little extra on the underside of the countertop.
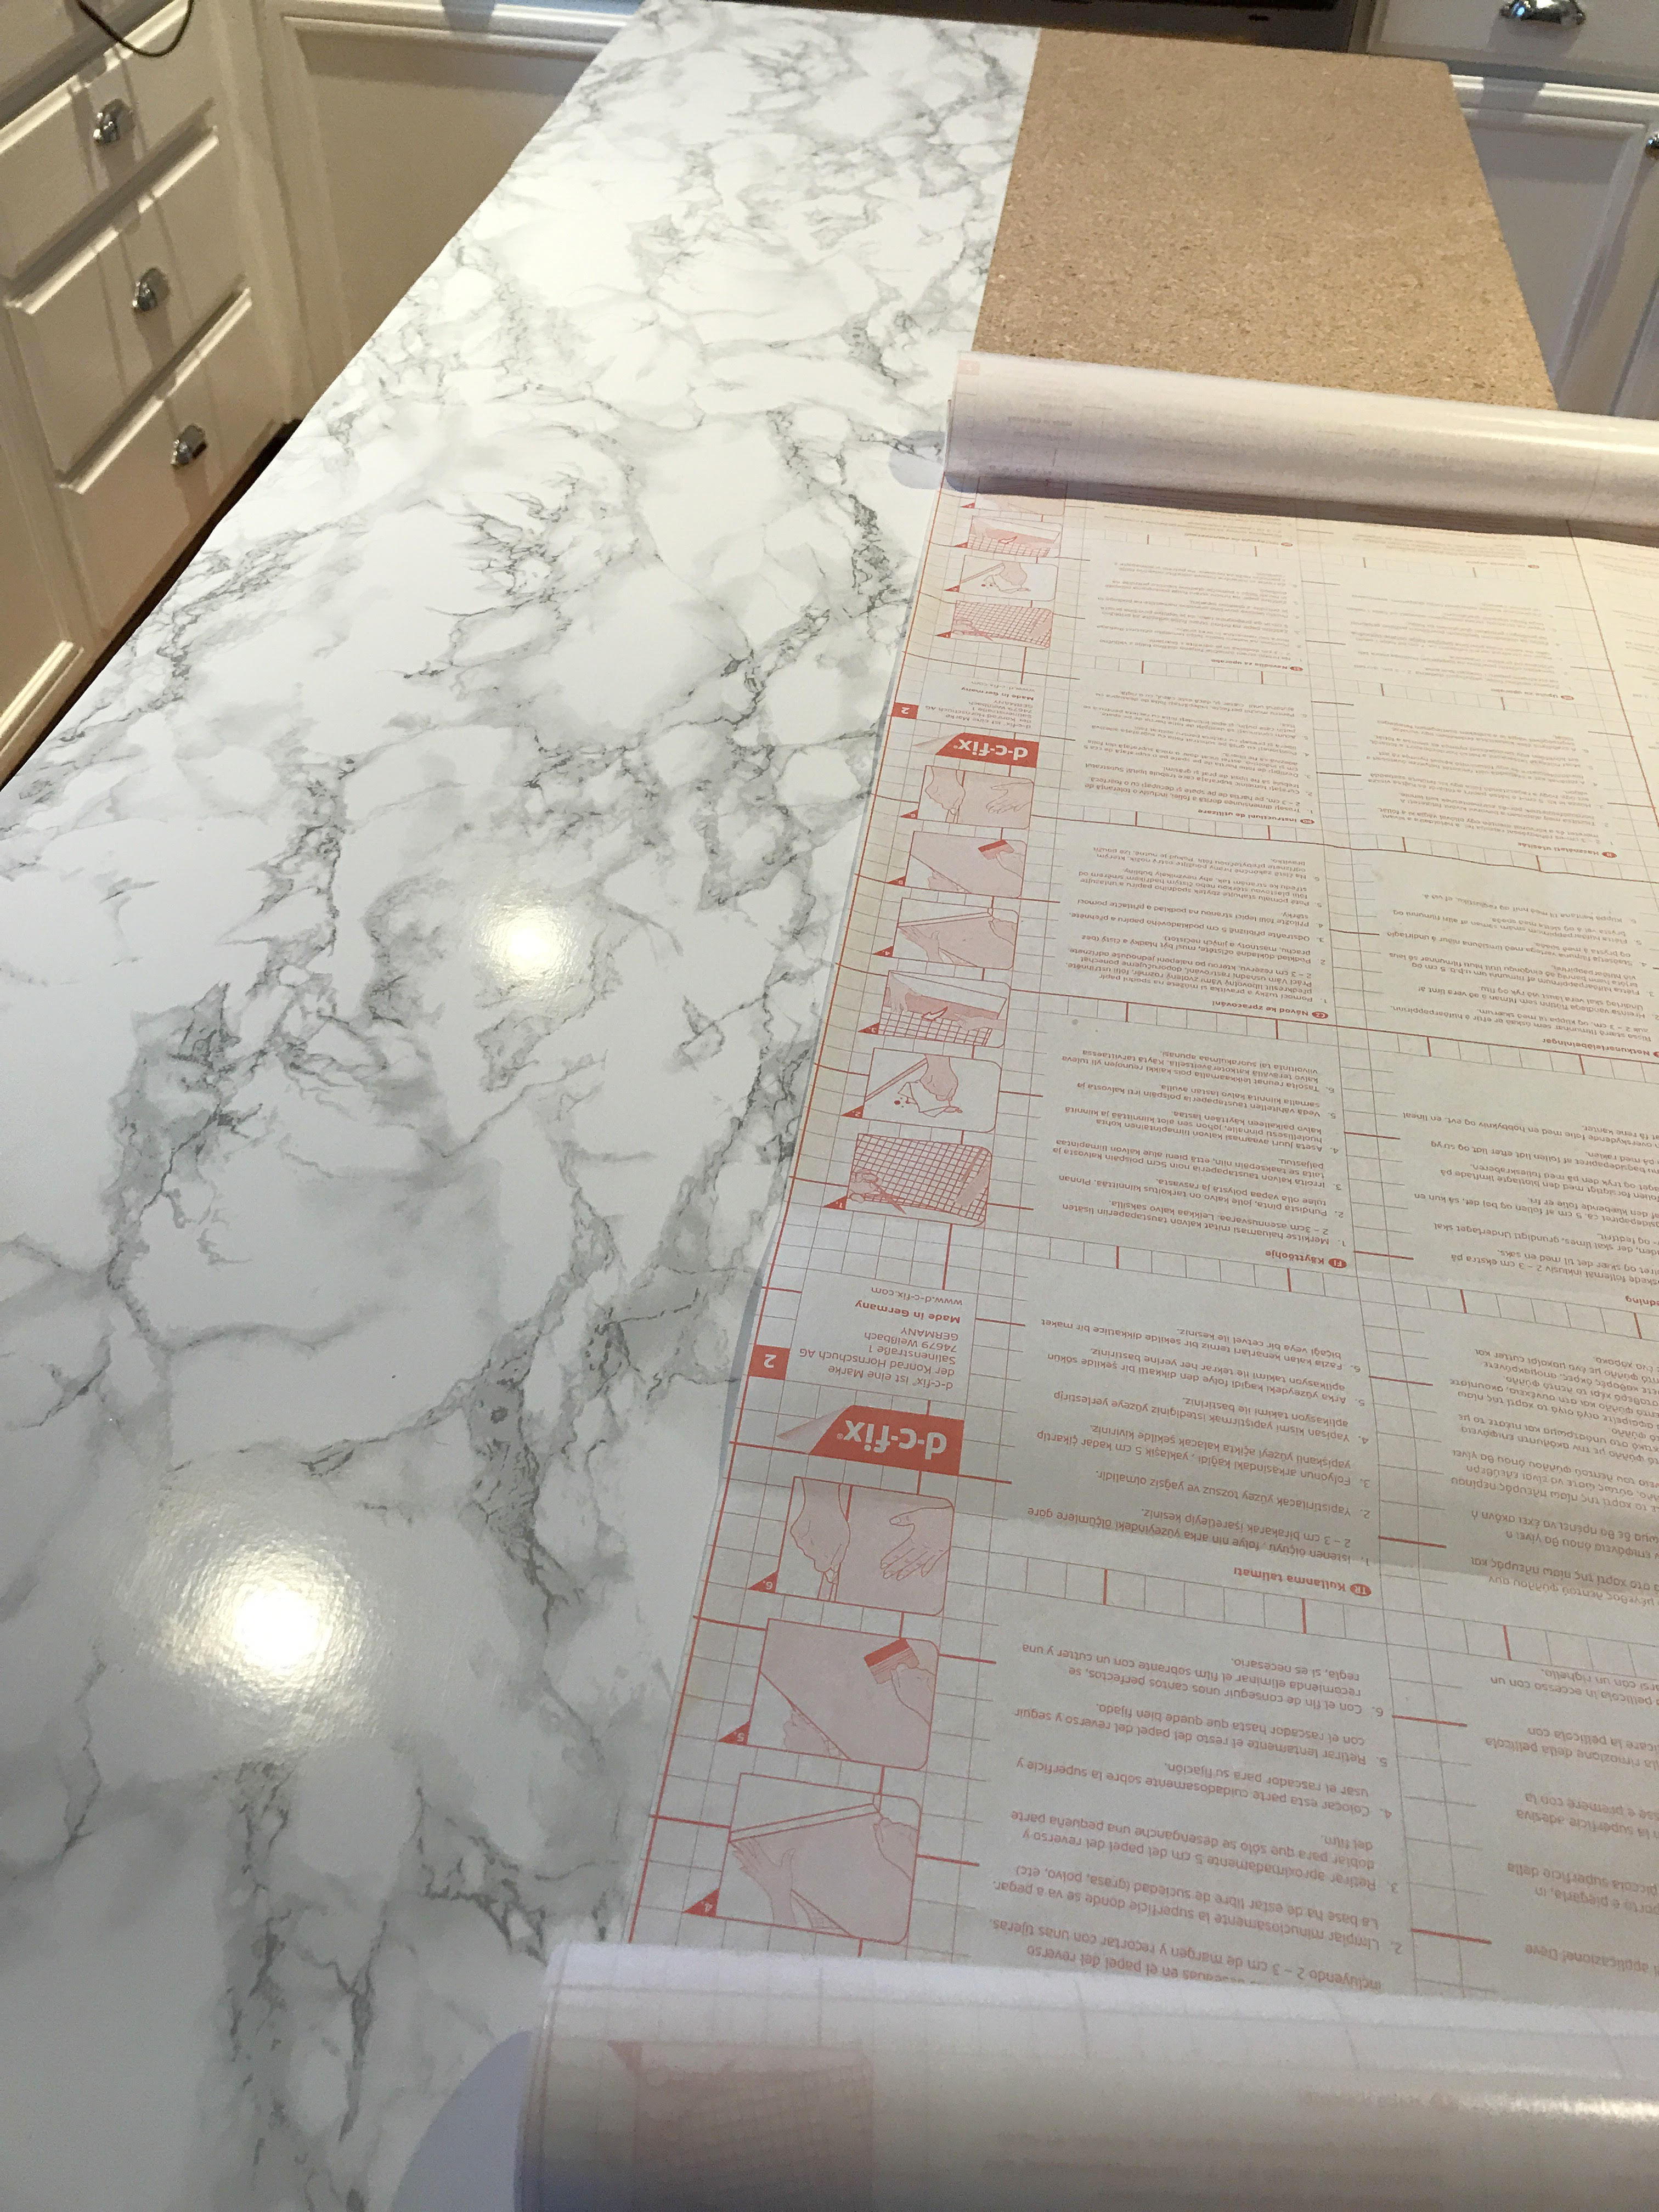
Begin by peeling the back on your first roll about 4- 6 inches and while following your markings, lay down the sticky side of the paper onto your surface. (THIS WORKS BEST AS A TWO PERSON JOB). This part can be a bit tricky, so just take your time and be patient. We found that it was best to just work in small sections at a time. Once you have the paper where you want it, begin to smooth it out with your old gift card or credit card. If you make a mistake, the paper can easily be lifted and readjusted.
NOTE: We did notice that if you lift it a few times, you lose the stickiness of the paper and depending on your surface, it can cause a build up of bumpy particles underneath.
Work your way all the way down, peeling back and smoothing as you go.
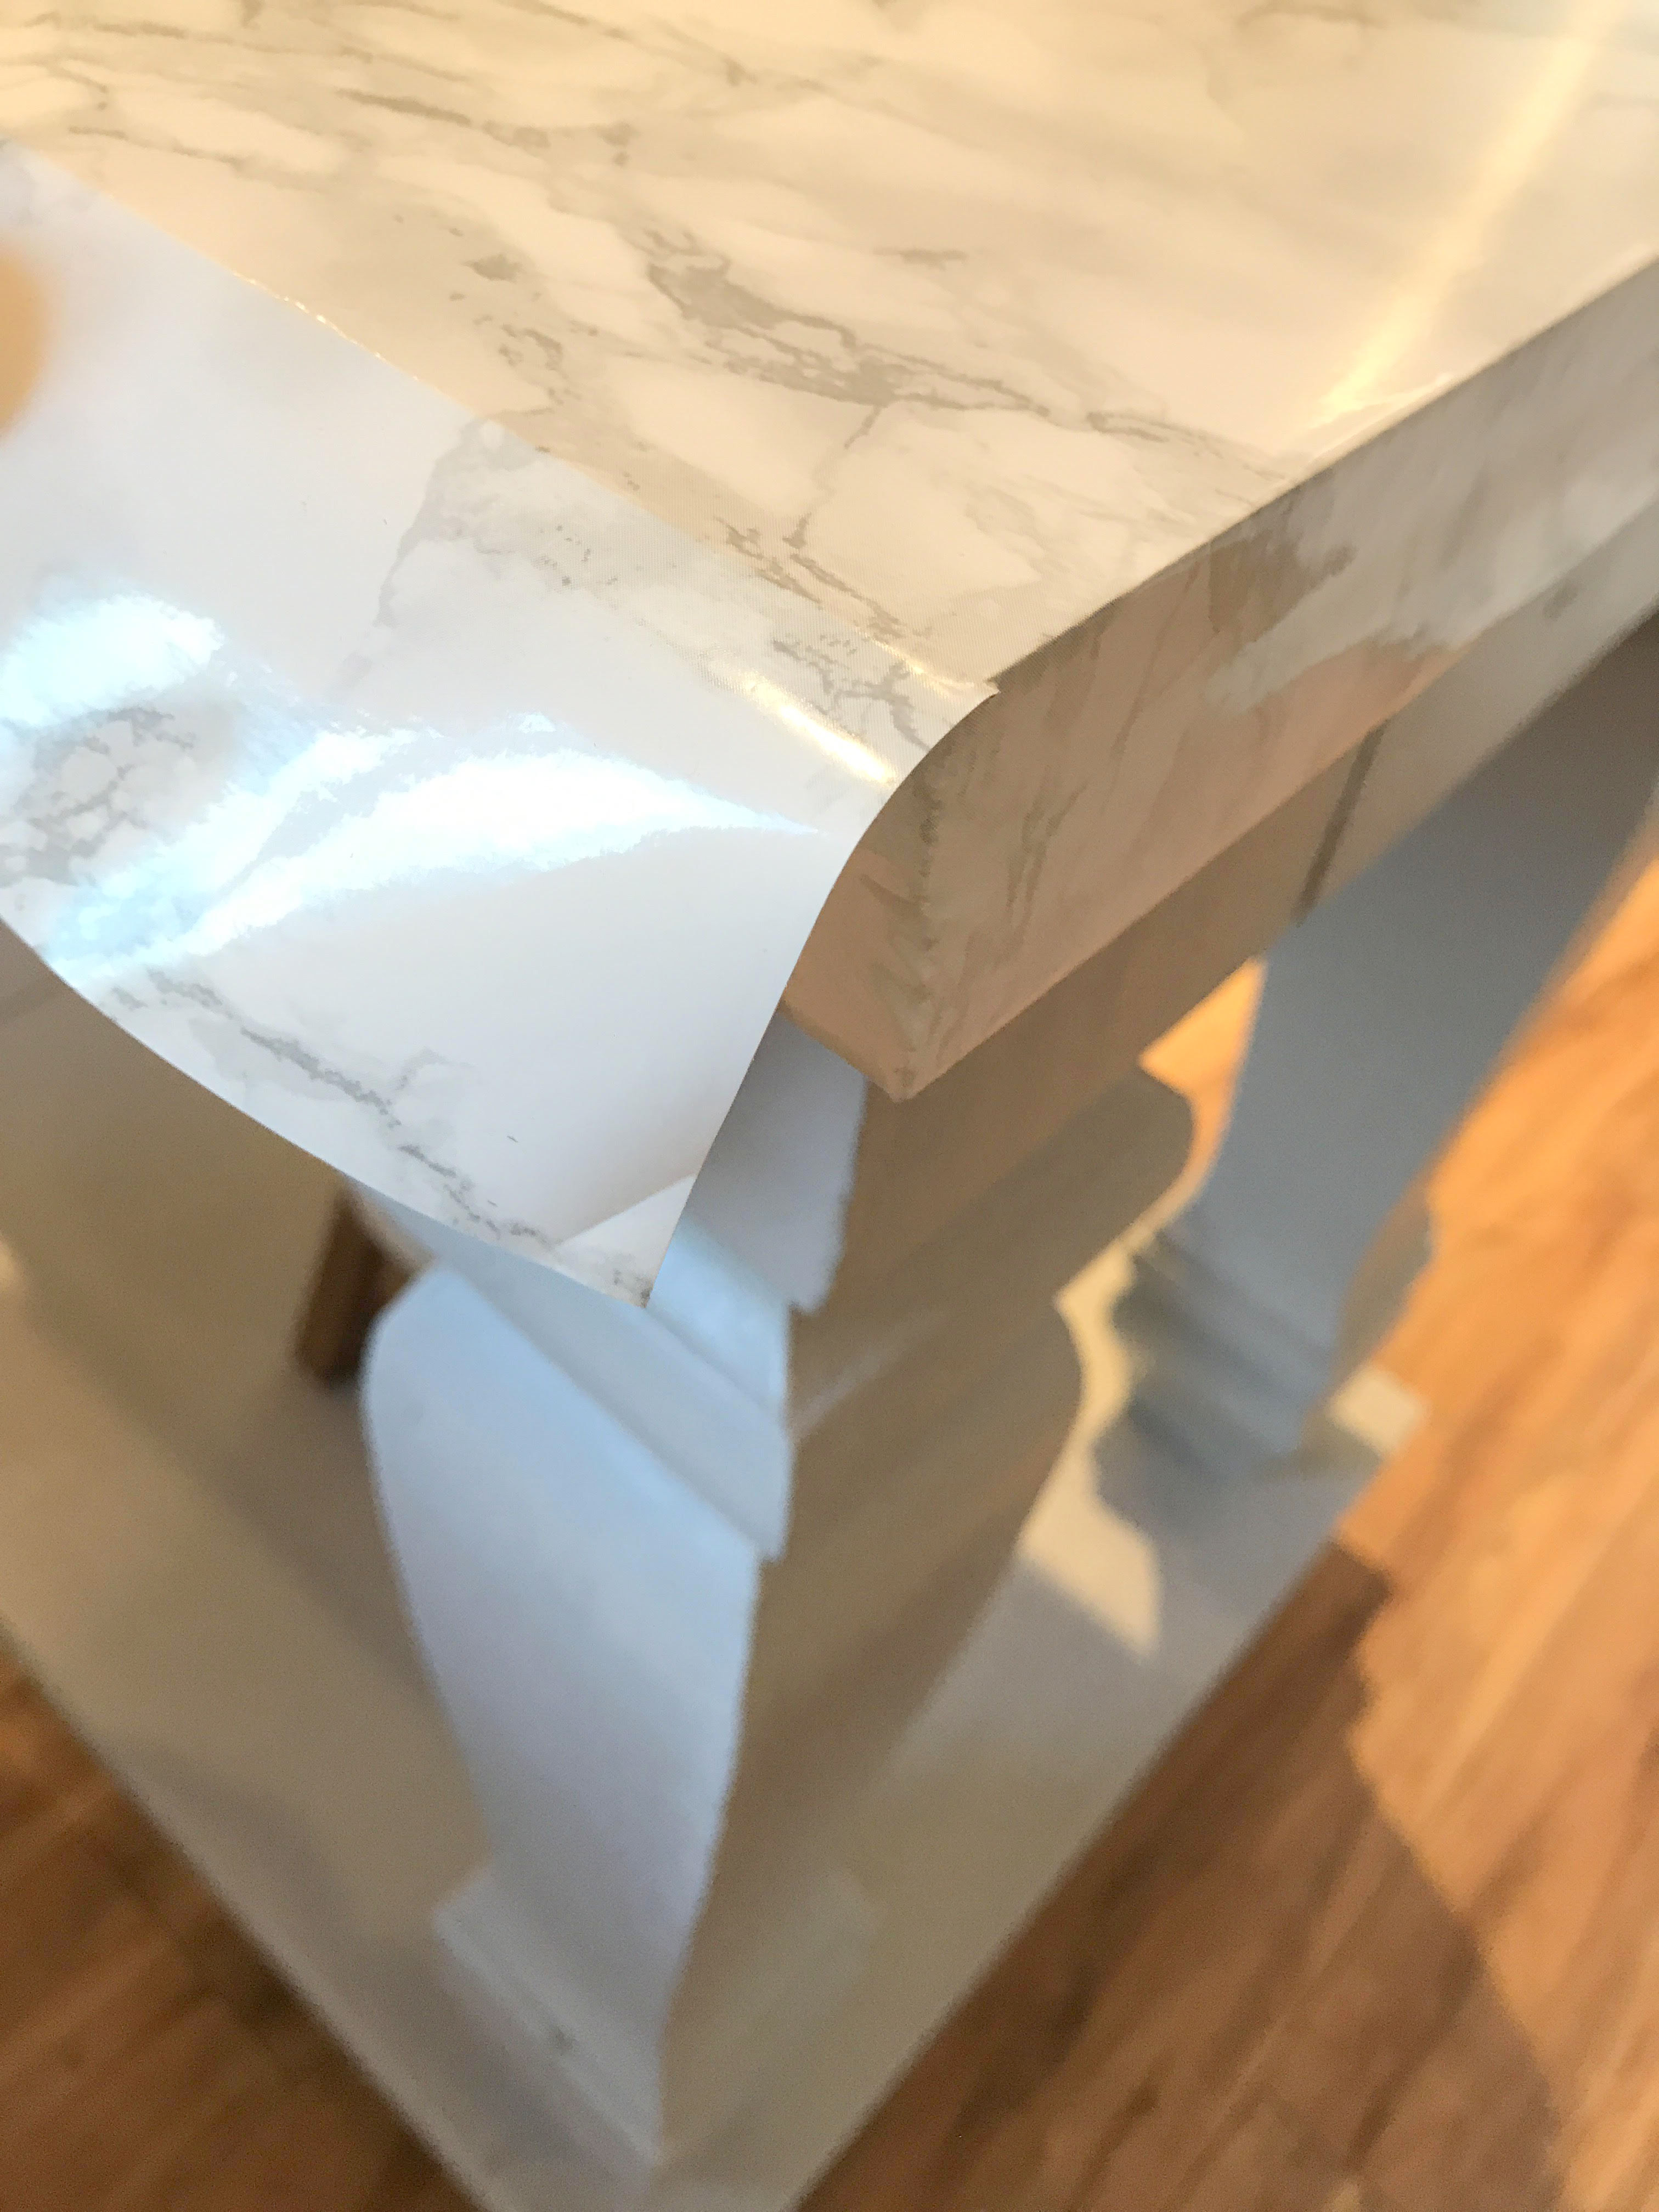
CORNERS: When you get to the corners, we cut two slits so that it created a nice seam on the corner and used a hair dryer to help it stretch the material a bit and lay down easier. This is not required, it just helps create nice, clean corners.
*BE CAREFUL NOT TO OVERHEAT OR OVERSTRETCH or it will warp the paper (This was a lesson we had to learn the hard way)*
After the first roll was applied, we just duplicated the cutting and measuring the second roll for the other side. I used the backing that we peeled off the first row as a template to double check our measuring before we cut the second roll.
Lining up the second roll was the hardest part. TIP: Make sure that if your project calls for multiple rolls to lay side by side like ours, you only trim one side and leave the other as is so that it is much easier when it is time to line up the seams.
Keep working until your surface is covered and that’s it, you’re all done!
We have has this on our island for a few days now and so far so good! No lifting and it has held up to dry and wet items being placed on it. Keep in mind that you cannot put hot items on this material 🙂
So happy that we spent the $20 on this material, it creates the high end look that we were going for but for a fraction of the price. Maybe down the line we will invest in a real marble top, but for right now it is functional and it looks incredible. You wouldn’t know it was faux marble unless I told you or you were looking really close. It immediately brightened up our kitchen and has me thinking of what other projects we can use it on for our home.
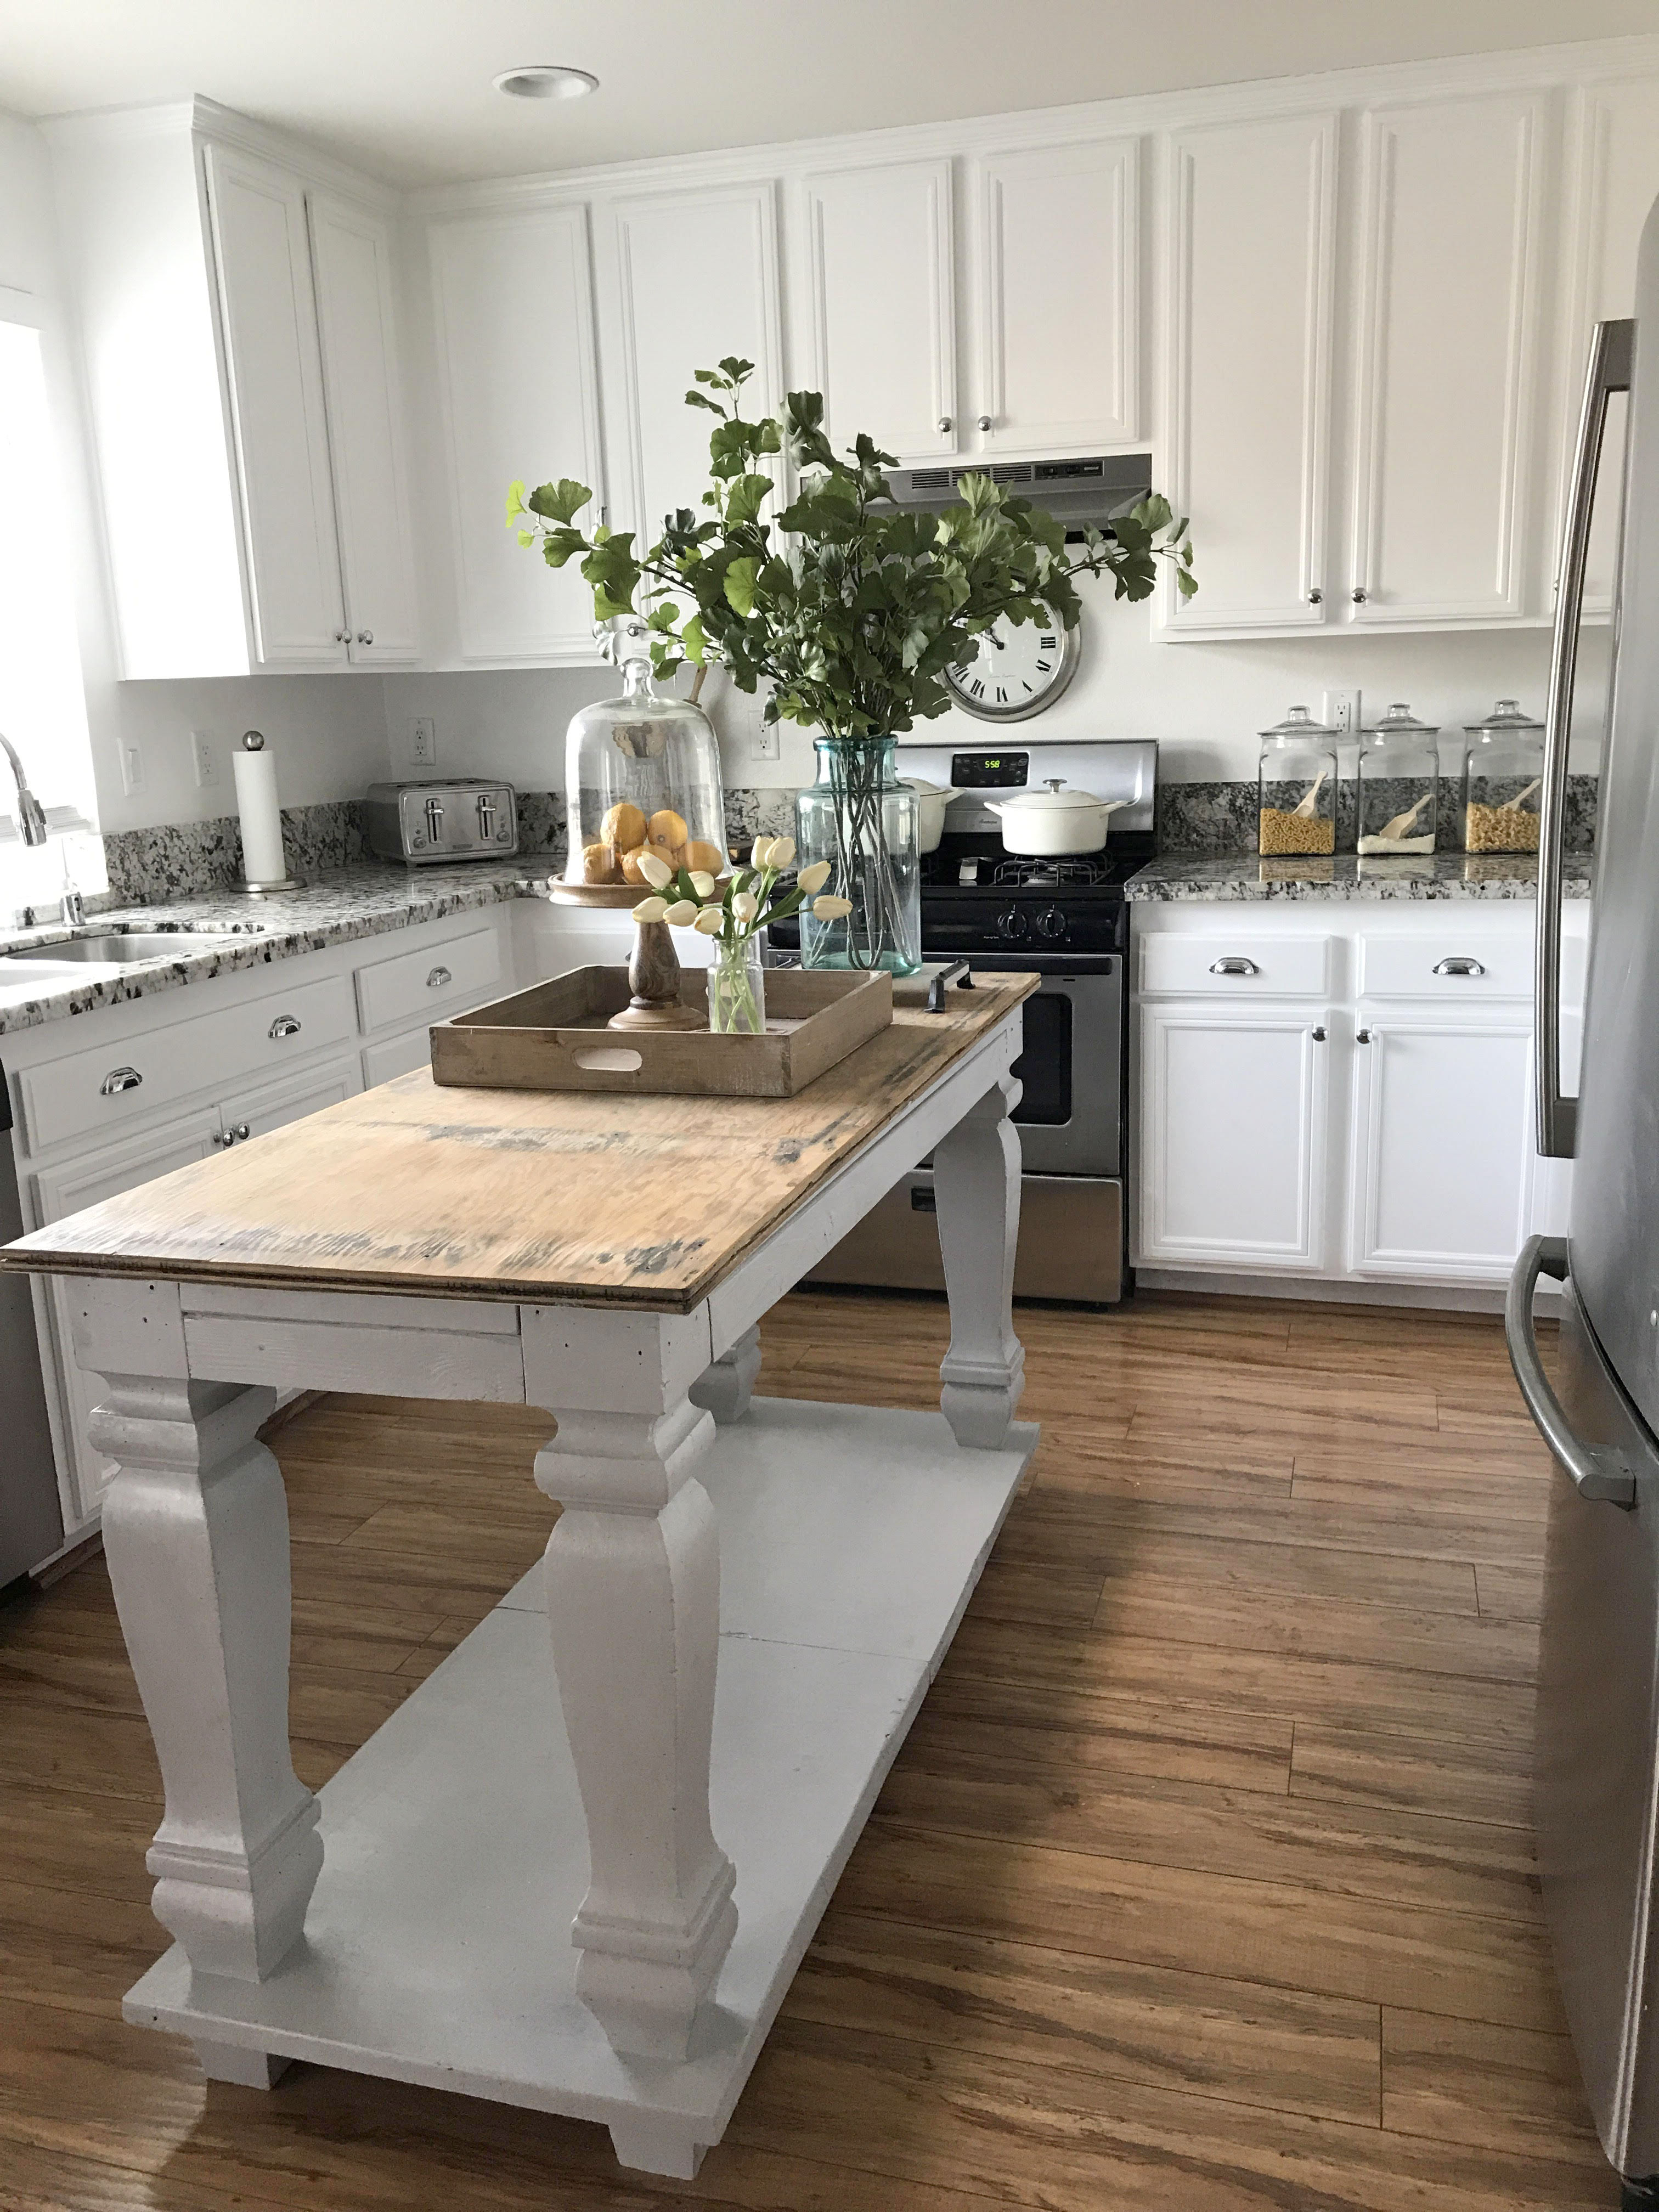
Before: We had an old piece of drafting table board on the top until we got the marble slab put on. Once we realized we weren’t doing the real marble, we added another board to give it more thickness.

