DIY IKEA RUG-PILLOW HACK

Hello Everyone!

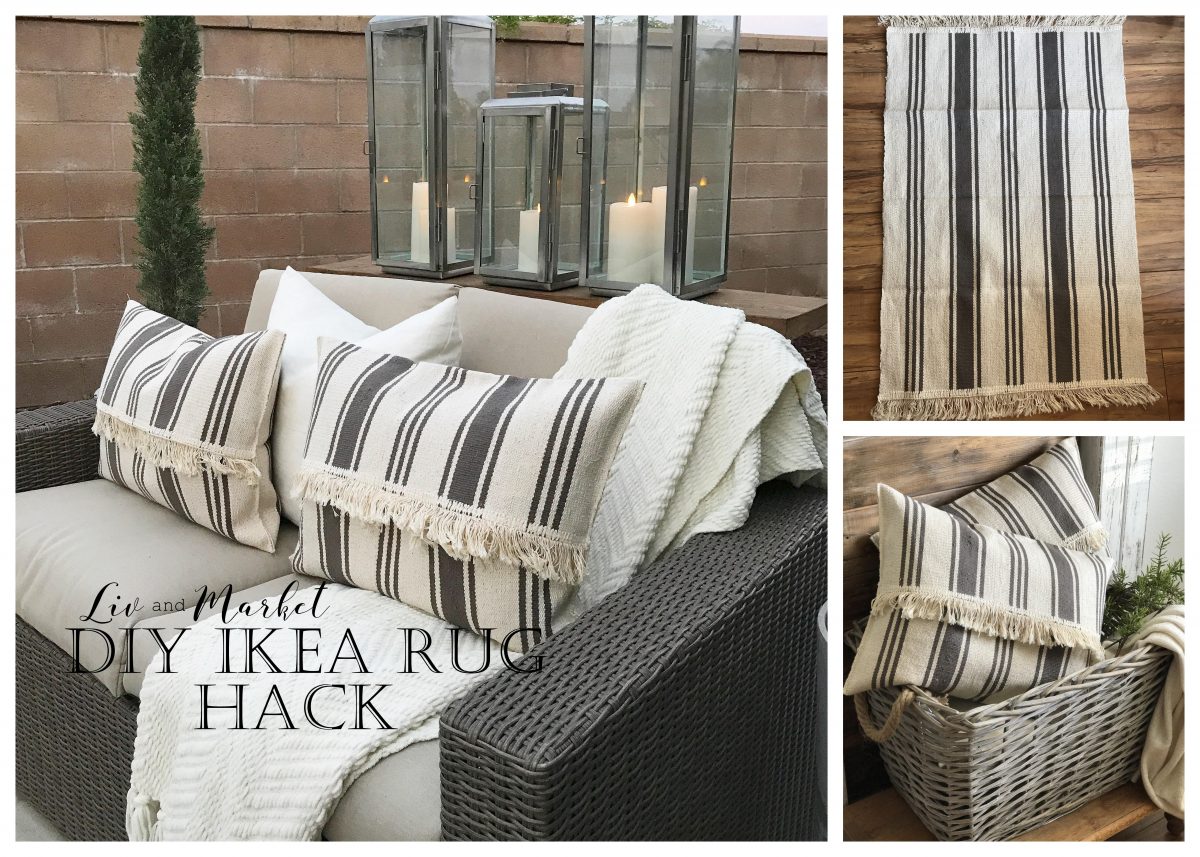
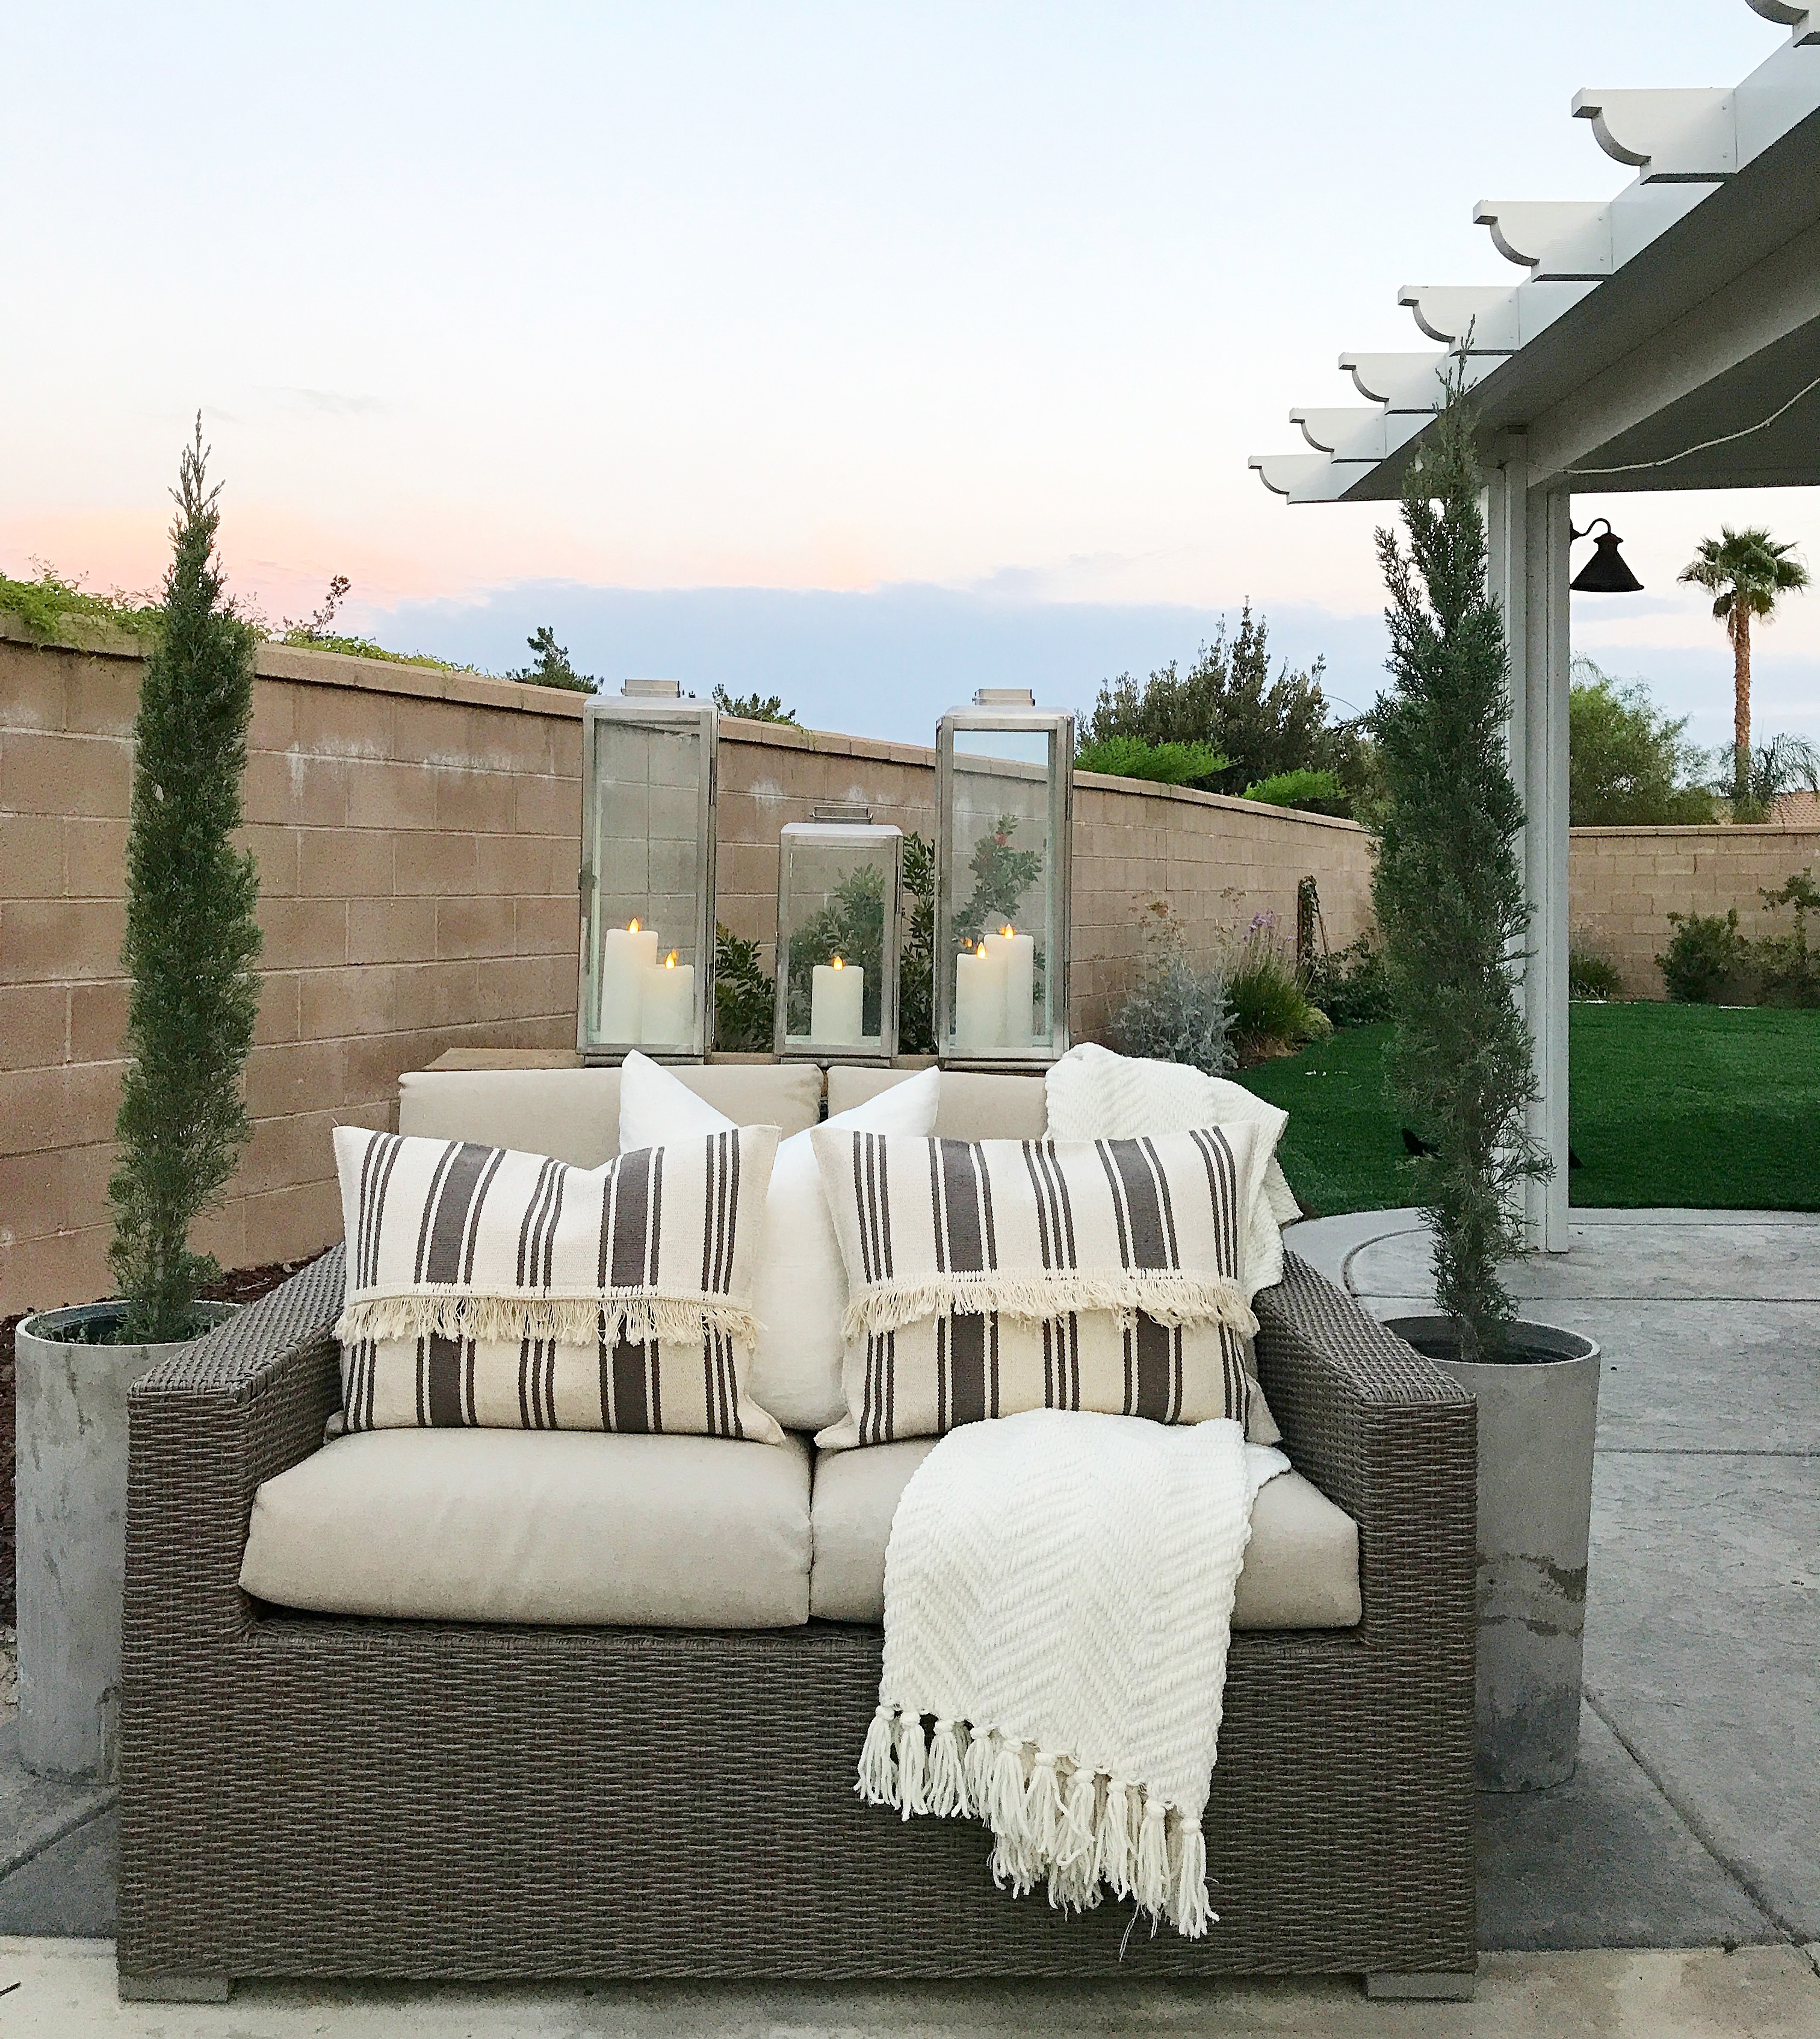
I wanted to put together a blog post to show you all how we made these fun throw pillows out of inexpensive IKEA rugs. They were pretty simple and easy it to make… and also very budget friendly (which you know we love!)

SUPPLIES NEEDED:

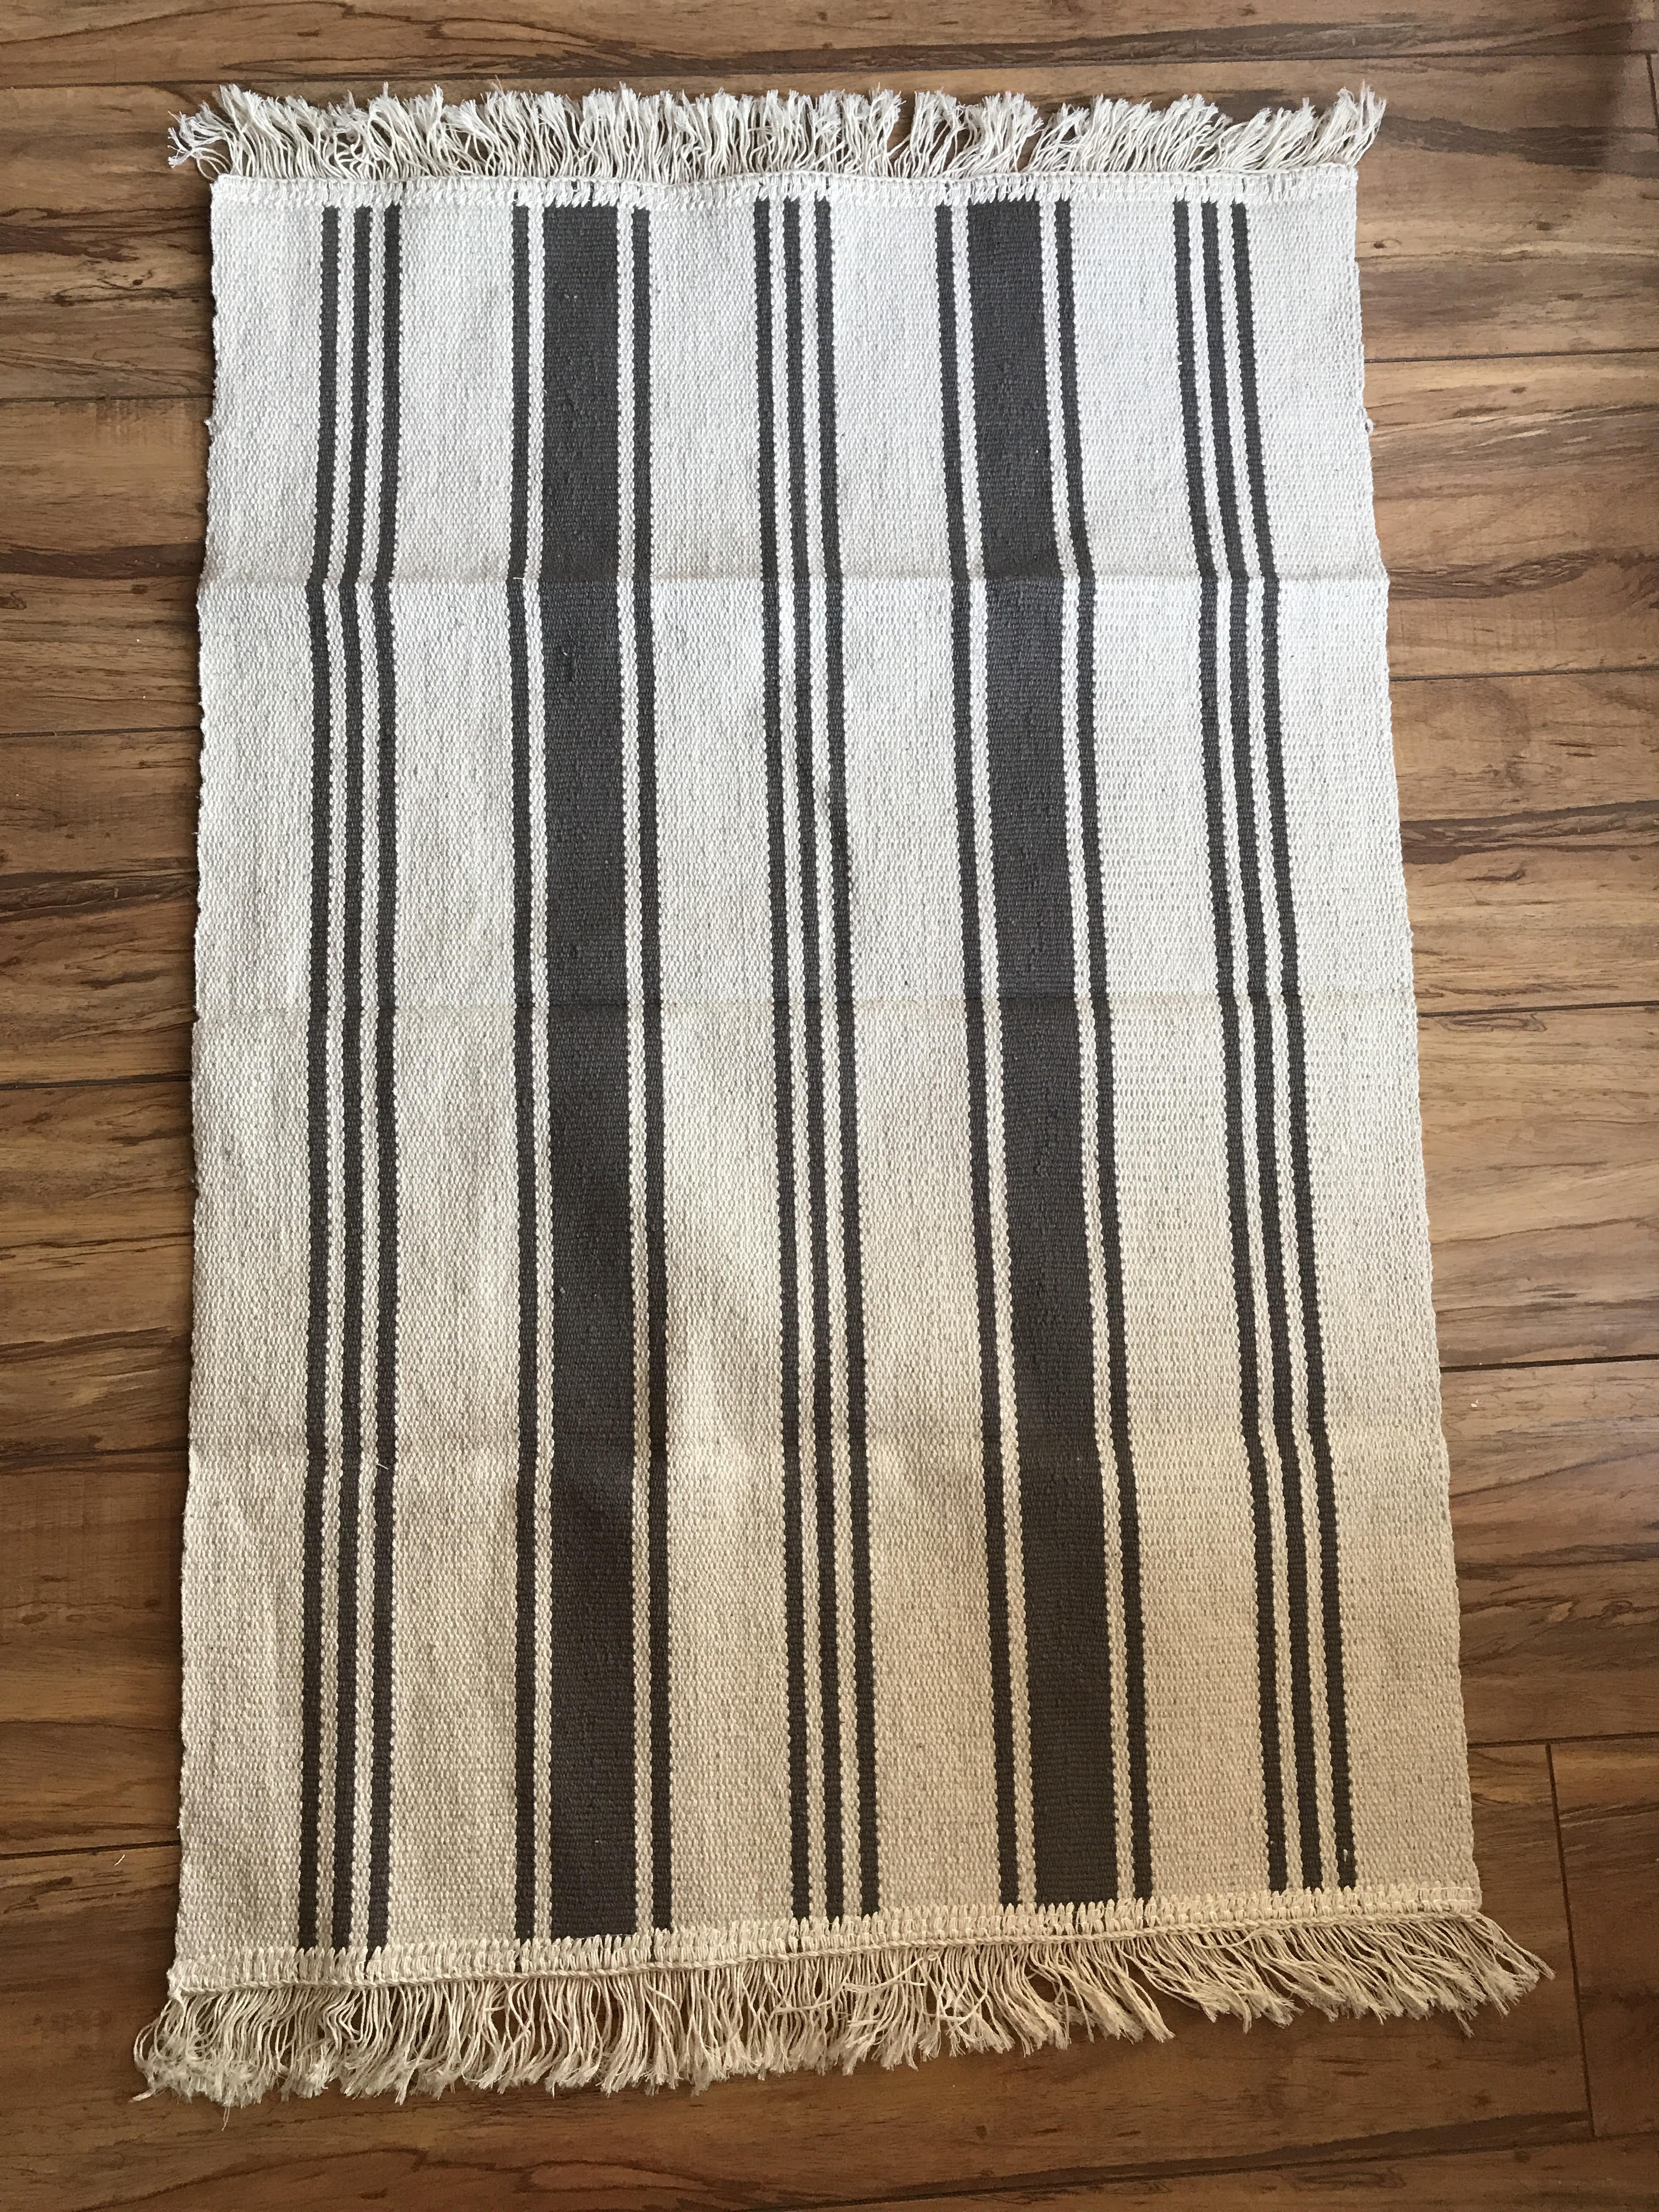
  • IKEA RUGS (1 rug makes 1 pillow cover)
  • Pillow insert (used the IKEA insert sized 16×24)
  • Sewing machine
  • White/off white thread

DIY STEPS:

I played with the design of how I wanted to make the pillows but ultimately decided to just follow the natural crease lines in the rug  and create this envelope style cover. These rugs were priced at $3.99 each at IKEA and are also available in other colors.

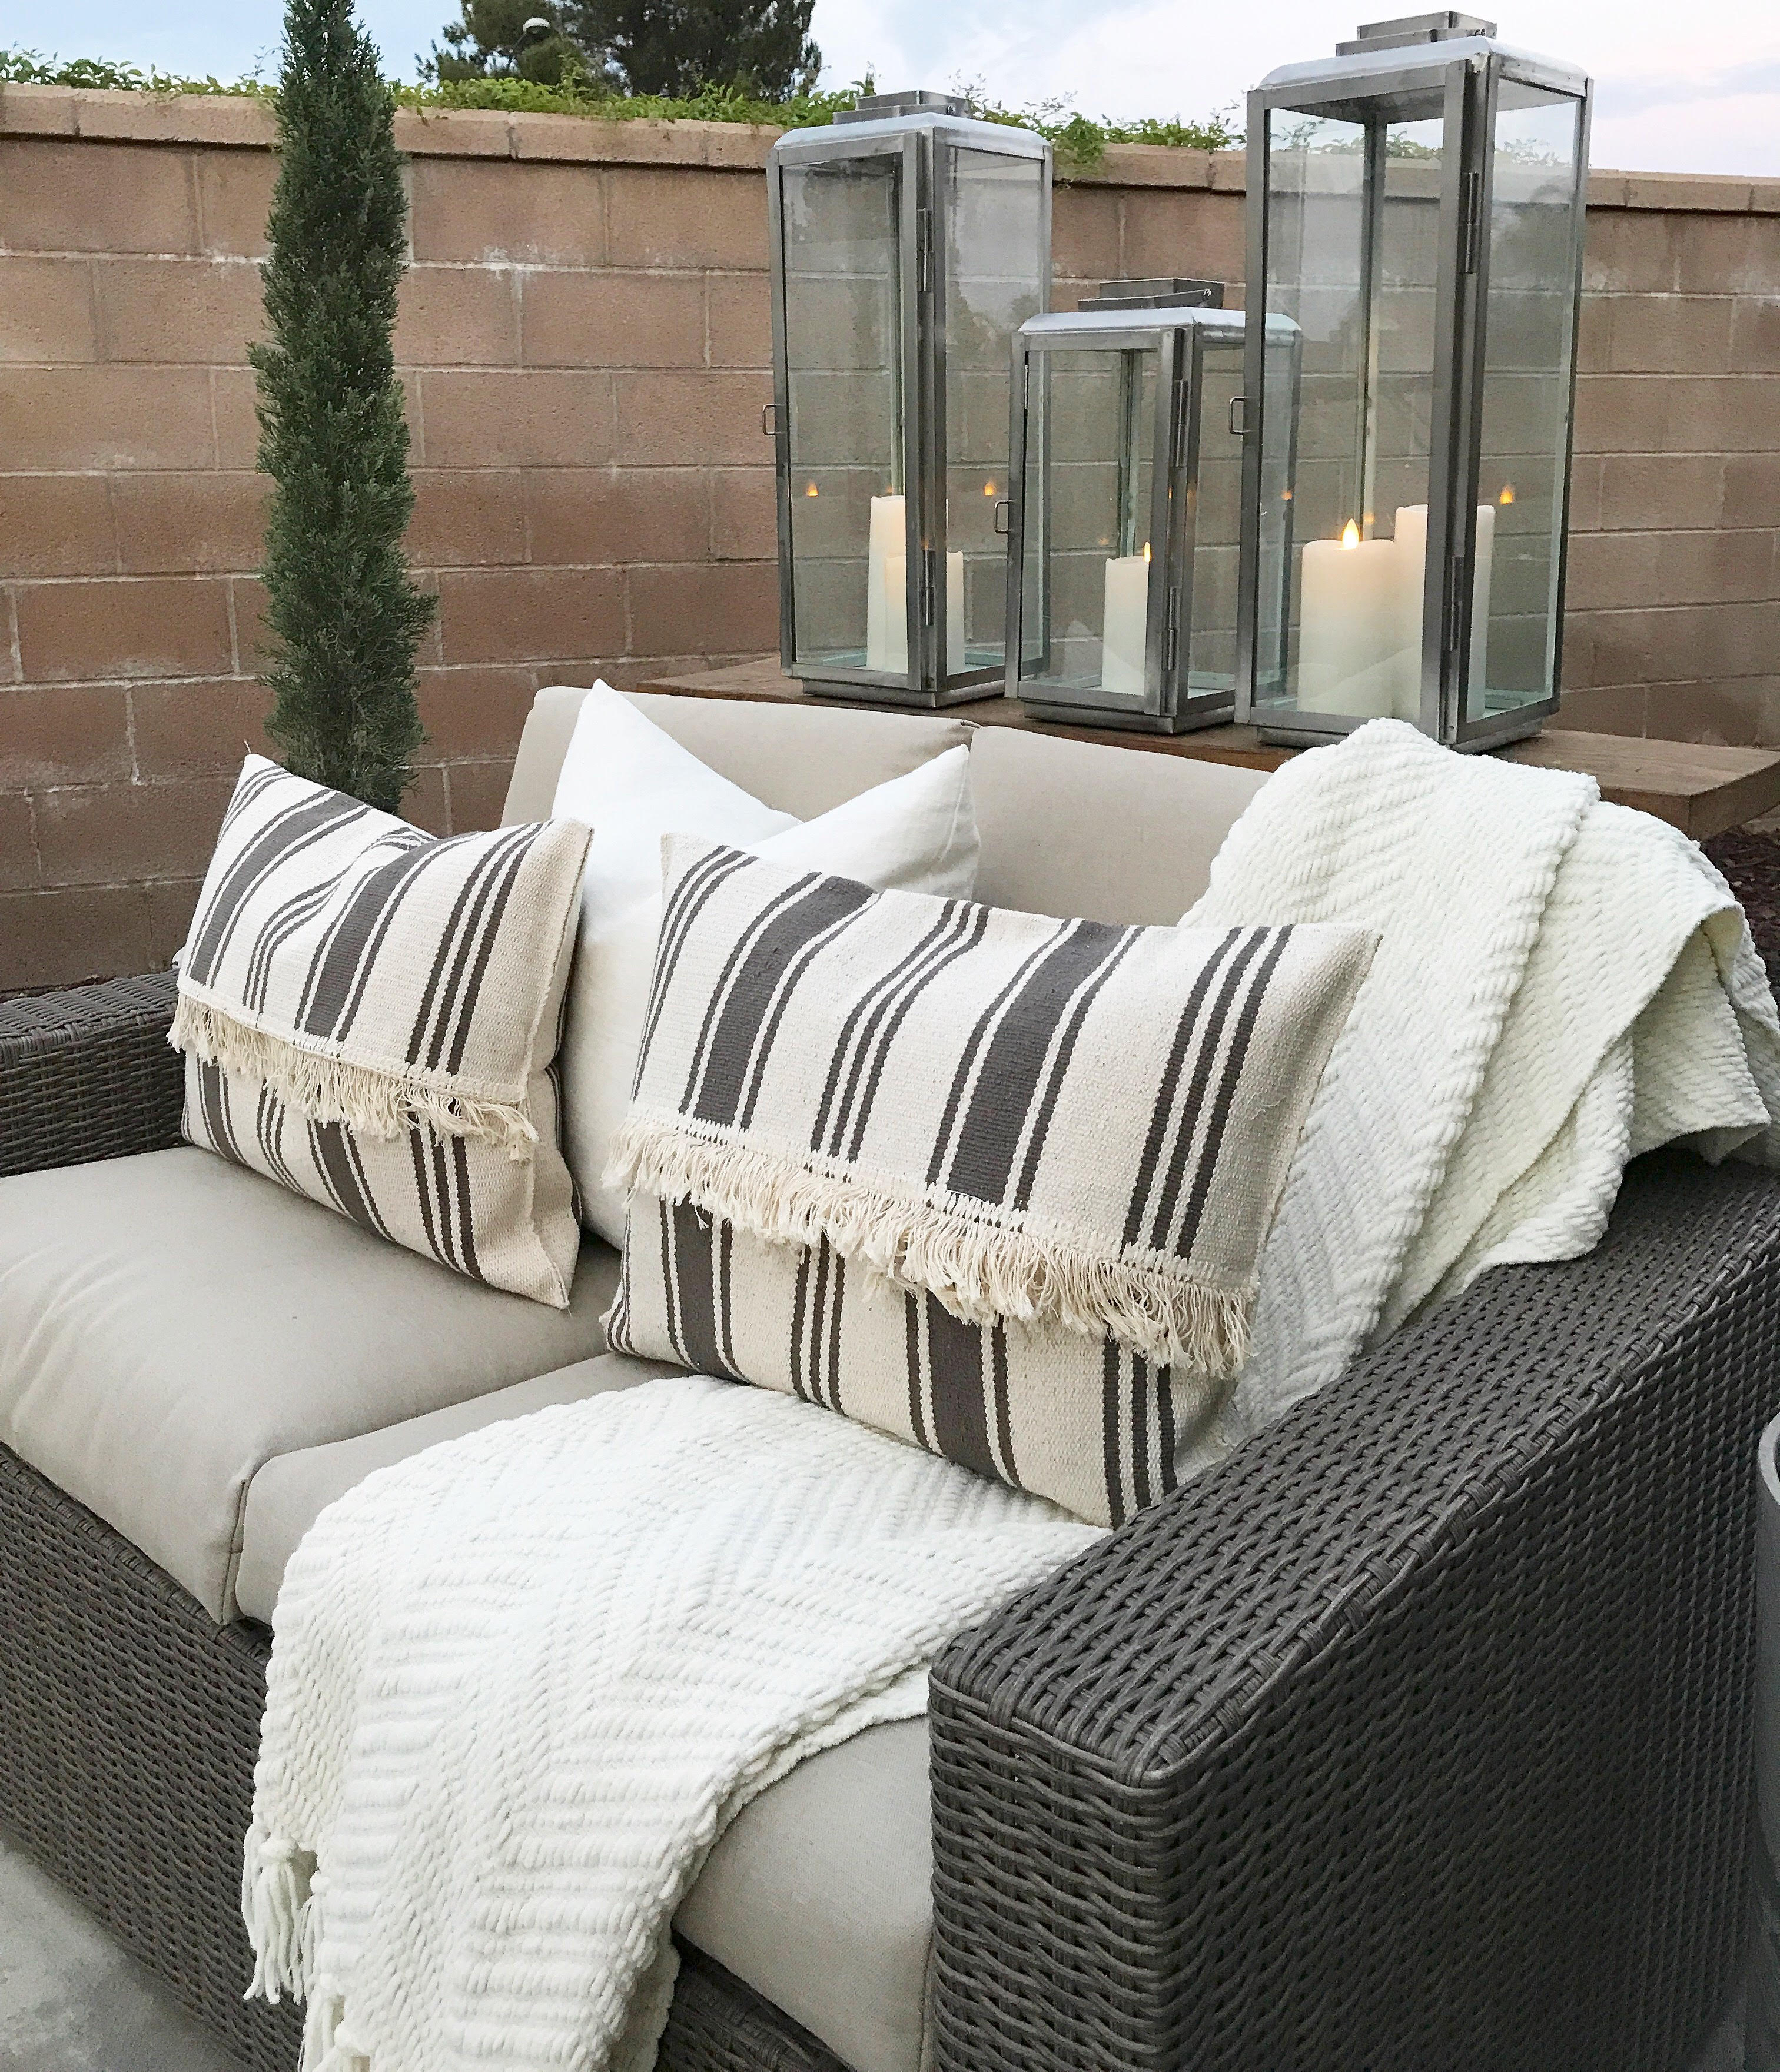
I ultimately decided on the dark grey/brown rug, as I wanted to use them for our outdoor space. I didn’t want to invest a lot of money in outdoor pillows since our area gets up to some pretty high temps and fabric is easily destroyed by the heat. Yet, I still wanted to try to make something on the more durable end, so by using the rug as my “fabric” they not only look great but will also hold up to wear and tear compared to other fabrics.

Step 1:

Lay out your rug and determine your fold lines…. in this photo you can see how the natural crease lines provide an easy guide to follow.

Step 2: 

Fold over the top half of your pillow ( shown below)

Step 3: 

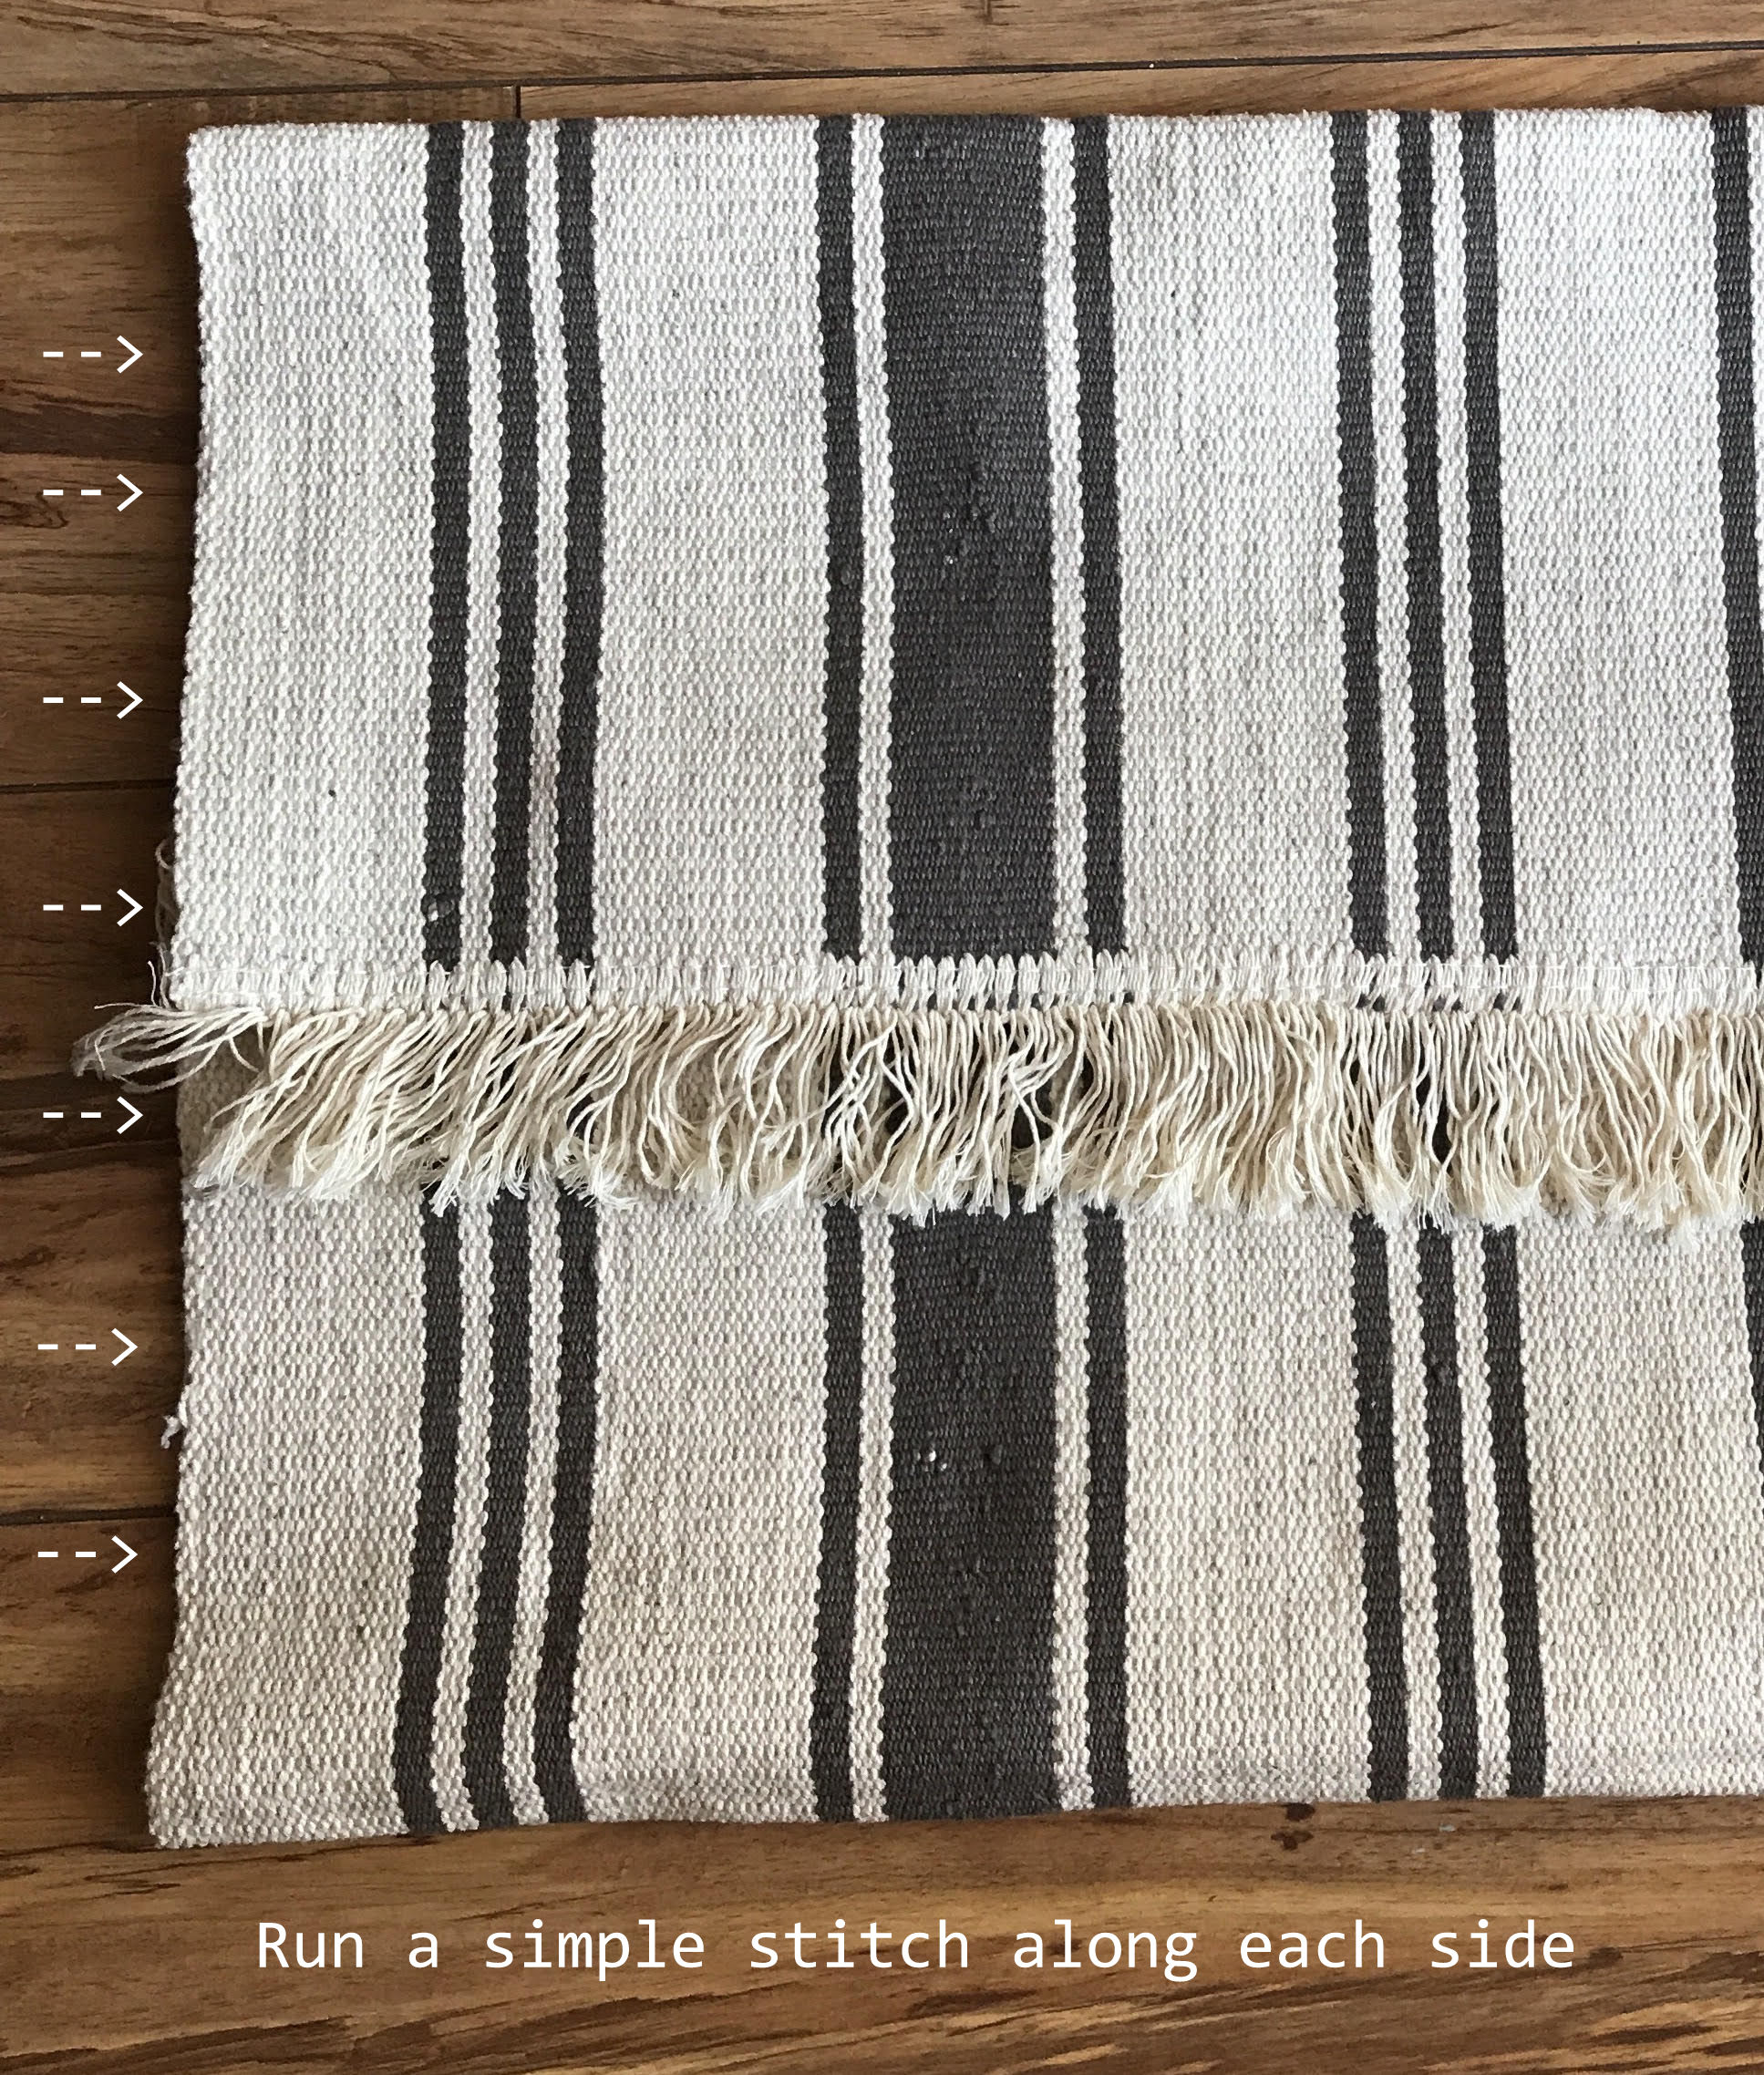
Grab the bottom fringe and fold/tuck up underneath the top flap so that only the fringe of the top fold is showing… (see photo below)

Step 4:

Break out the sewing machine  and run a single stitch all the way up each open side (one on the left, one on the right.) I used a basic white thread in my machine and it worked very well on the rug material, so I would recommend using a white or an off white thread color. If you do not own a sewing machine you can do this part by hand with a needle and thread,  it will just take MUCH longer.  (please see photo below to see where the stitch needs to go)

Step 5: 

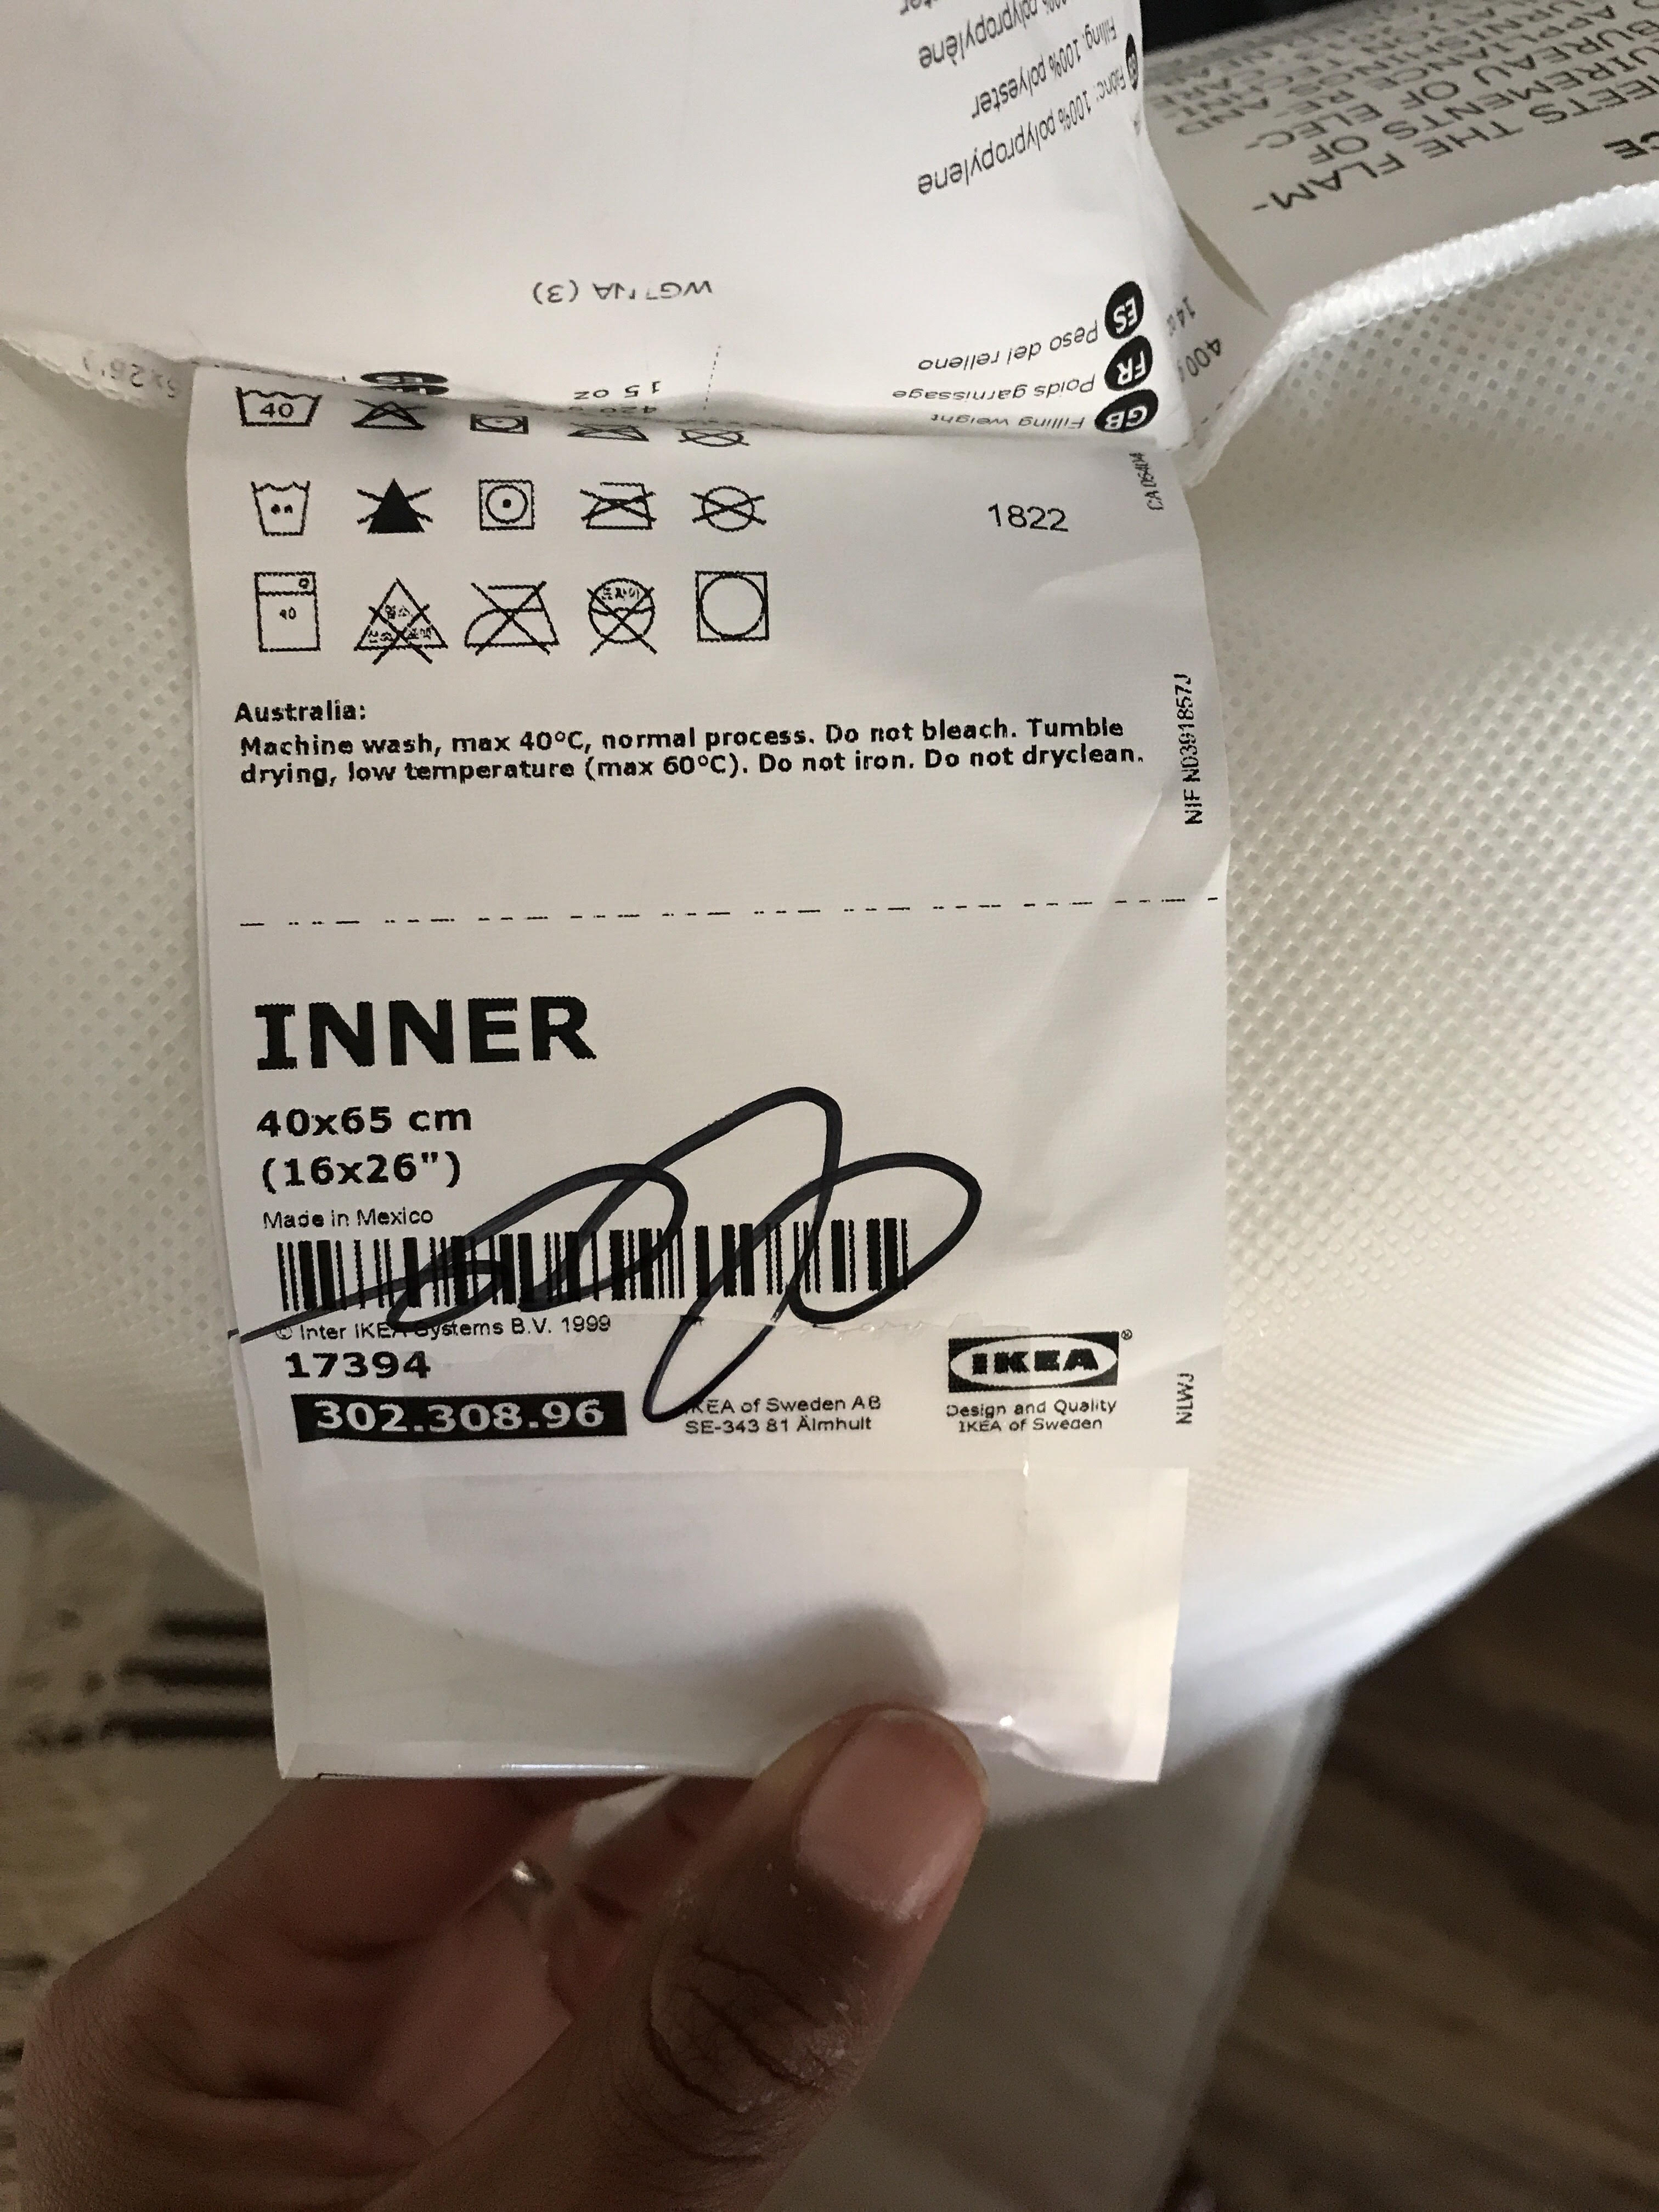
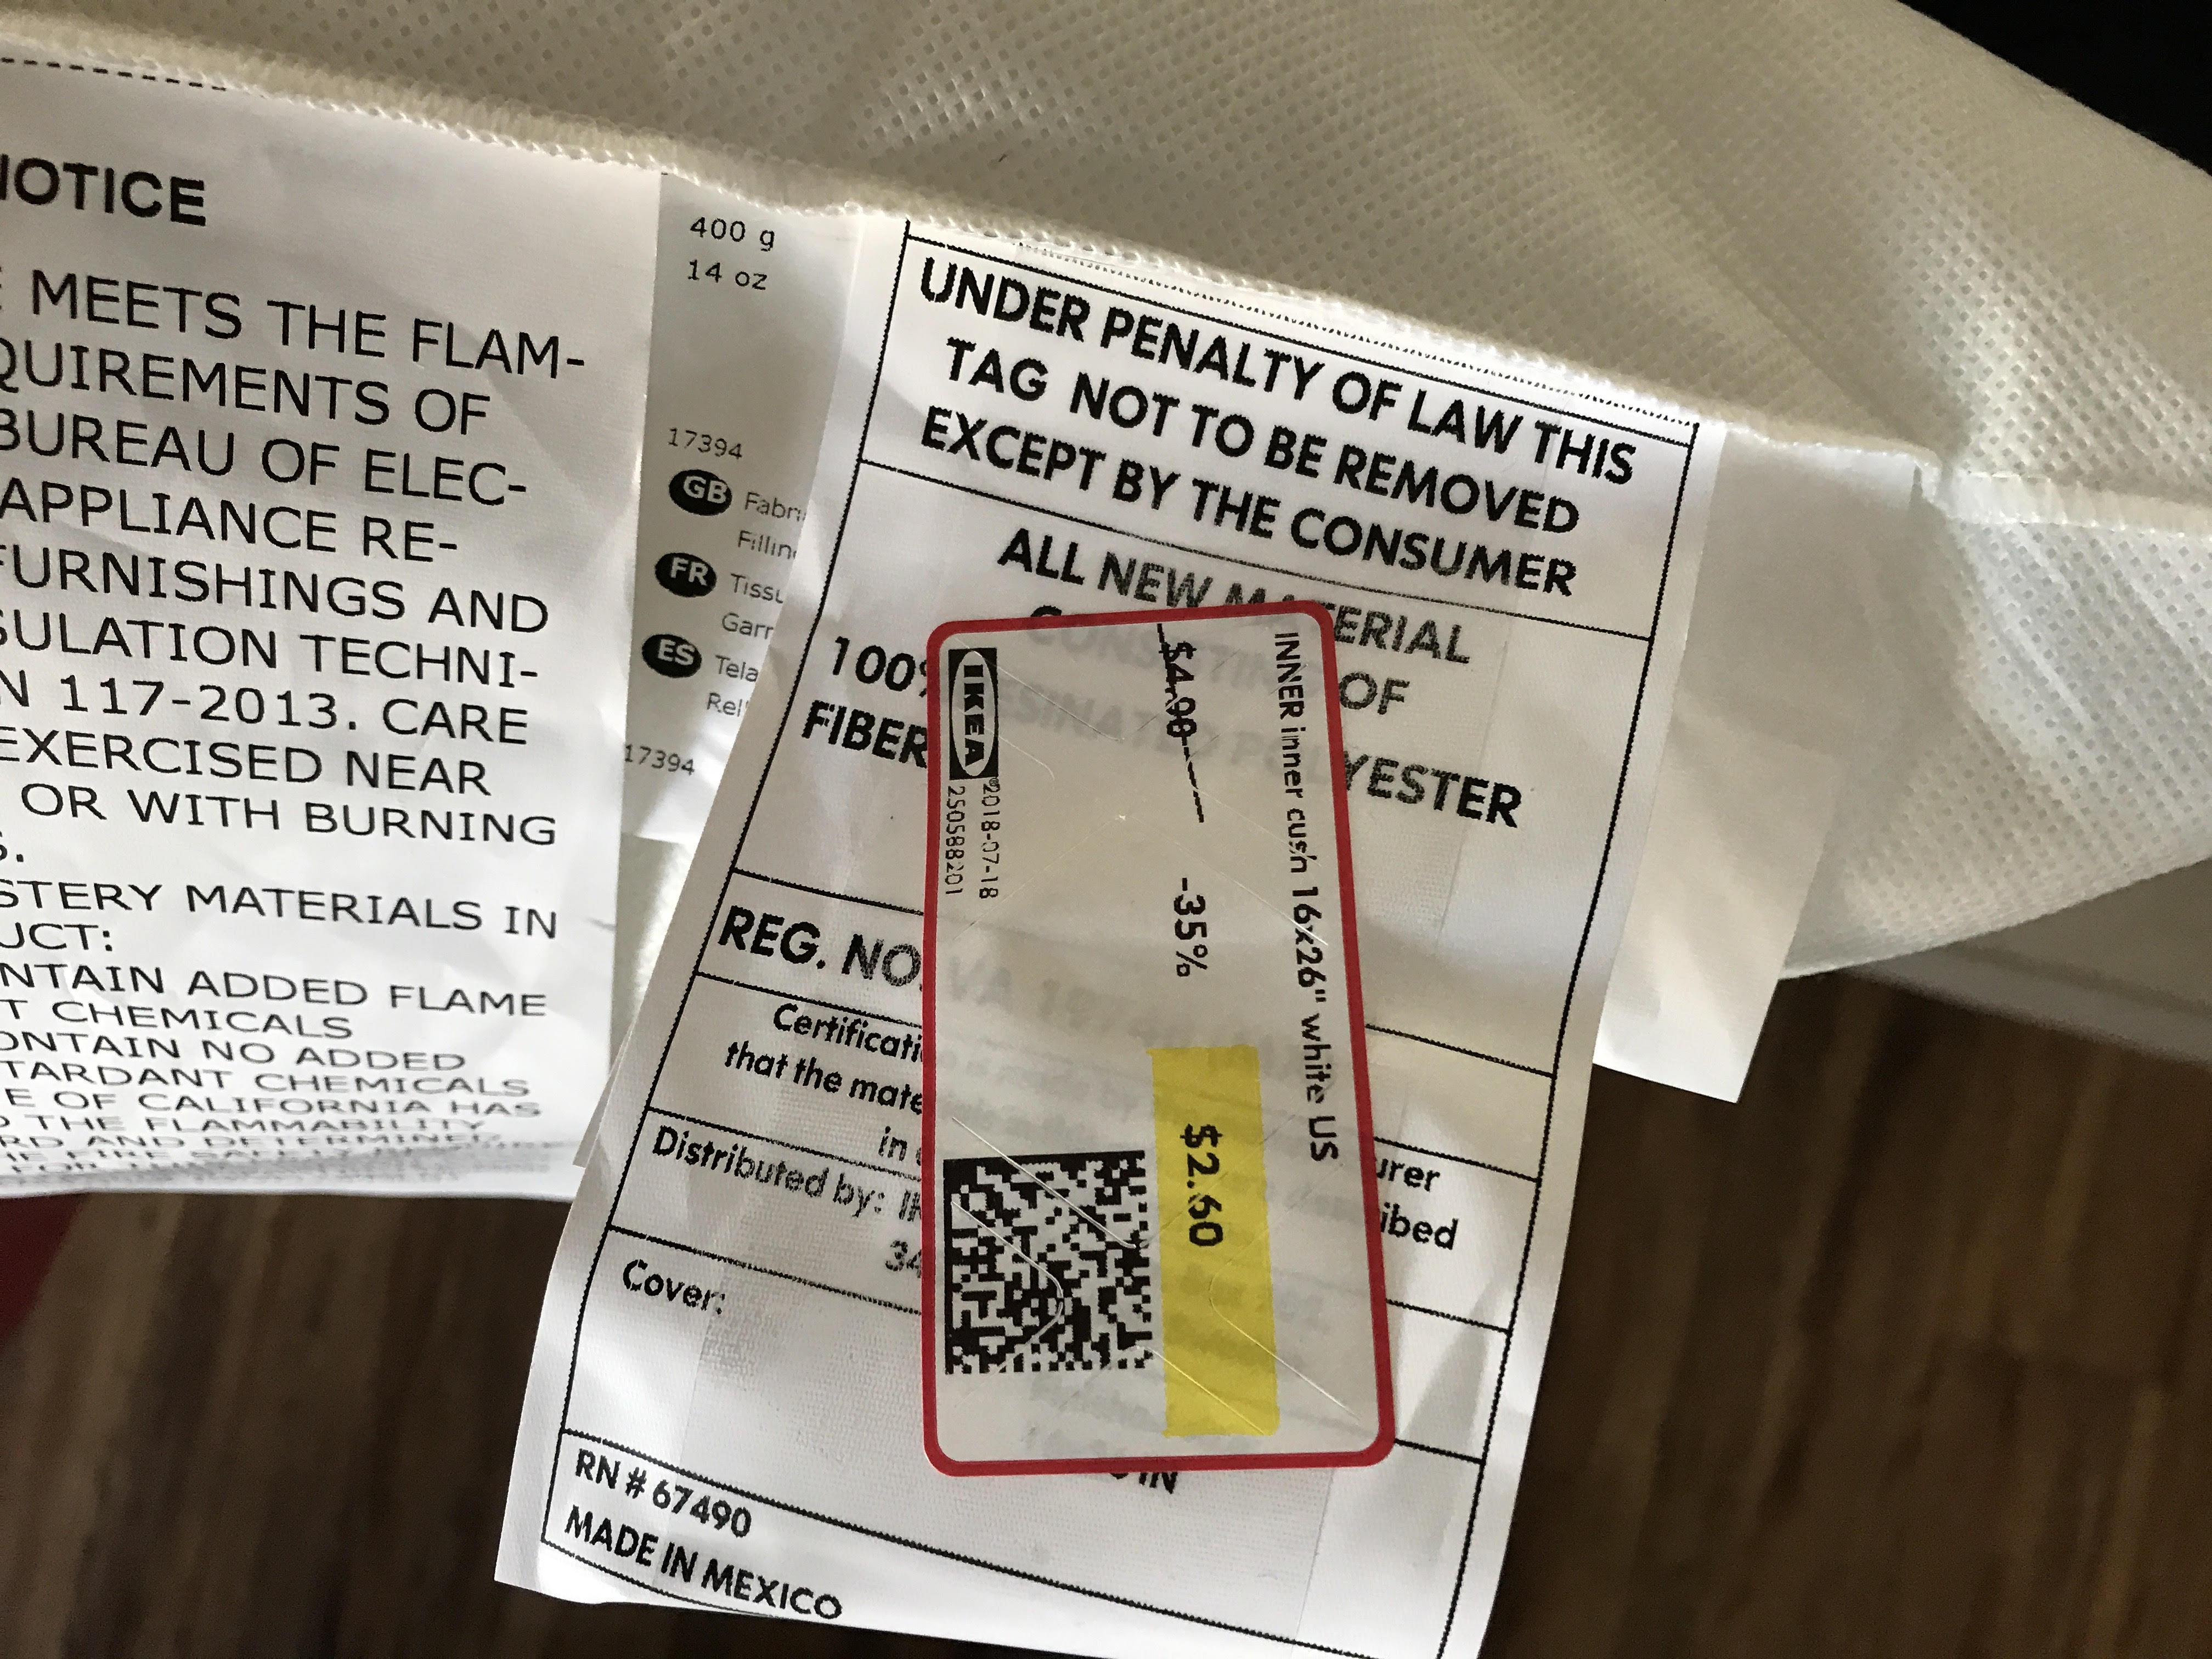
You should have an open flap underneath the tassel detail, right in the middle of the pillow cover. This is where you will put in the pillow insert. I was lucky to find two pillow forms at IKEA in the perfect size, marked down to $2.60 each. They are normally $4.90 each (still a fair price). The style of pillow is the 16 x26 inch size, I included the tag info below.


Step 6:

Fluff and enjoy, you’re done! I will probably add a coat of scotchguard  to the pillow covers, just for added protection outside. But these would be great for both indoor and outdoor spaces! We were able to get both these pillows done for a little over $13 (thanks to the clearance pillow insert) Even without the pillow insert on sale, these pillows cost around $9 each to make!

Hope you enjoyed this post, if you decide to make your own please tag us @livandmarket, we would love to see!!

xo

Mel & Izzy

@LivandMarket Follow us on Instagram and Facebook!


The Sandlot Themed Birthday Party!

Hello Friends!

Now that the party has passed, I wanted to write a blog post and share more photos from our little guy’s Sandlot themed birthday party. It was such a fun theme to plan and decorate for….. and lucky for us, there was no shortage of baseballs or wooden crates in our house! Luckily, a lot of the “decorations” we used for the party were items we pulled throughout our home. In addition the the party photos, I have a few tips that I wanted to share with you all when it comes to party planning and how not to blow the budget.

  1. Plan ahead!

Easier said then done right? I am a MAJOR procrastinator myself, so I often have to remind myself of my own advice! First thing I recommend is to pick a “theme” or color scheme as soon as possible.

(I am very much a “planner” so I am known to start planning for a party several months in advance! That’s just me and I understand not everyone does that but I do recommend starting to at least get those wheels turning ASAP!)

2. Shop around and purchase when on sale (if possible)

Once you have an idea of what kind of colors or items to be on the lookout for, this will help you take advantage of deals when you see them. Create a budget for the party and stick to it!

I am a big fan of shopping the after holiday sales, depending on when your parties fall throughout the year. For example, my daughter’s birthday is in May, so I would always shop the after Easter clearance for plain decorations and candy for her party. I would look for the candy that didn’t have Easter labeling and for plates, napkins, bags etc in colors that would work with her birthday party for that year. By buying these items 50-75% off, this helped me purchase little by little and save big in the end.

EXAMPLE: I purchased these plastic baseballs months before the party, I found them in the Easter section at the 99 Cent Only Store. They came in a pack of 6 for $1, so I purchased a few bags and tucked them away in a box I had designated for his birthday party.

EXAMPLE 2: Scoreboard poster was ordered through Zazzle  in advance. They had emailed over a free $20, so I shopped the site until I found something that would work for his party. I believe the poster ended up costing $5, because at the time, the posters were on sale 50% off, then I added in my $20 credit!

BONUS: We can put the poster up in his room afterward. We added the poster to a piece of galvanized metal we picked up at a yard sale for $2!

3. Incorporate items you already have:

Luckily since both Izzy and our son are huge baseball fans, we had a lot of items to work with when it came to decorating. Izzy has several  wooden crates and galvanized buckets that we were able to use both inside and out. The American flags were pulled from our 4th of July decorations and my father in law brought several vintage pennants from the East Coast because I asked him to be on the lookout when at flea markets and such. The pennants will also be  another decor item for our sons bedroom and the man cave! I did purchase the mini pennants and a larger vintage through the local resale app, Offerup for $15.

All the jars, tins and vintage books were  items we already had and mixed in, we just purchased the goodies to fill them up! (Don’t forget about your local dollar stores, a lot of the goodies were purchased at the Dollar Tree and 99 Cent Only Stores, just be sure to check expiration dates!)

4. Pace your DIY projects:

It always seems, no matter how much prep work we do, we are still running around last minute trying to get things done. It. NEVER. FAILS! So, if you are like me and overwhelm yourself with a “DIY TO DO” list, try to work through the list slowly, one project at a time. I do understand that there are certain projects that can’t be done until a few days before, especially if it involves food, but try to work on projects that can be done early and if you can, recruit your family and friends to help 😉

For this party, we were able to do a lot of the prep work earlier in the week. We made the s’more thank you tags, but didn’t actually assemble those until the night before. The pennants and banner were also  put together and put in place several days before and once I had the “layout” of the table, I was able to plan where what items would go where.


I will admit that the morning of, I was using my Cameo to cut out a paper Babe Ruth signature to glue onto the pinata but all worked out well in the end!

5. HAVE FUN!

Sit back and enjoy the  party! Understand that everything may not come out as planned and something WILL probably go wrong, but that is OK!  For us, it was the birthday cake. We ordered a small round Dodger cake with the cupcakes but a large sheet cake was made on accident. With the party starting in an hour, there was no time to remake so they gave us the huge cake for the price of a small one and it turned out just as great!

I truly enjoy the planning and decorating with hosting parties and the kids look forward to celebrating their special day every year. We understand that not everyone throws a big party or are into it as much as we are, but I hope a some of these tips were helpful,  just a few things to keep in mind when planning your next party, no matter the size or scale.

XO

Mel and Izzy

Follow us on Instagram @livandmarket