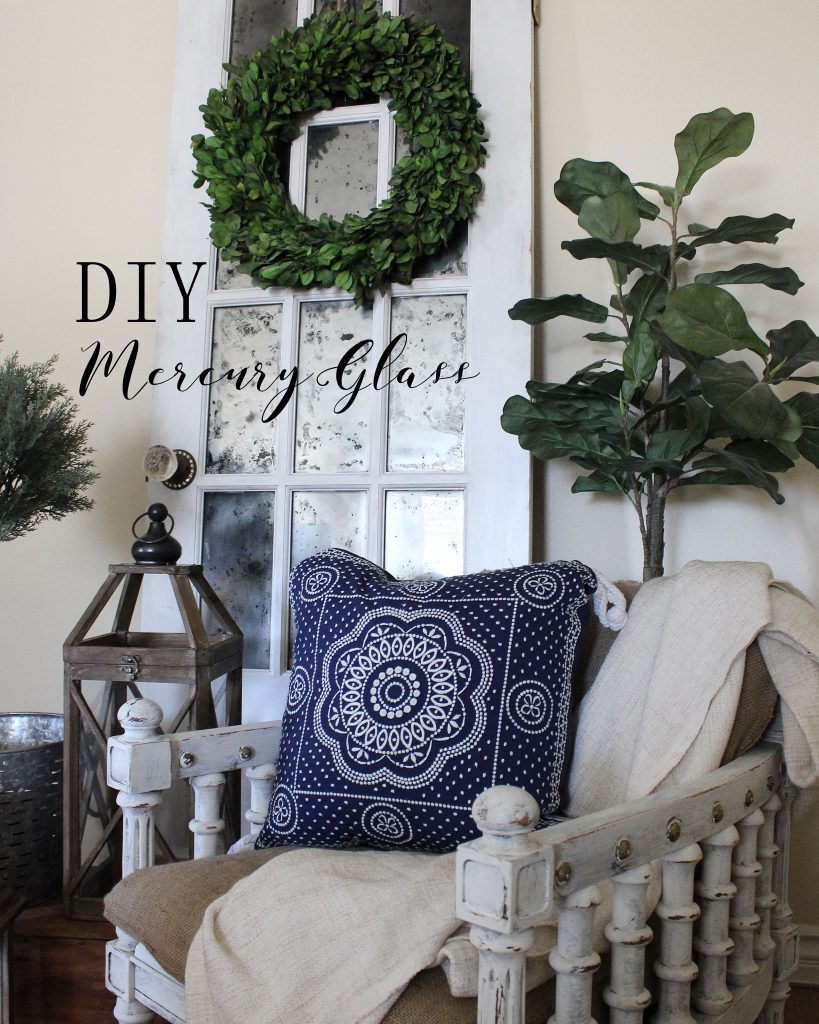
Time for another fun DIY post, today we are sharing how we created the look of mercury glass on the glass window panes of a vintage door!
This was always a project that we wanted to try and when we saw it on an episode of Fixer Upper, I was motivated to finally cross it off the TO DO list! After a quick Google search, we were able to find the actual video tutorial from Dustin Anderson, the guy who created the beautiful antiqued glass for Chip and JoJo. It is an awesome video, extremely helpful and got us excited to give it a shot! You can view the video—-> here
So, this was our first attempt at mercury glass and to be honest, it wasn’t smooth sailing the first go round. But, like any DIY, we learn from our mistakes and tried again. Luckily, if you are not pleased with how the mercury glass is turning out, it can easily by wiped away and you can try again. Hopefully this tutorial will be helpful and you can learn from our mistakes!
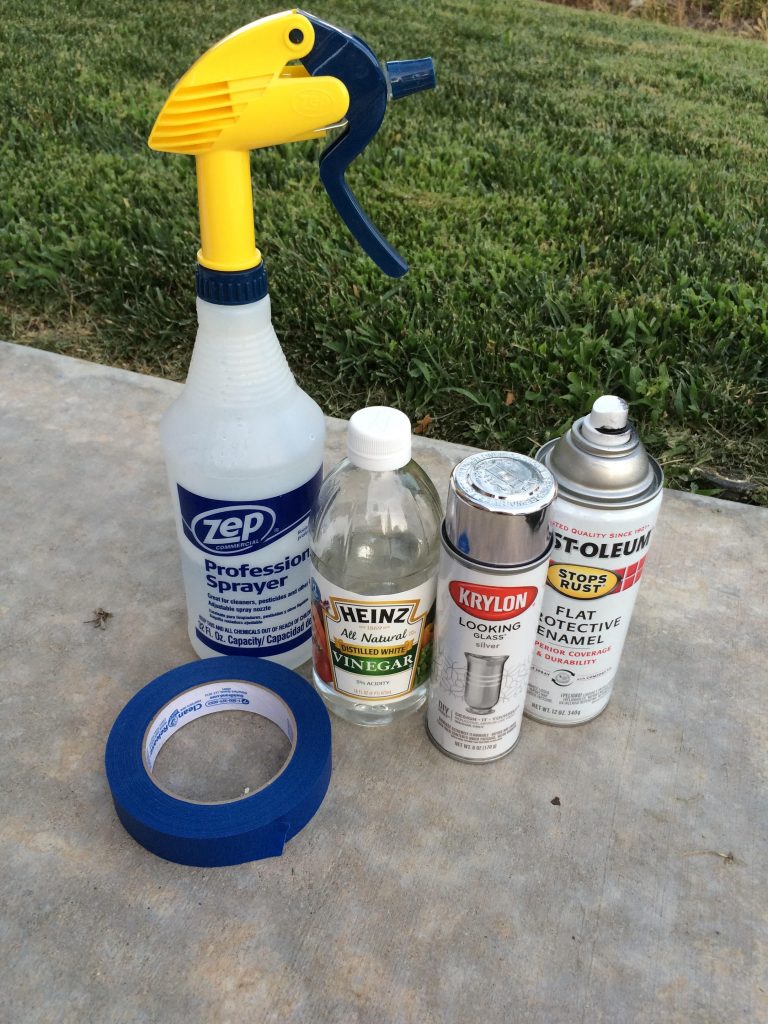
Supply List:
1 Empty spray bottle
Vinegar and water
Painters Tape (optional)
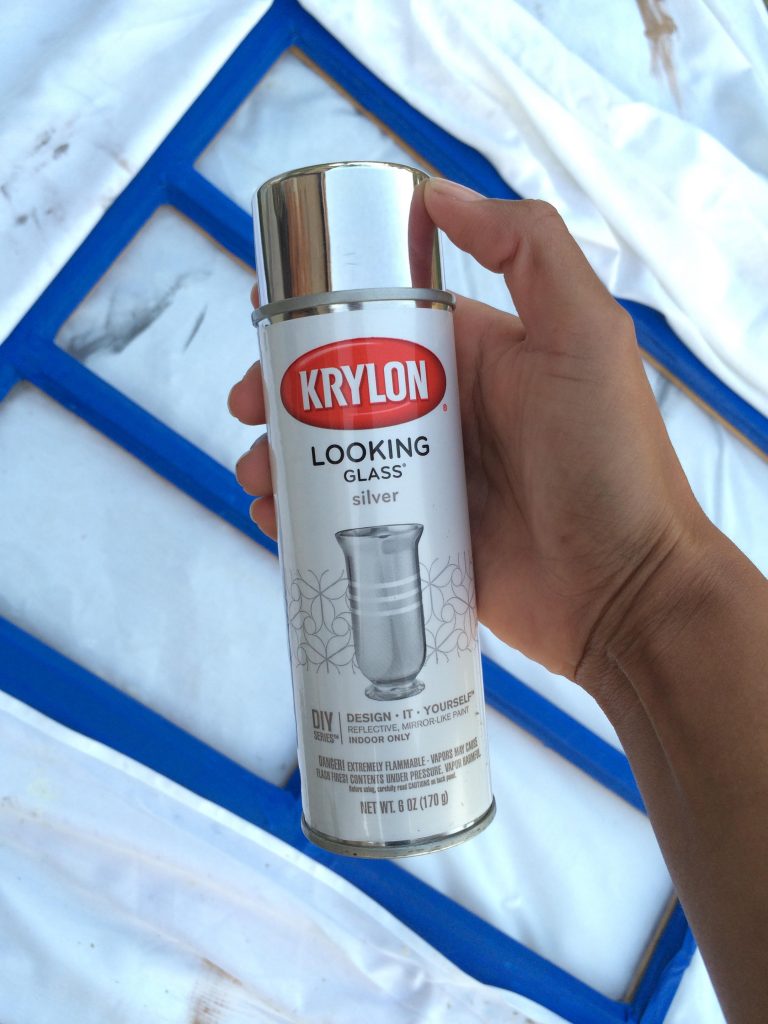
Krylon Mirror Glass Spray Paint (got ours at Walmart)
Flat Spray paint
Window Glass cleaner (Windex, etc)
Paper Towels
Drop cloth/cardboard
Project Glass
Step 1:
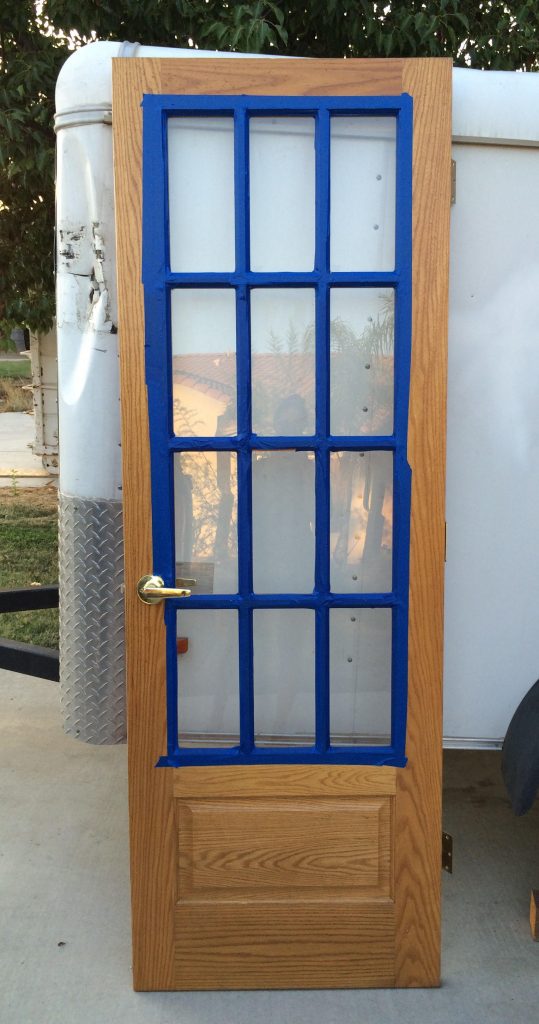
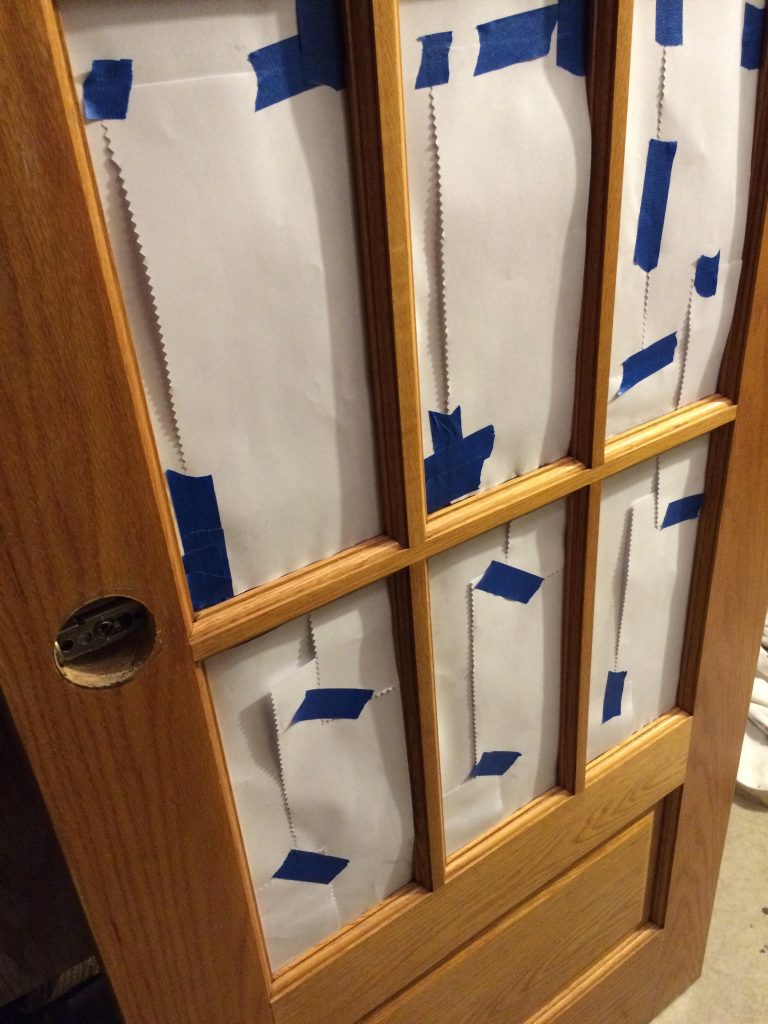
Prep and clean your glass area. For this project, we had to tape off the wood edges surrounding the window pane, but if you are working with a flat piece of glass, then no need.
{When working with an item such as a door, make sure you are working on the correct side! Remember to stop and think, what side do I want the mercury glass to show? Whatever that side is, you want to work on the opposite side} this was our mistake #1….
Clean the glass with a glass cleaner (we used Windex) to make sure the glass is completely clean and dry. (Otherwise any lint, smudges or moisture will get trapped in between the glass and the first layer of paint and it WILL be visible on the other side) our mistake #2….
Here is our door that we picked up on OfferUp, taped off (wrong side, oops, told you we made a few mistakes….) but clean and ready for the next step!
Step 2:
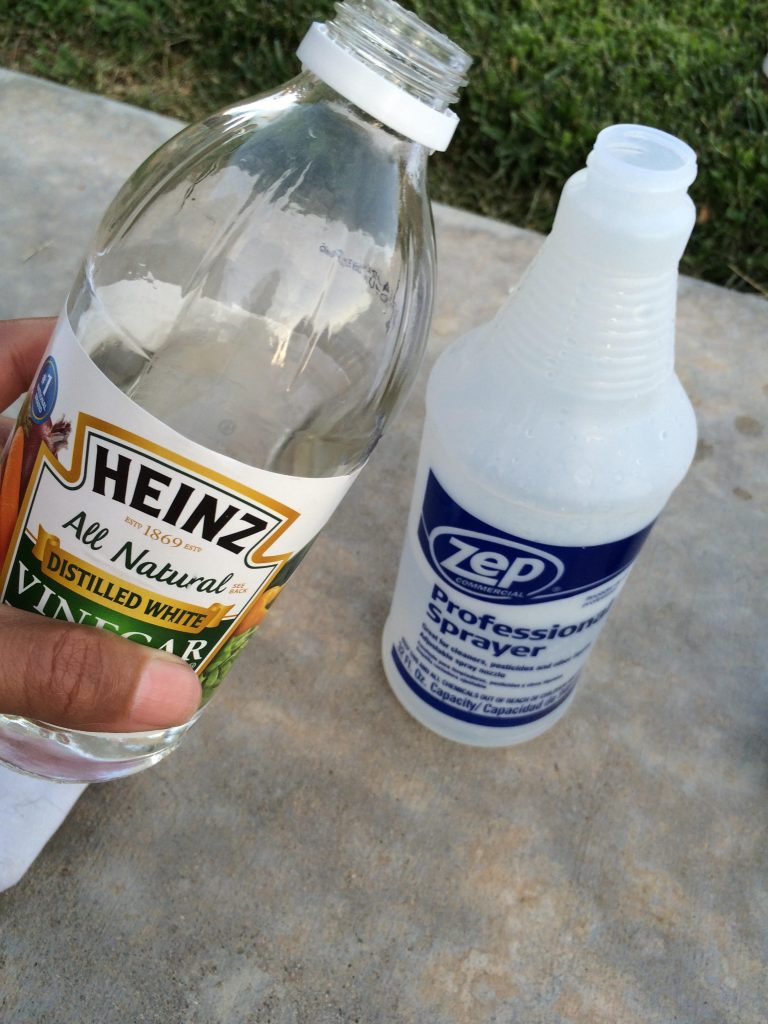
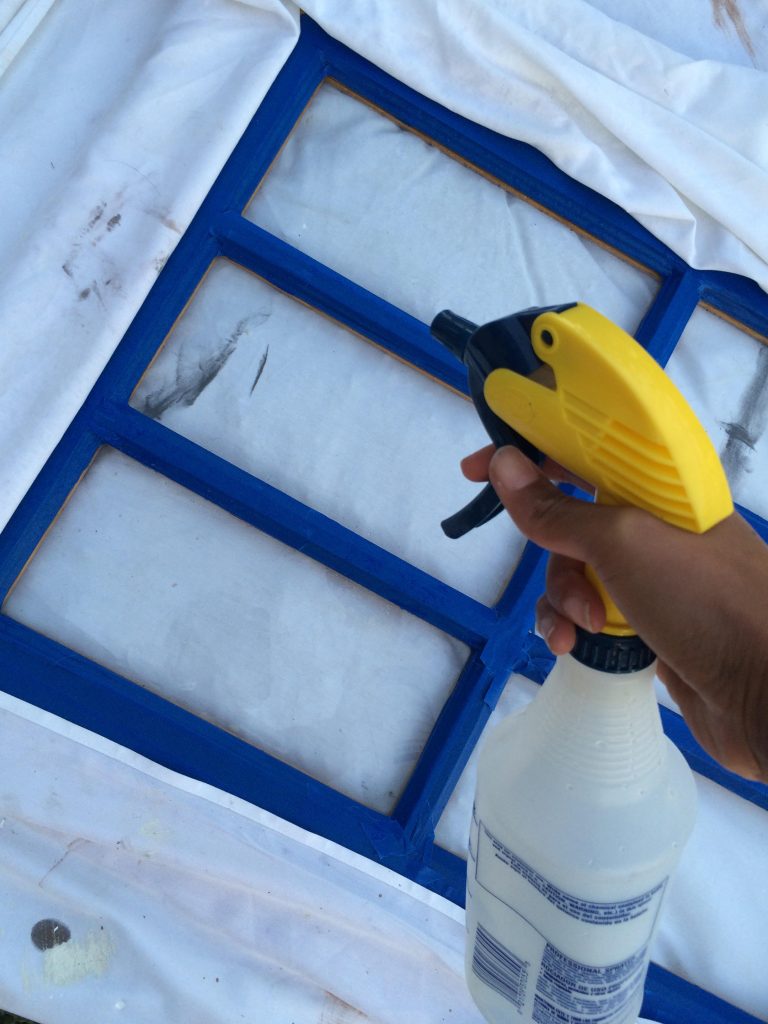
Lay your glass project down flat, over a drop clothe or cardboard area. Mix your vinegar and water in the water bottle (75% water, 25% vinegar) and lightly spray the glass area with the mixture. Now, this part can be a bit tricky because depending on how much of an “antiqued” look you want, depends how much of the vinegar and water mixture is applied. After trying this several times, (and I mean SEVERAL) I found that an overall light mist with a few scattered small to medium sized drops, gave me the look that I wanted.
Step 3:
Once you have applied the water and vinegar mixture, you can apply your first coat of mirrored glass spray paint, working from side to side to provide good coverage. Now sit back and watch the paint mix and start to transform in front of your eyes!
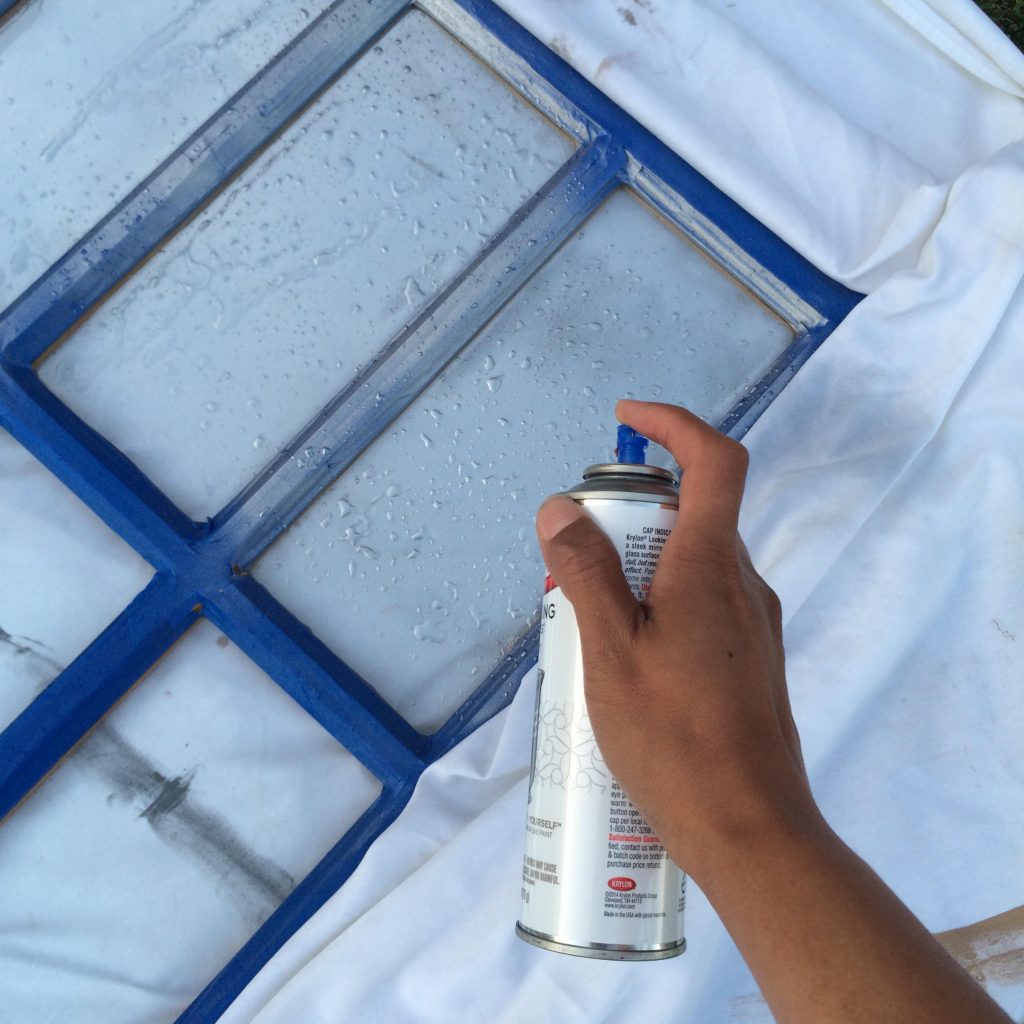
TIP {For this door, I was able to work in small sections, one pane at a time. But for a single piece of glass, I would recommend working on the entire surface area all at once}
Once that first layer starts to dry (it dries fast) I recommend applying a second layer of the mirrored spray paint.
Step 4:
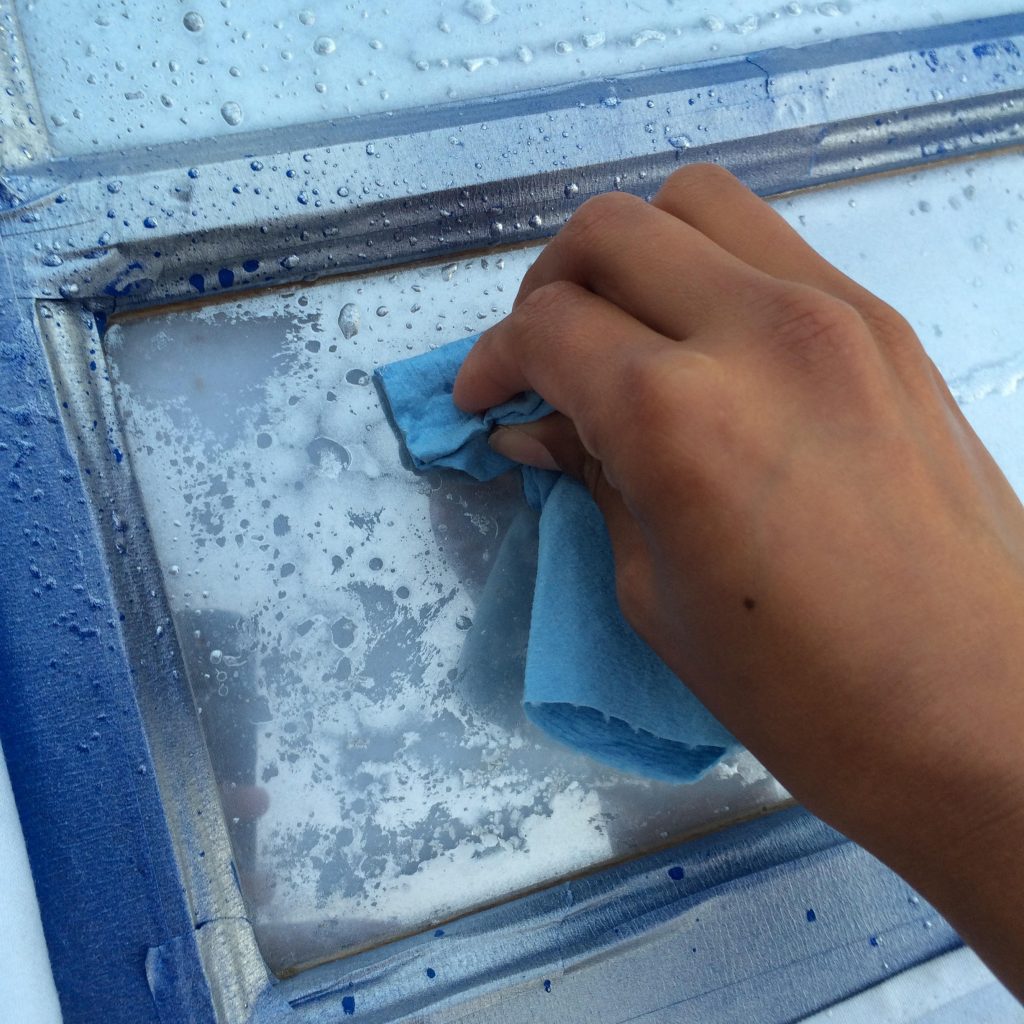
Once the second coat is dry, take your paper towel and gently tap the areas with excess vinegar water and the bubbles. You will see that the bubbles start to crack, giving you that aged mirror look. Keep blotting the areas until you are happy with the amount of “distressed spots” on your glass and you don’t have any puddles of the vinegar water remaining.
I also did a bit of smudging on the flat, dry areas of the glass to create more natural looking distressed spots. (Keep in mind that these distressed areas and cracks will be the areas highlighted in the next step, the black spray paint).
Step 5:
Take your flat black spray paint (Bought a .97 can at Walmart) and go over the area with even, smooth strokes. Feel free to turn your glass over, to check the coverage. I ended up doing two coats of black paint, to get the coverage I wanted. Once you are happy with the amount of black showing through, you are done!
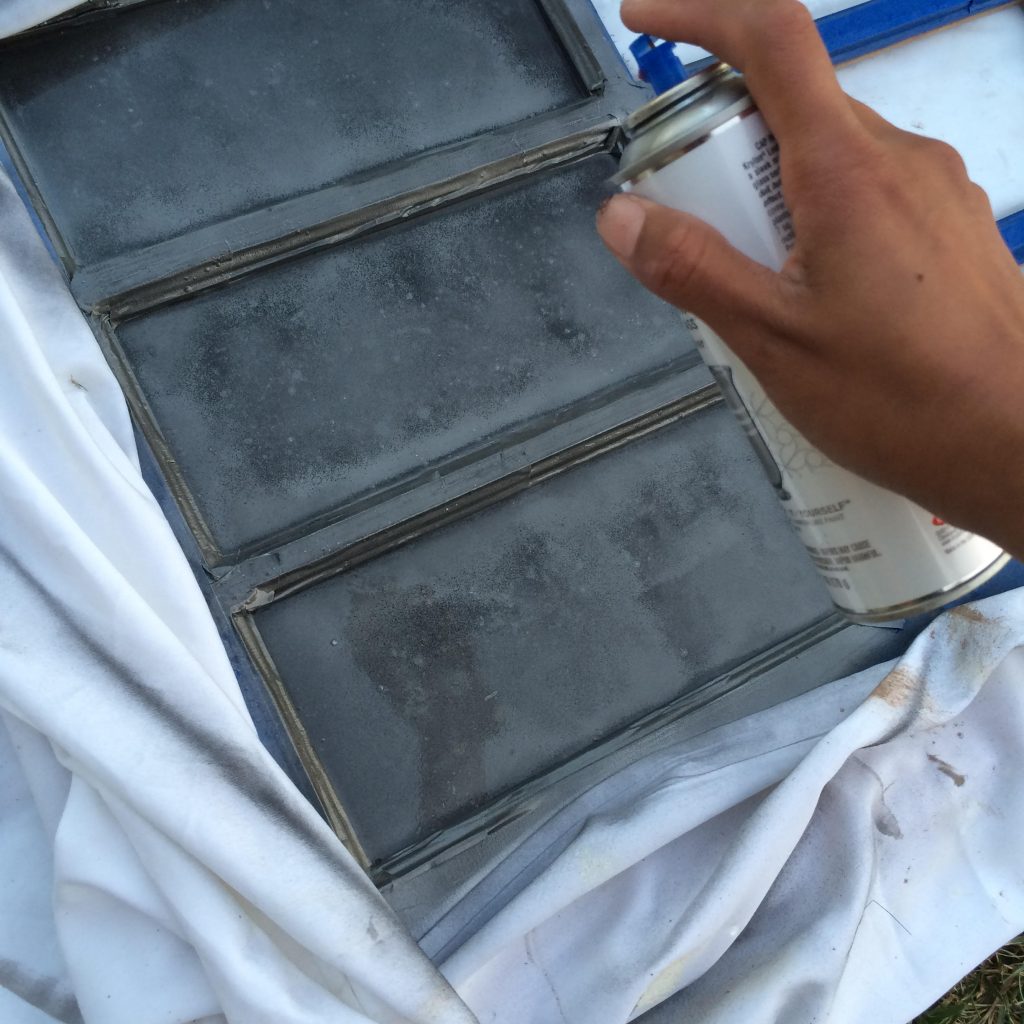
Now, since we were working on a door, we had a few extra steps which required us to turn the door over, tape off the glass and paint the door frame. We did a couple coats of white chalkpaint, finished off with some light distressing and a glass knob.
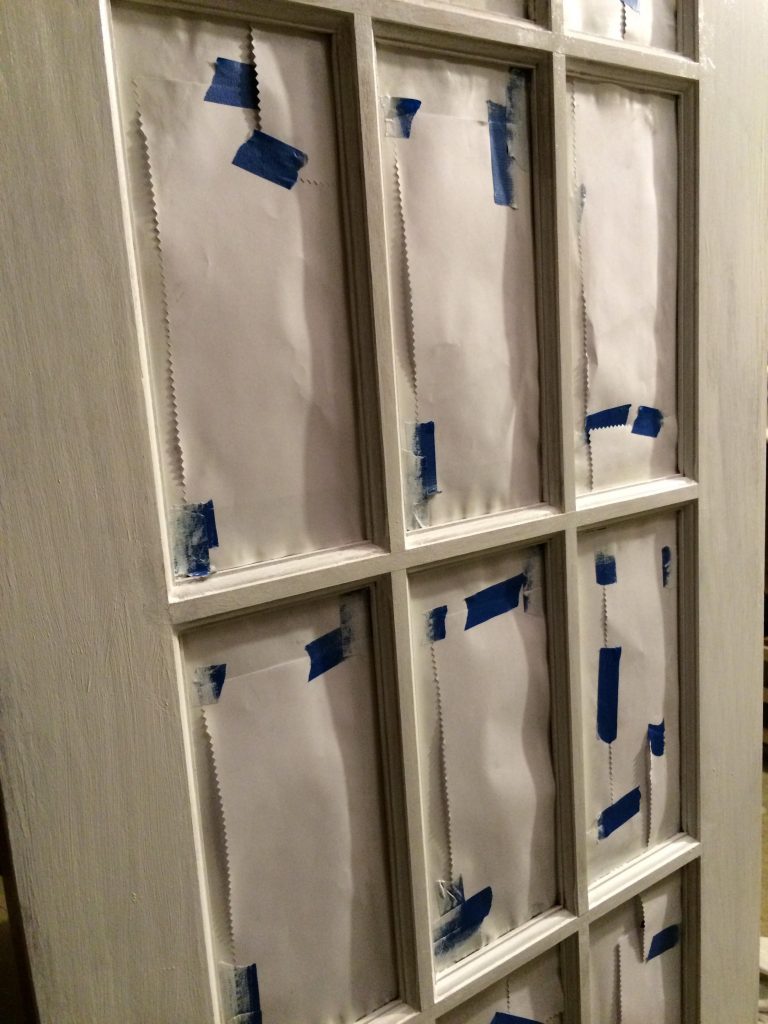
This door was initially supposed to go into our bathroom, but I measured incorrectly and it was a bit too tall :(. So, we decided to make it a decorative accent in our home. Now it can be moved around and dressed up with each holiday or season change!
We hope you found this helpful, thank you for following along with us and our blog! Post your questions below and we will get back to you!
XO,
Mel and Izzy
www.instagram.com/livandmarket
