
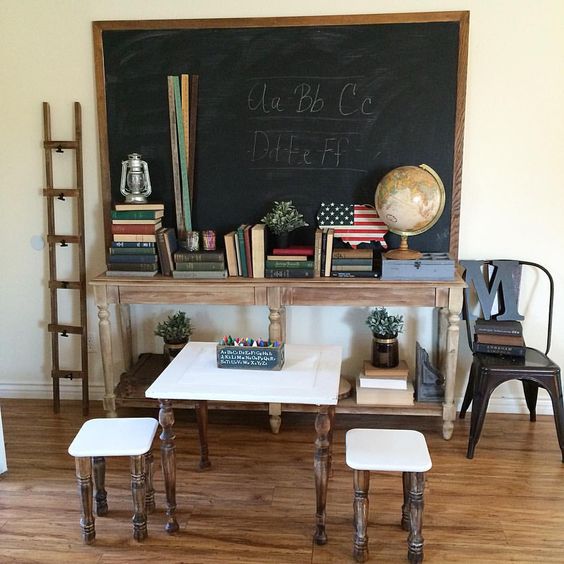
Our first attempt at a chalkboard was actually on a dry erase board. We stumbled upon one that was classroom size at a garage sale for $8 but when we got home and tried to clean it up, we realized that the dry erase part of it was unusable since the marks were in permanent marker. But, we loved the wood frame on it and thought we would try to convert it to a chalkboard instead! It came out even better then we expected….see below:
We have converted several items into chalk boards since this dry erase board and it’s so easy to do that we want to share a tutorial on how you can do it too! Here are the supplies you will need to get started:
Supplies:
- ChalkBoard Paint
- Primer
- Paintbrush or Paint Roller
- Chalk
- Painter’s Tape
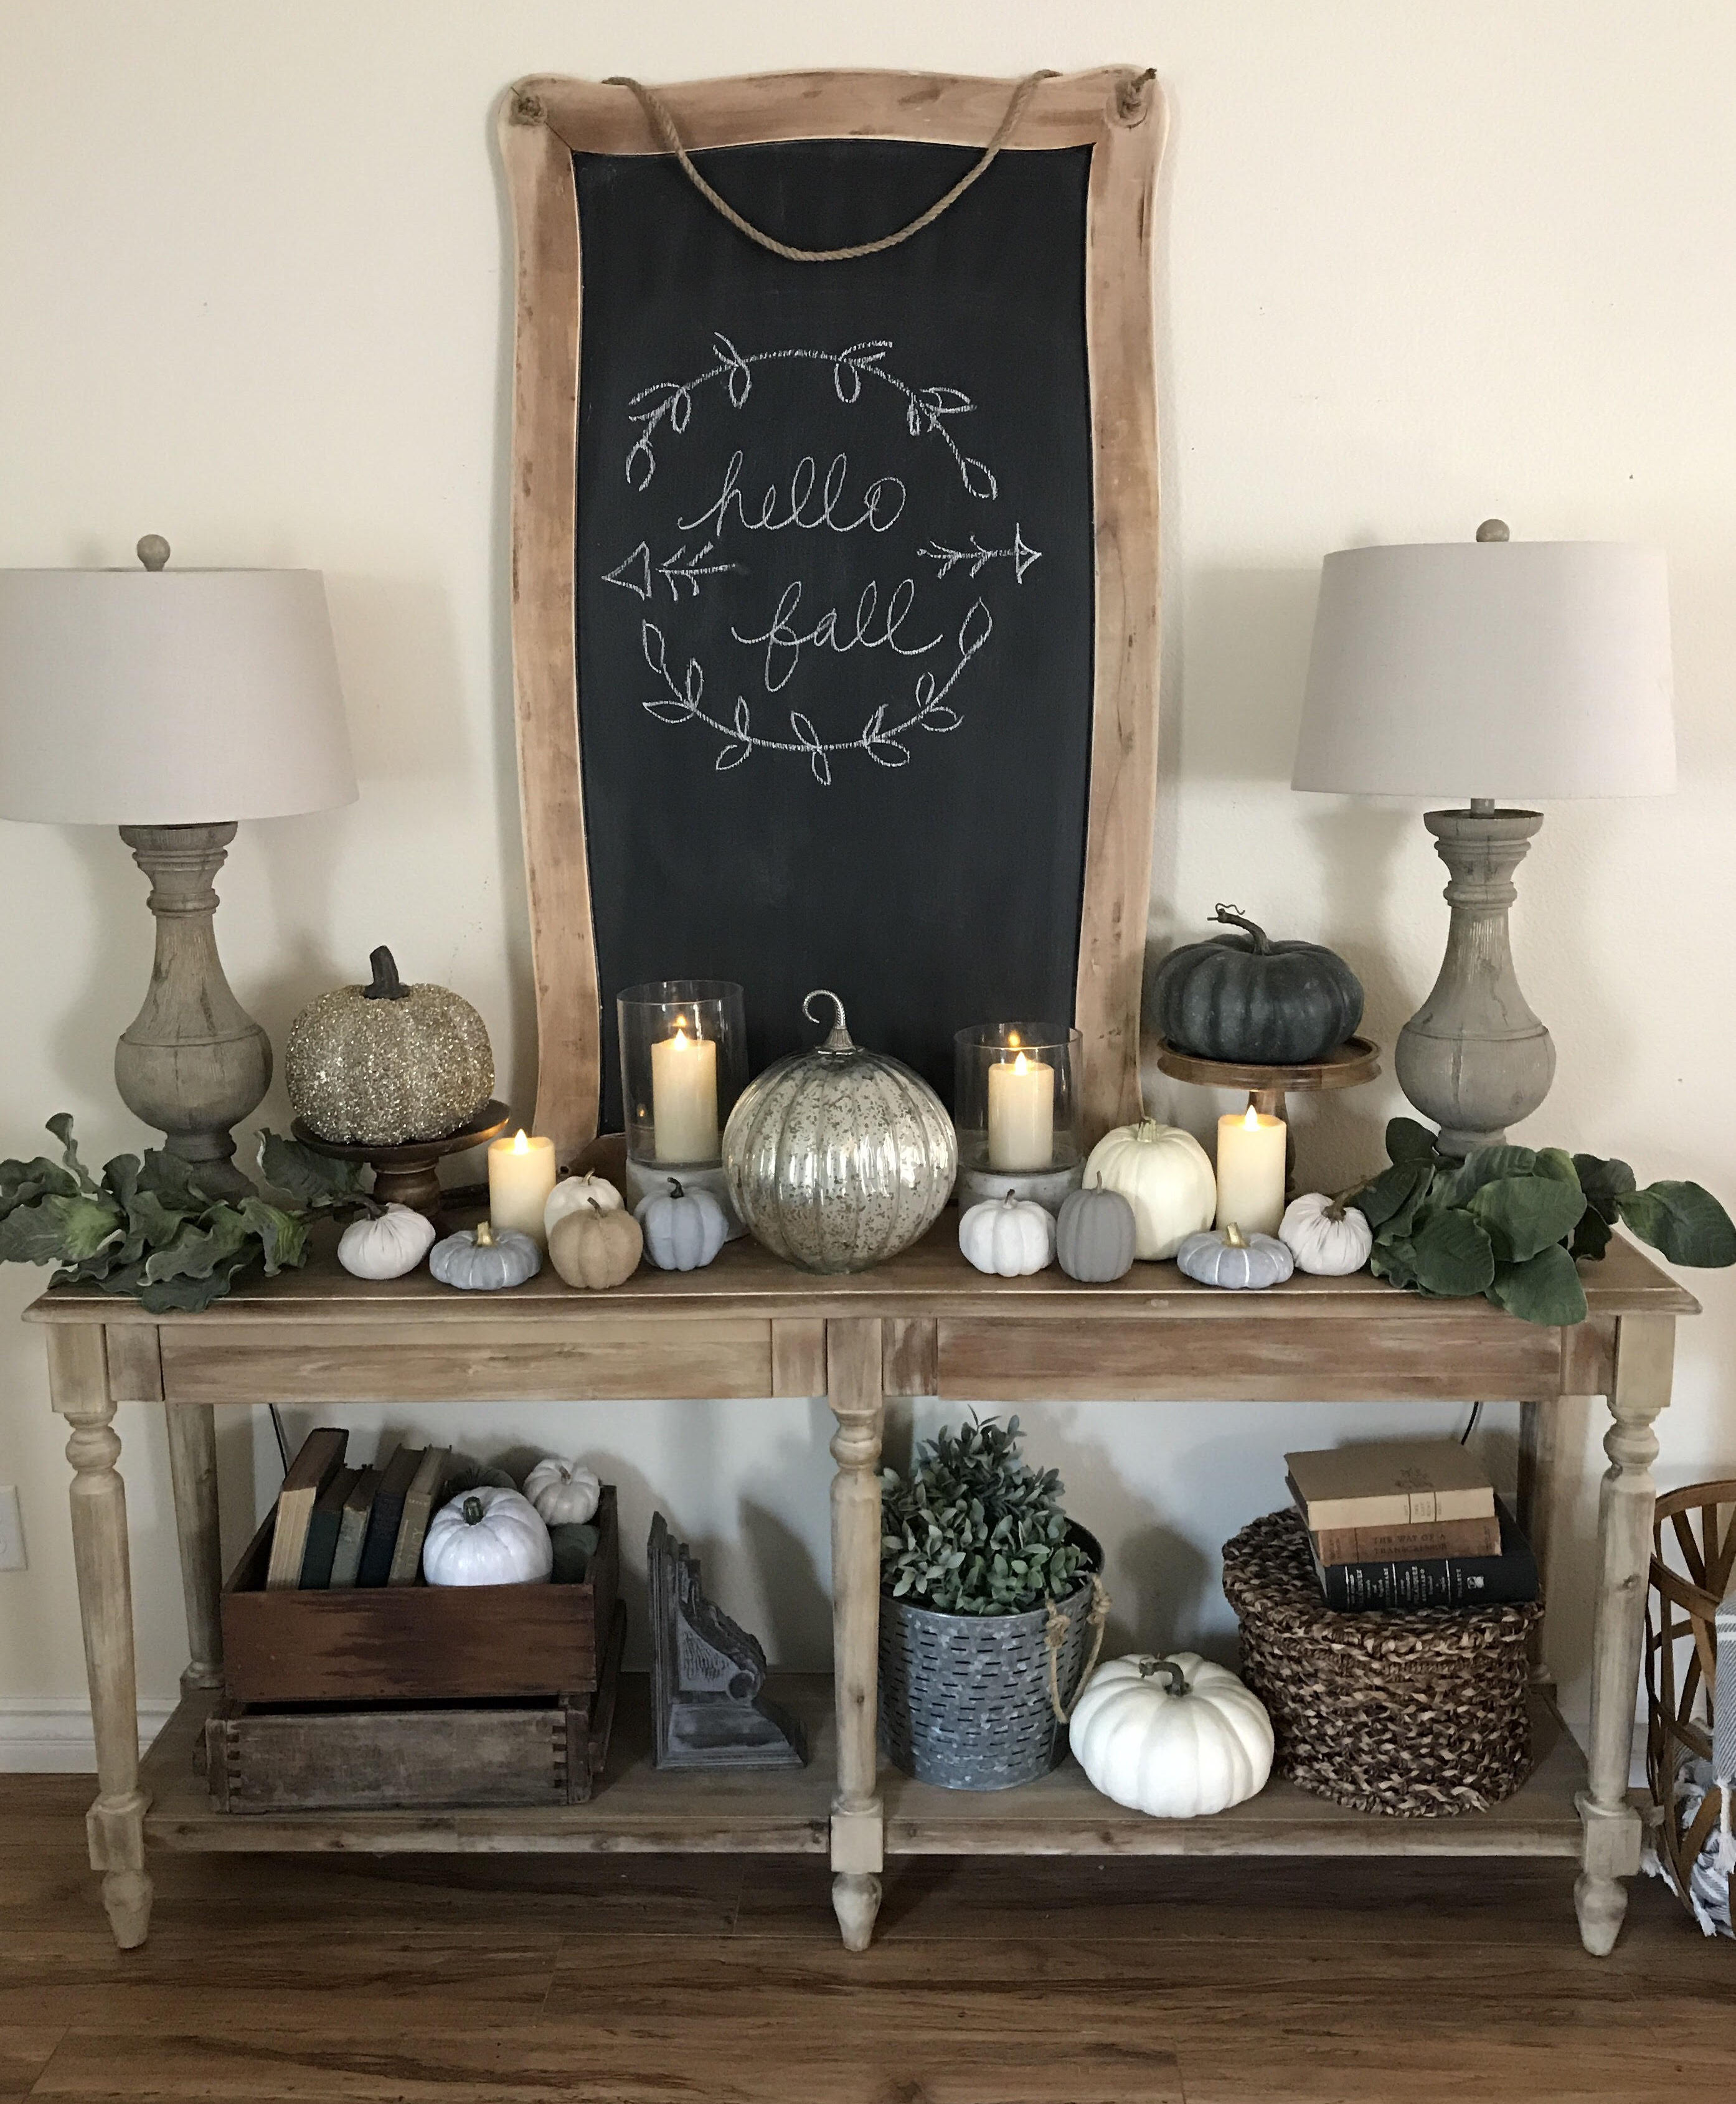
I got the idea to convert this wooden piece into a chalkboard after Izzy pulled it off the bottom of a coffee table we were working on. He had it propped up against the house and I just loved the unique size and wooden frame.
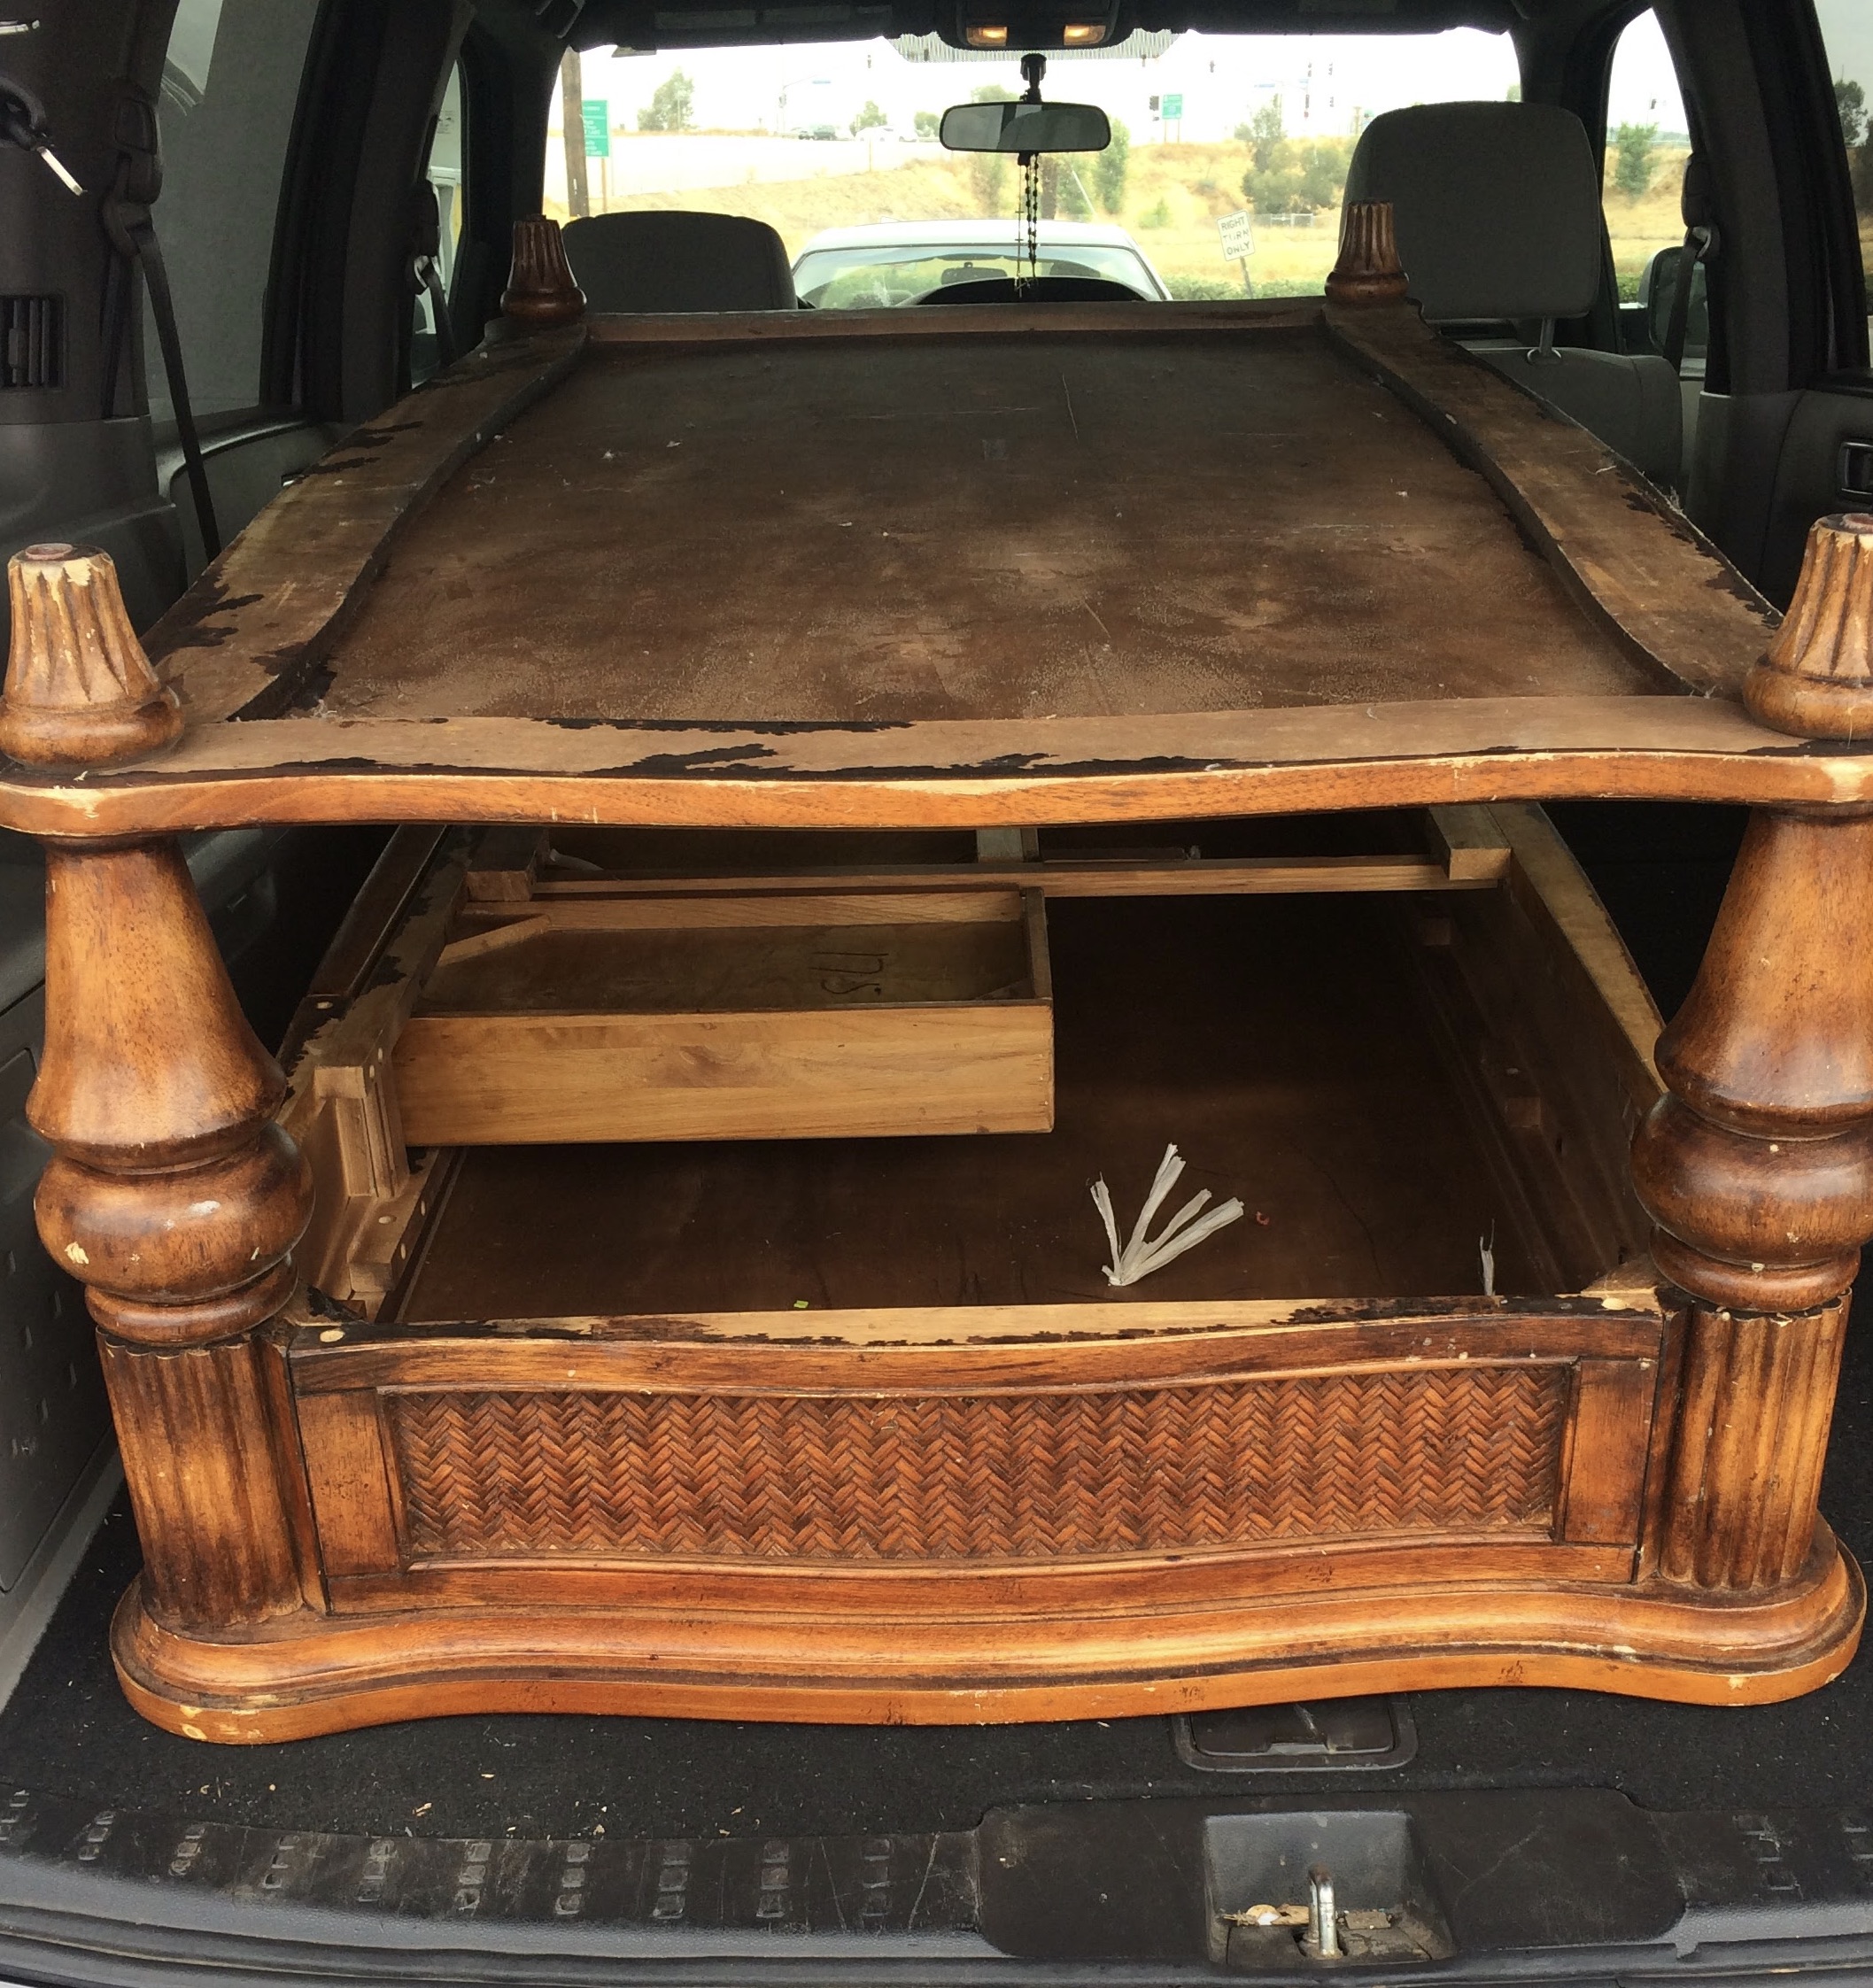
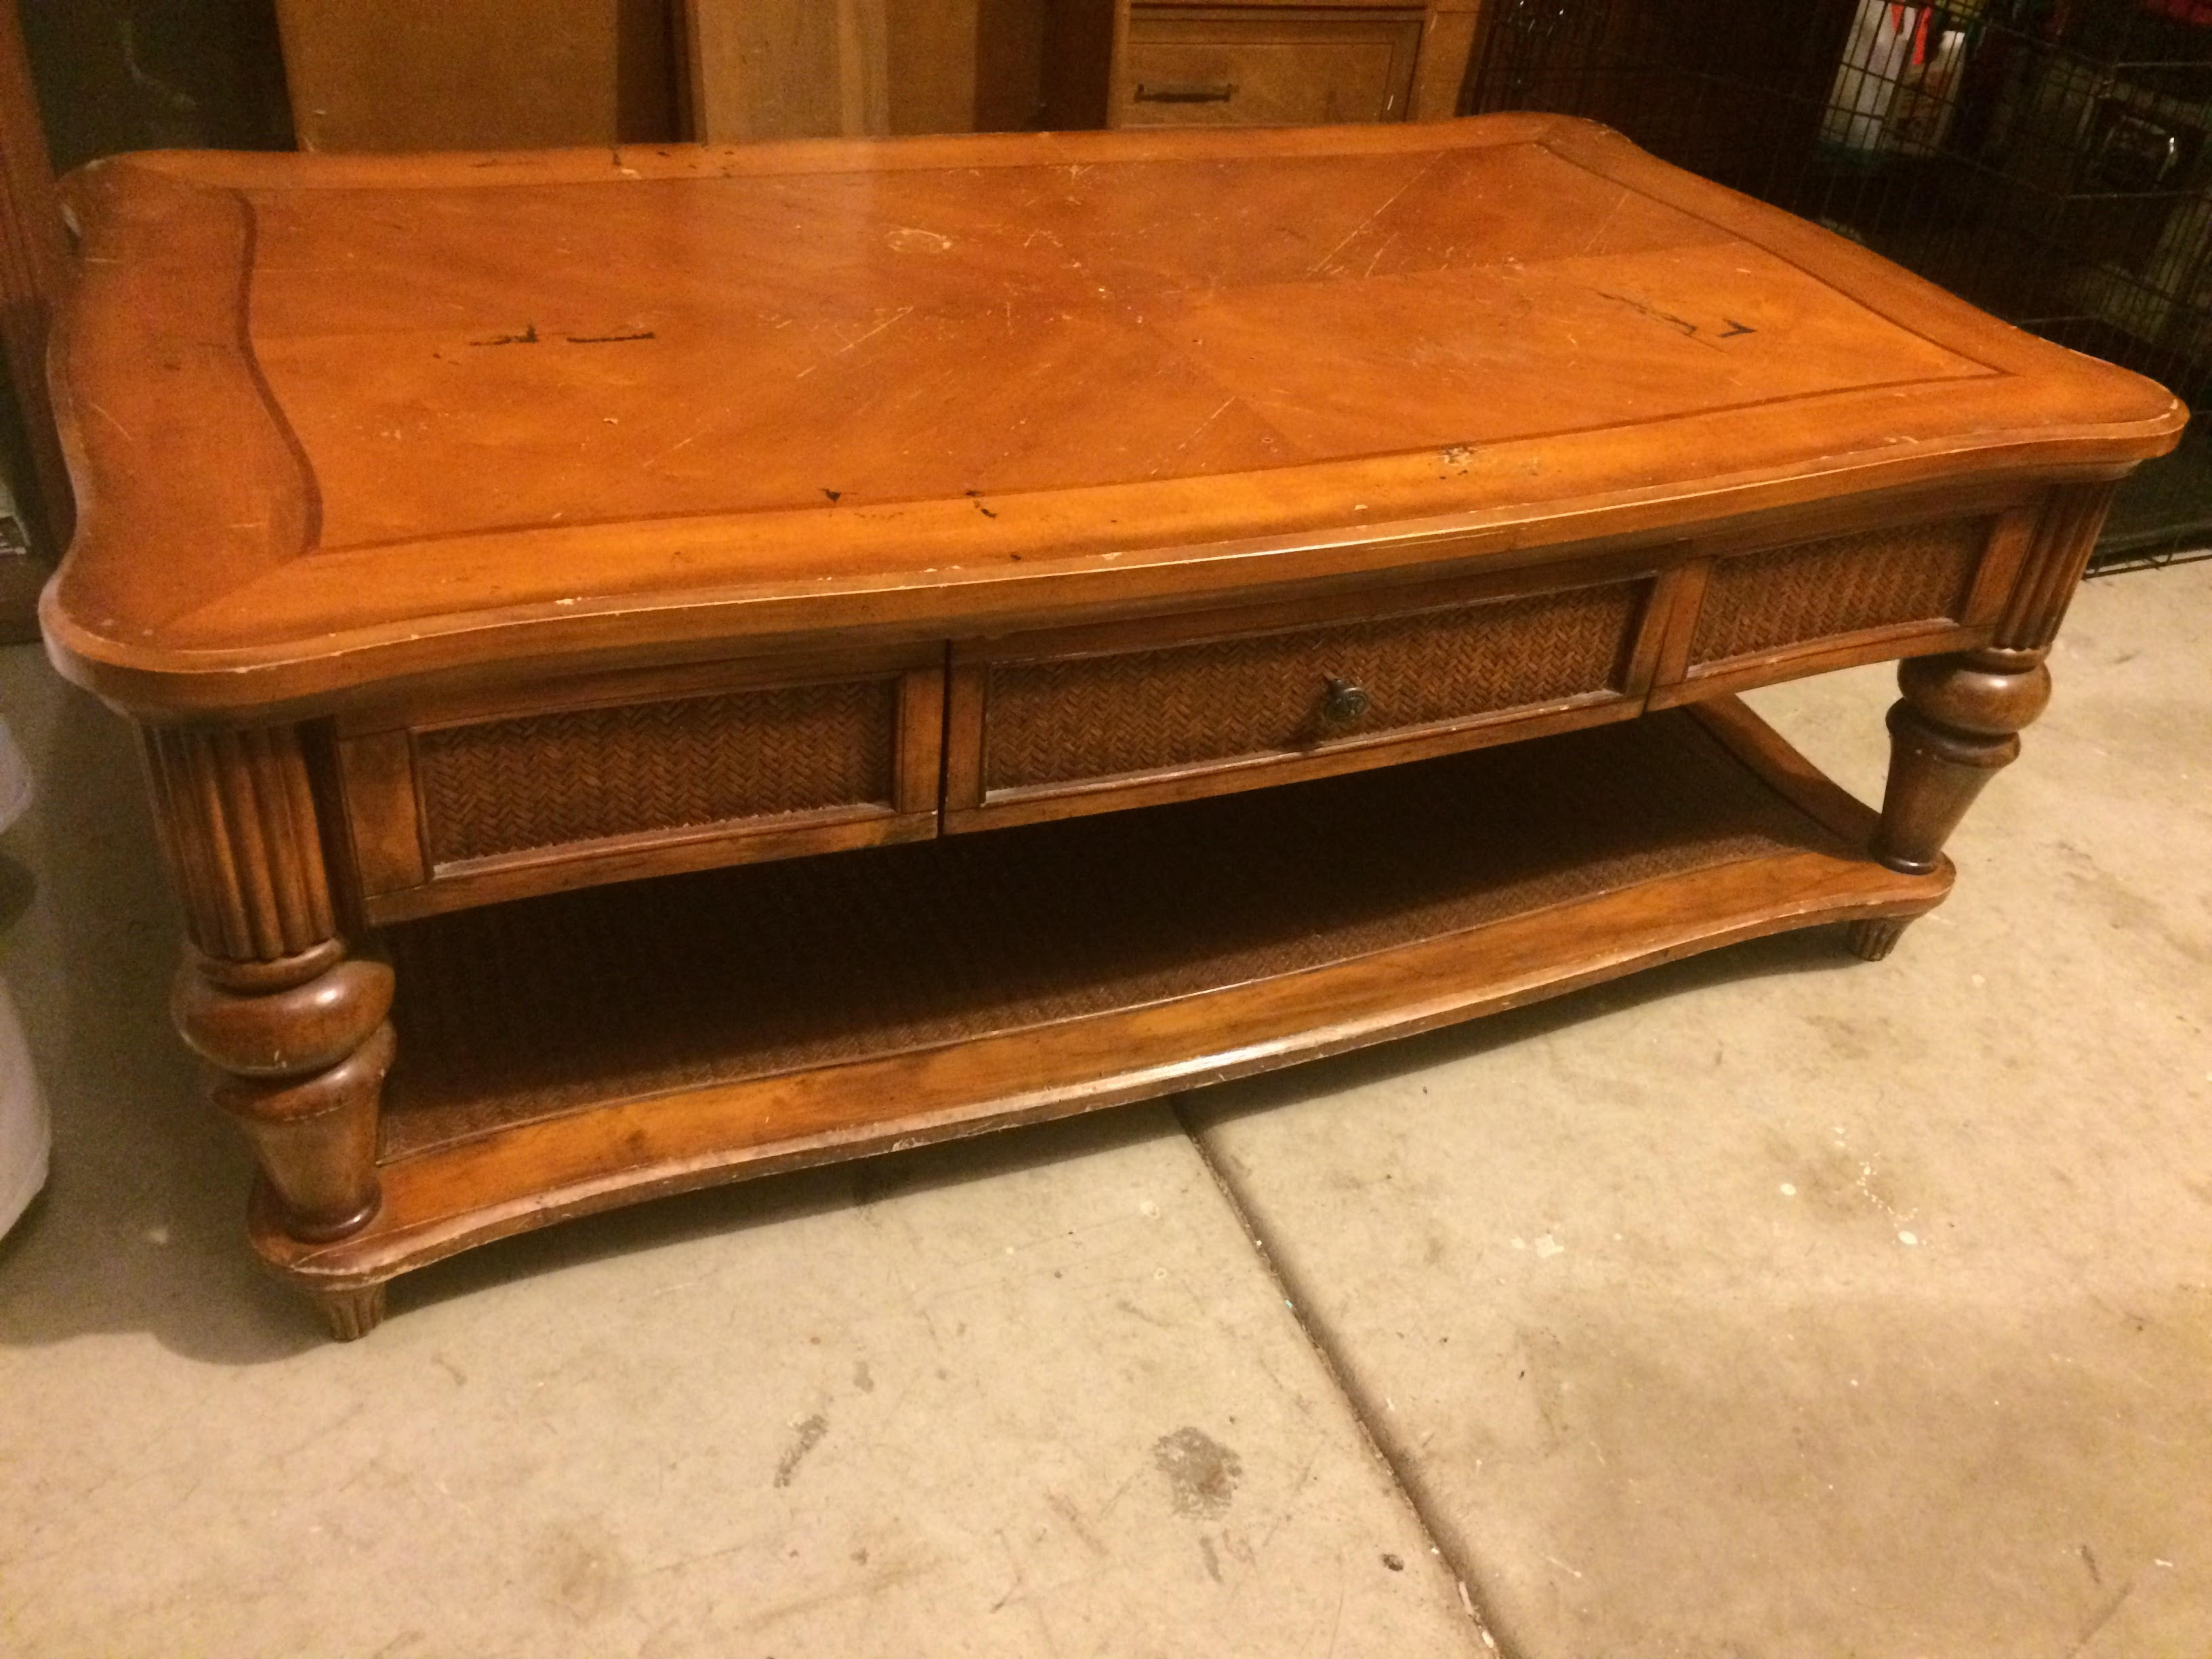
As you can see, this is how it looked still attached to the coffee table. It needed some work, so he sanded it down by hand because I wanted to keep the natural coloring of the wood but remove the stain spills.
Step 1:
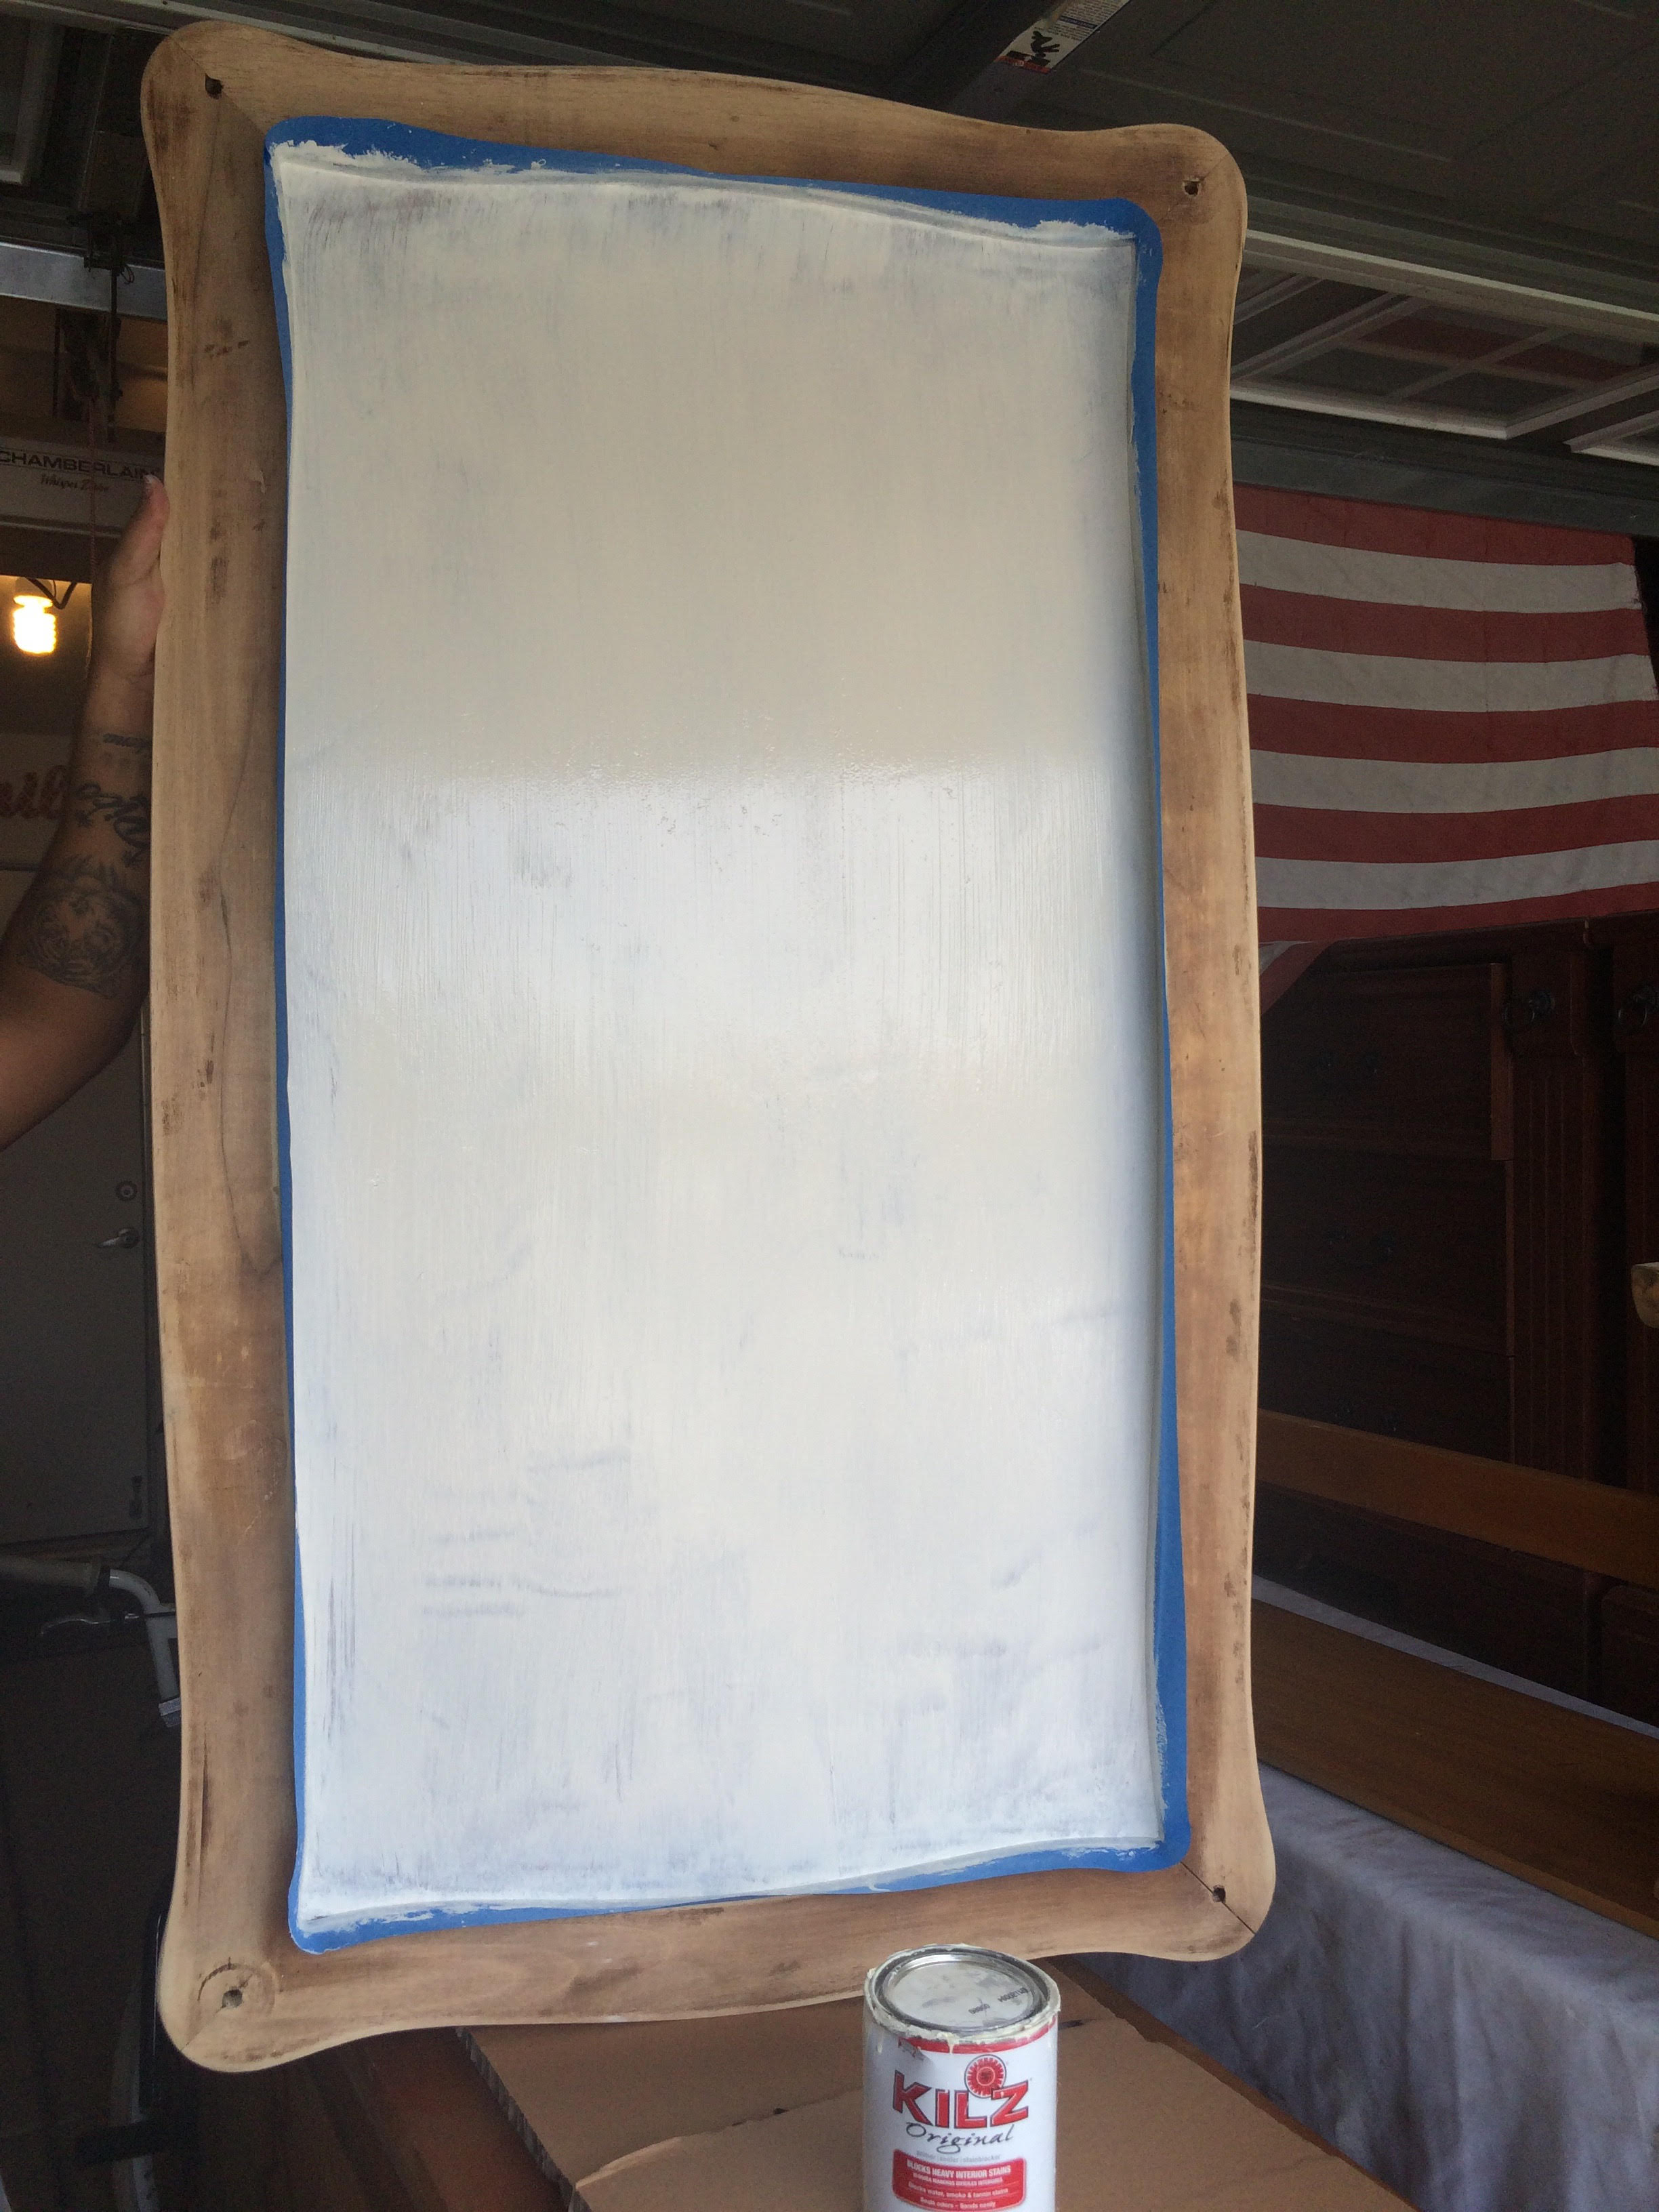
- Tape off the edges of your frame with painters tape (depending on the item you are working with) Note: We have also created a chalk board surface on glass. If able to, simply pop out the glass from the frame and you won’t have to worry about taping off edges, just be careful when handling the sharp glass edges.
- Apply one solid coat of basic primer, as seen below. We used the Kilz brand but any white primer will do. We just used a basic paintbrush to apply this entire coat as I don’t mind the look of the paint strokes, but if you want a smoother finish, we suggest using a paint roller and a brush for the hard to reach corners and edges.
Step 3:
- Once the coat of primer is dry, apply the first coat of chalkboard paint. Again, you can use either a paint brush or roller. Below is the chalkboard paint that we use:

Step 4:
- Once completely dry, apply a second coat of chalkboard paint and let cure for 24 hours. Once it has set, it is ready to be primed with chalk!
Step 5:
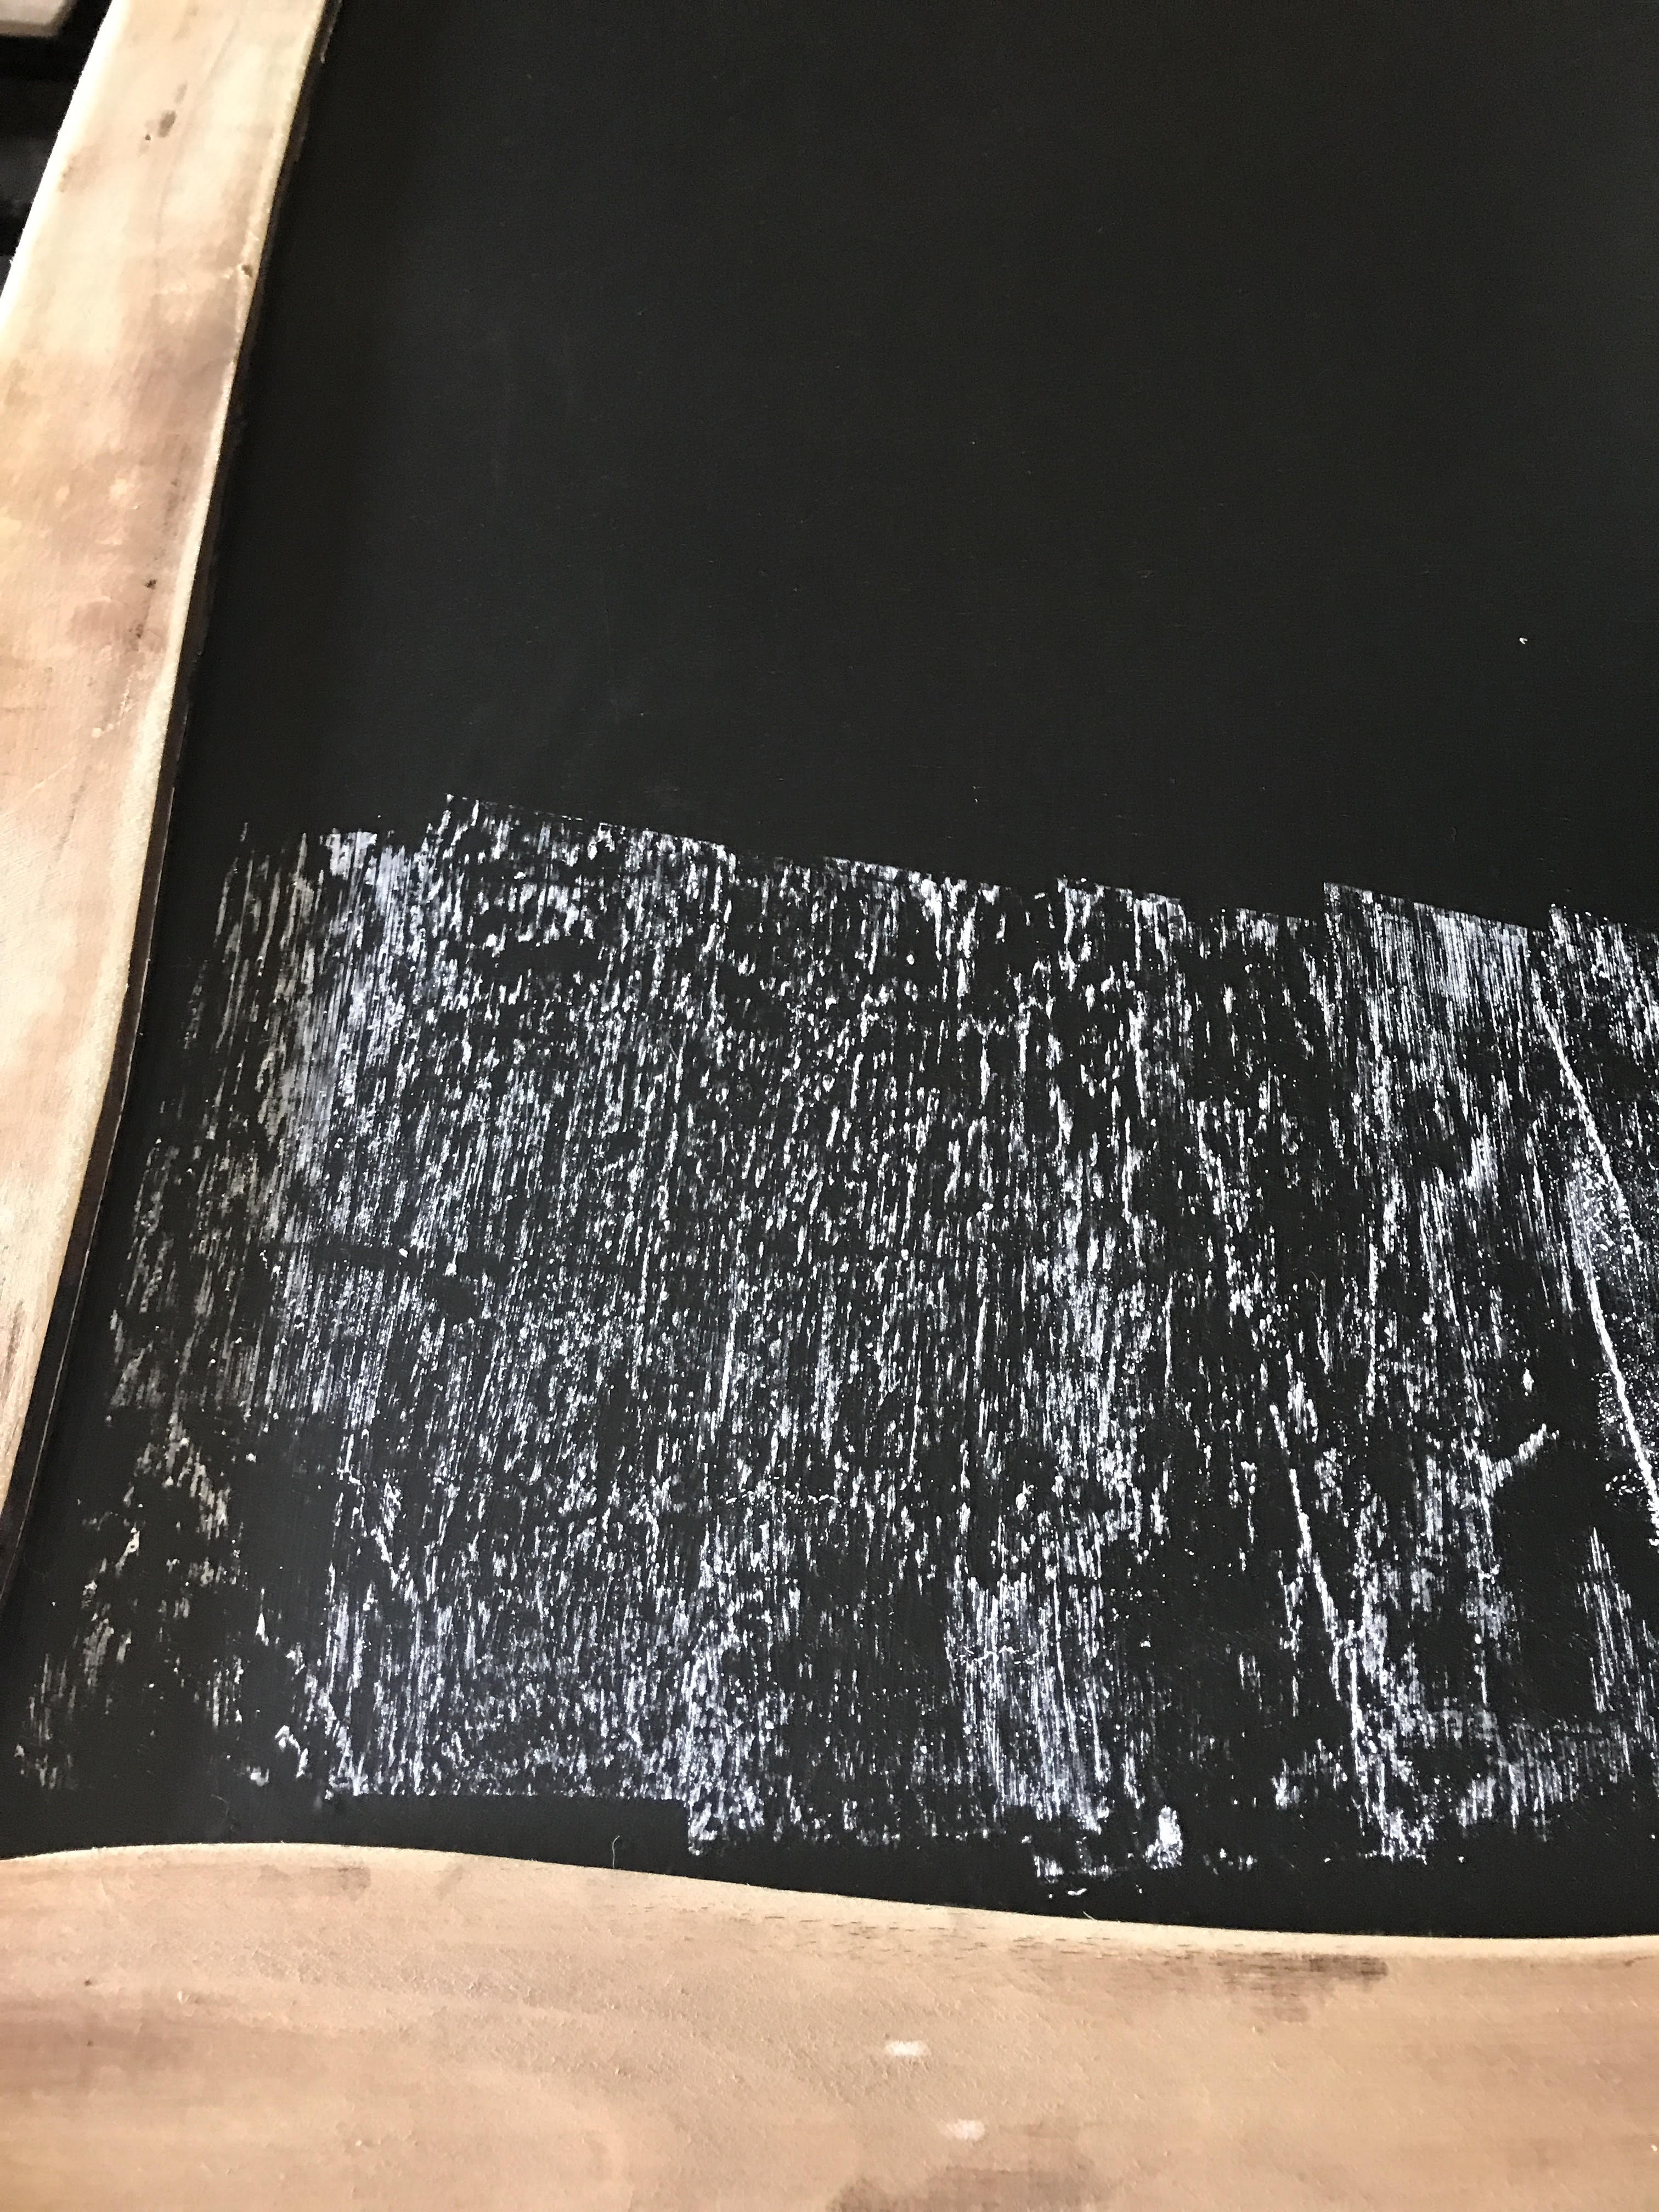
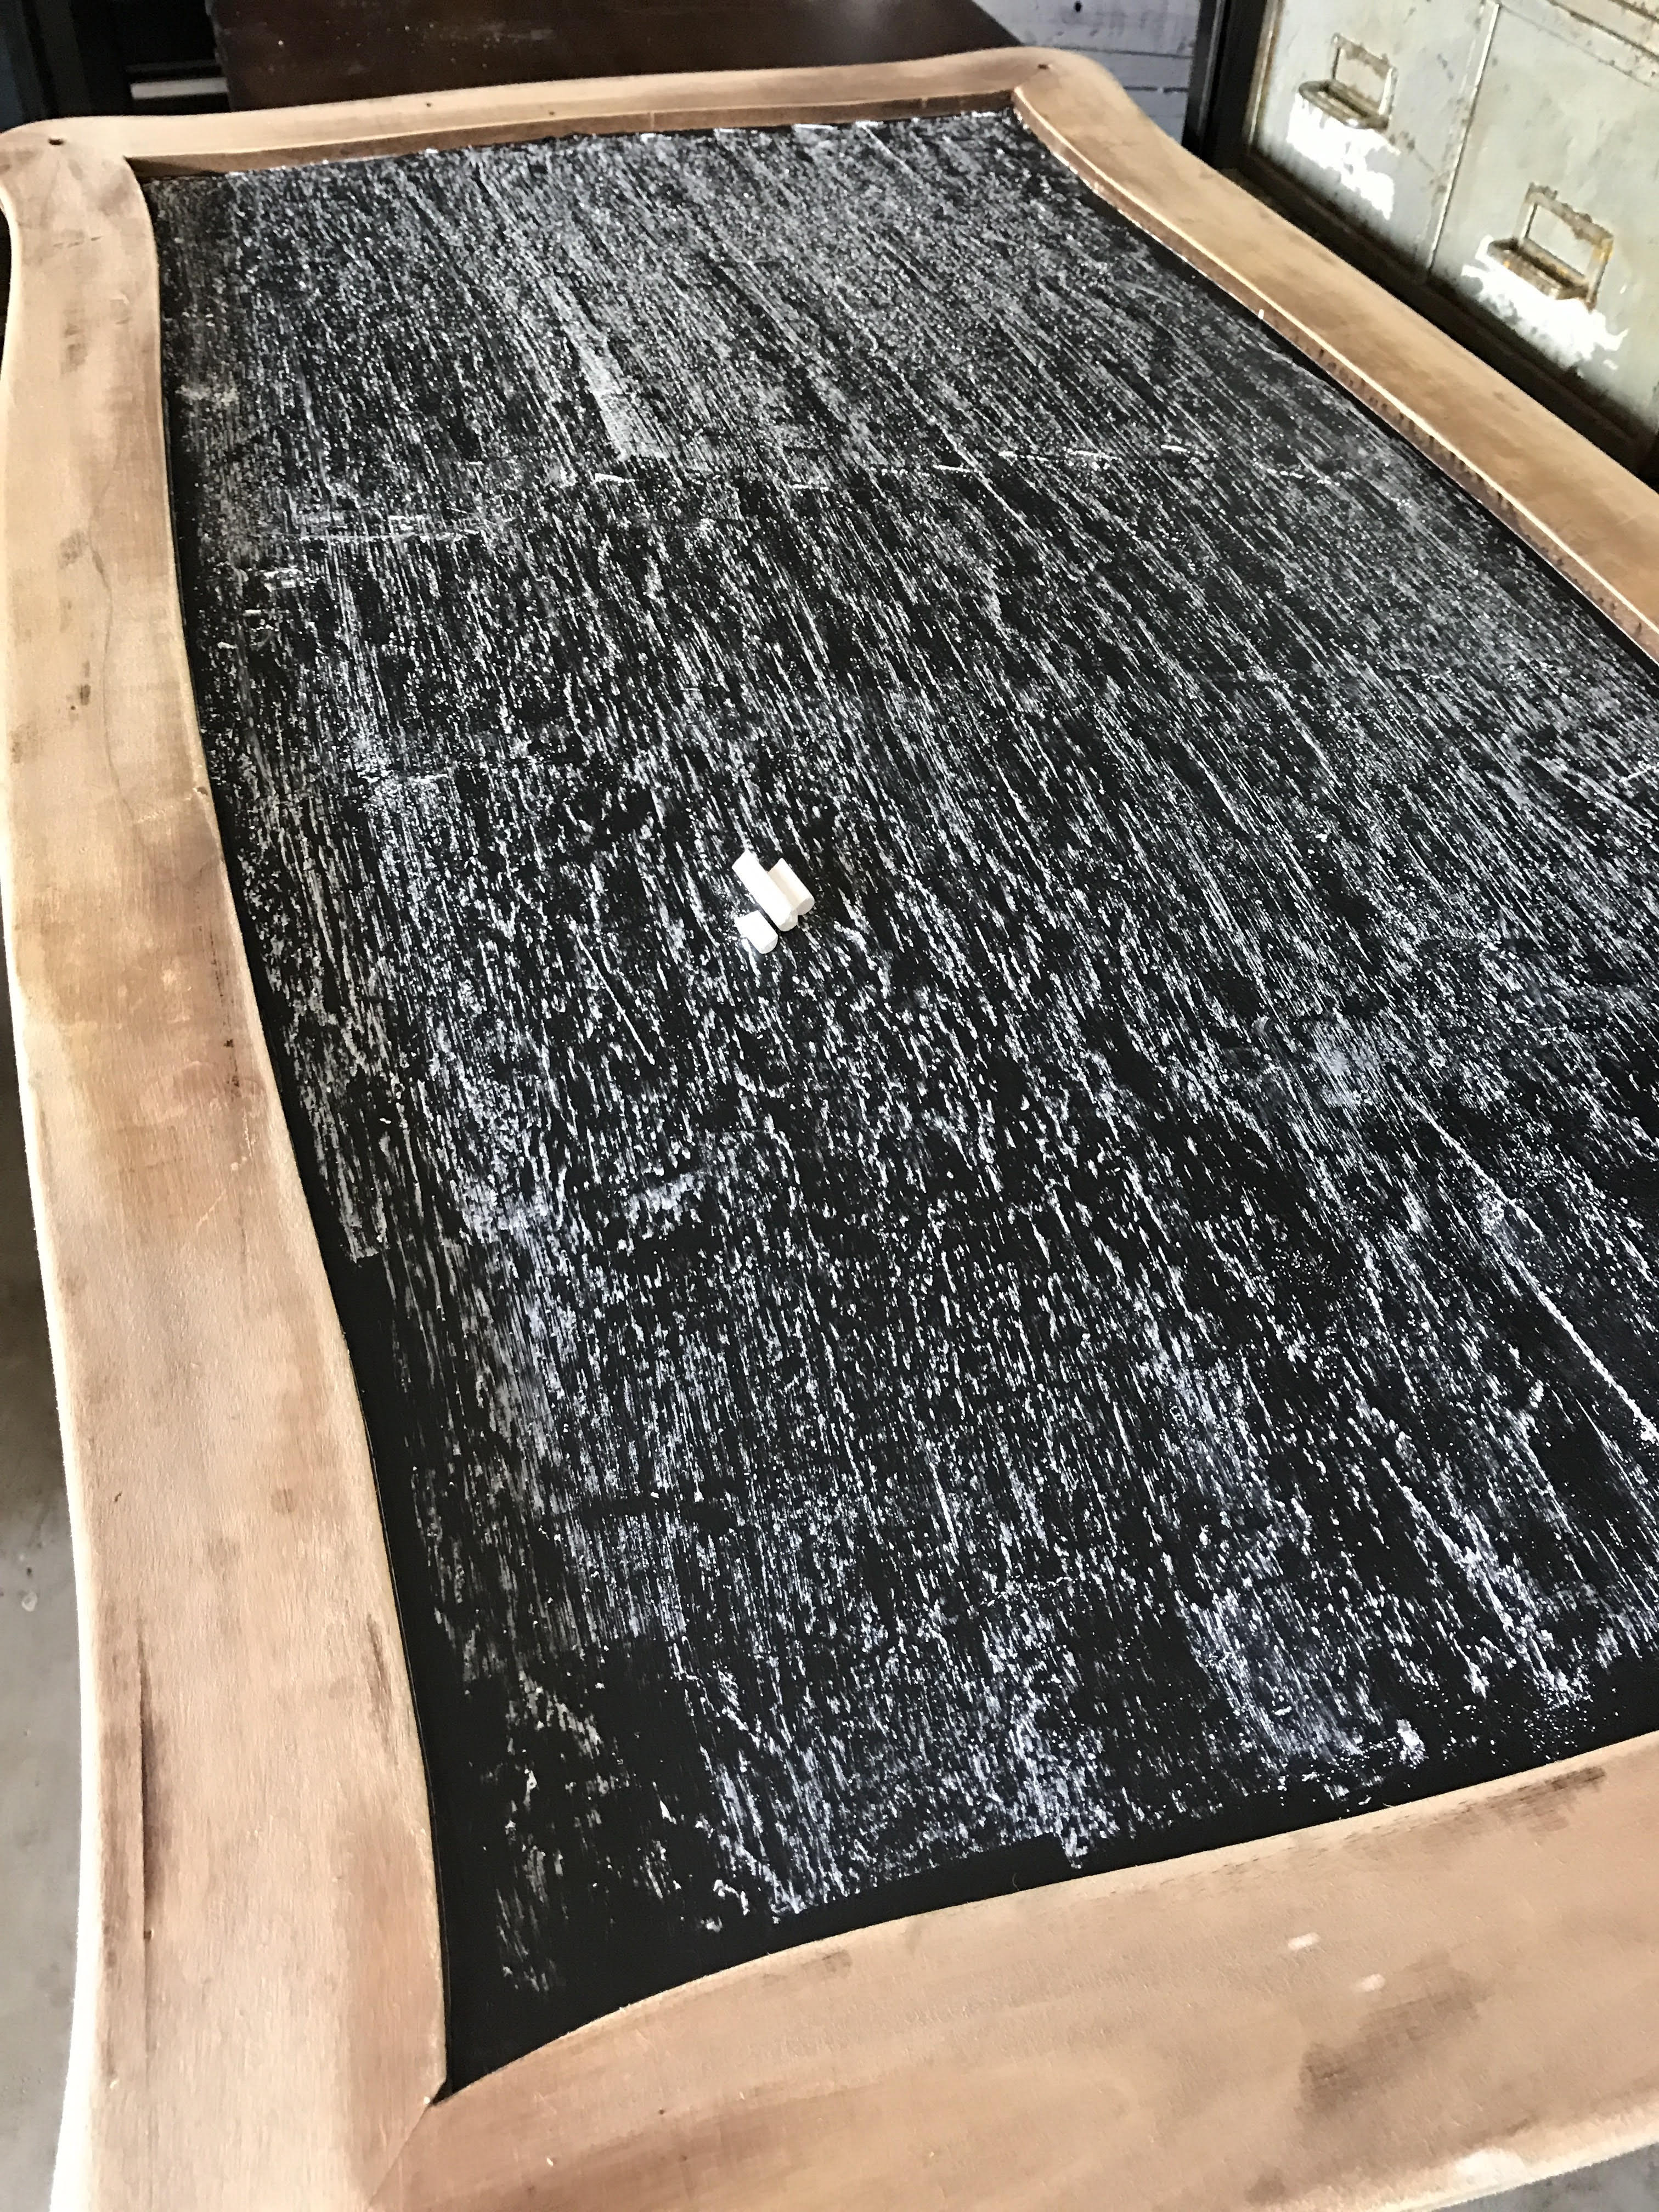
- Grab a piece of chalk, lay it down on it’s side and apply the chalk liberally over the entire surface of the chalkboard.
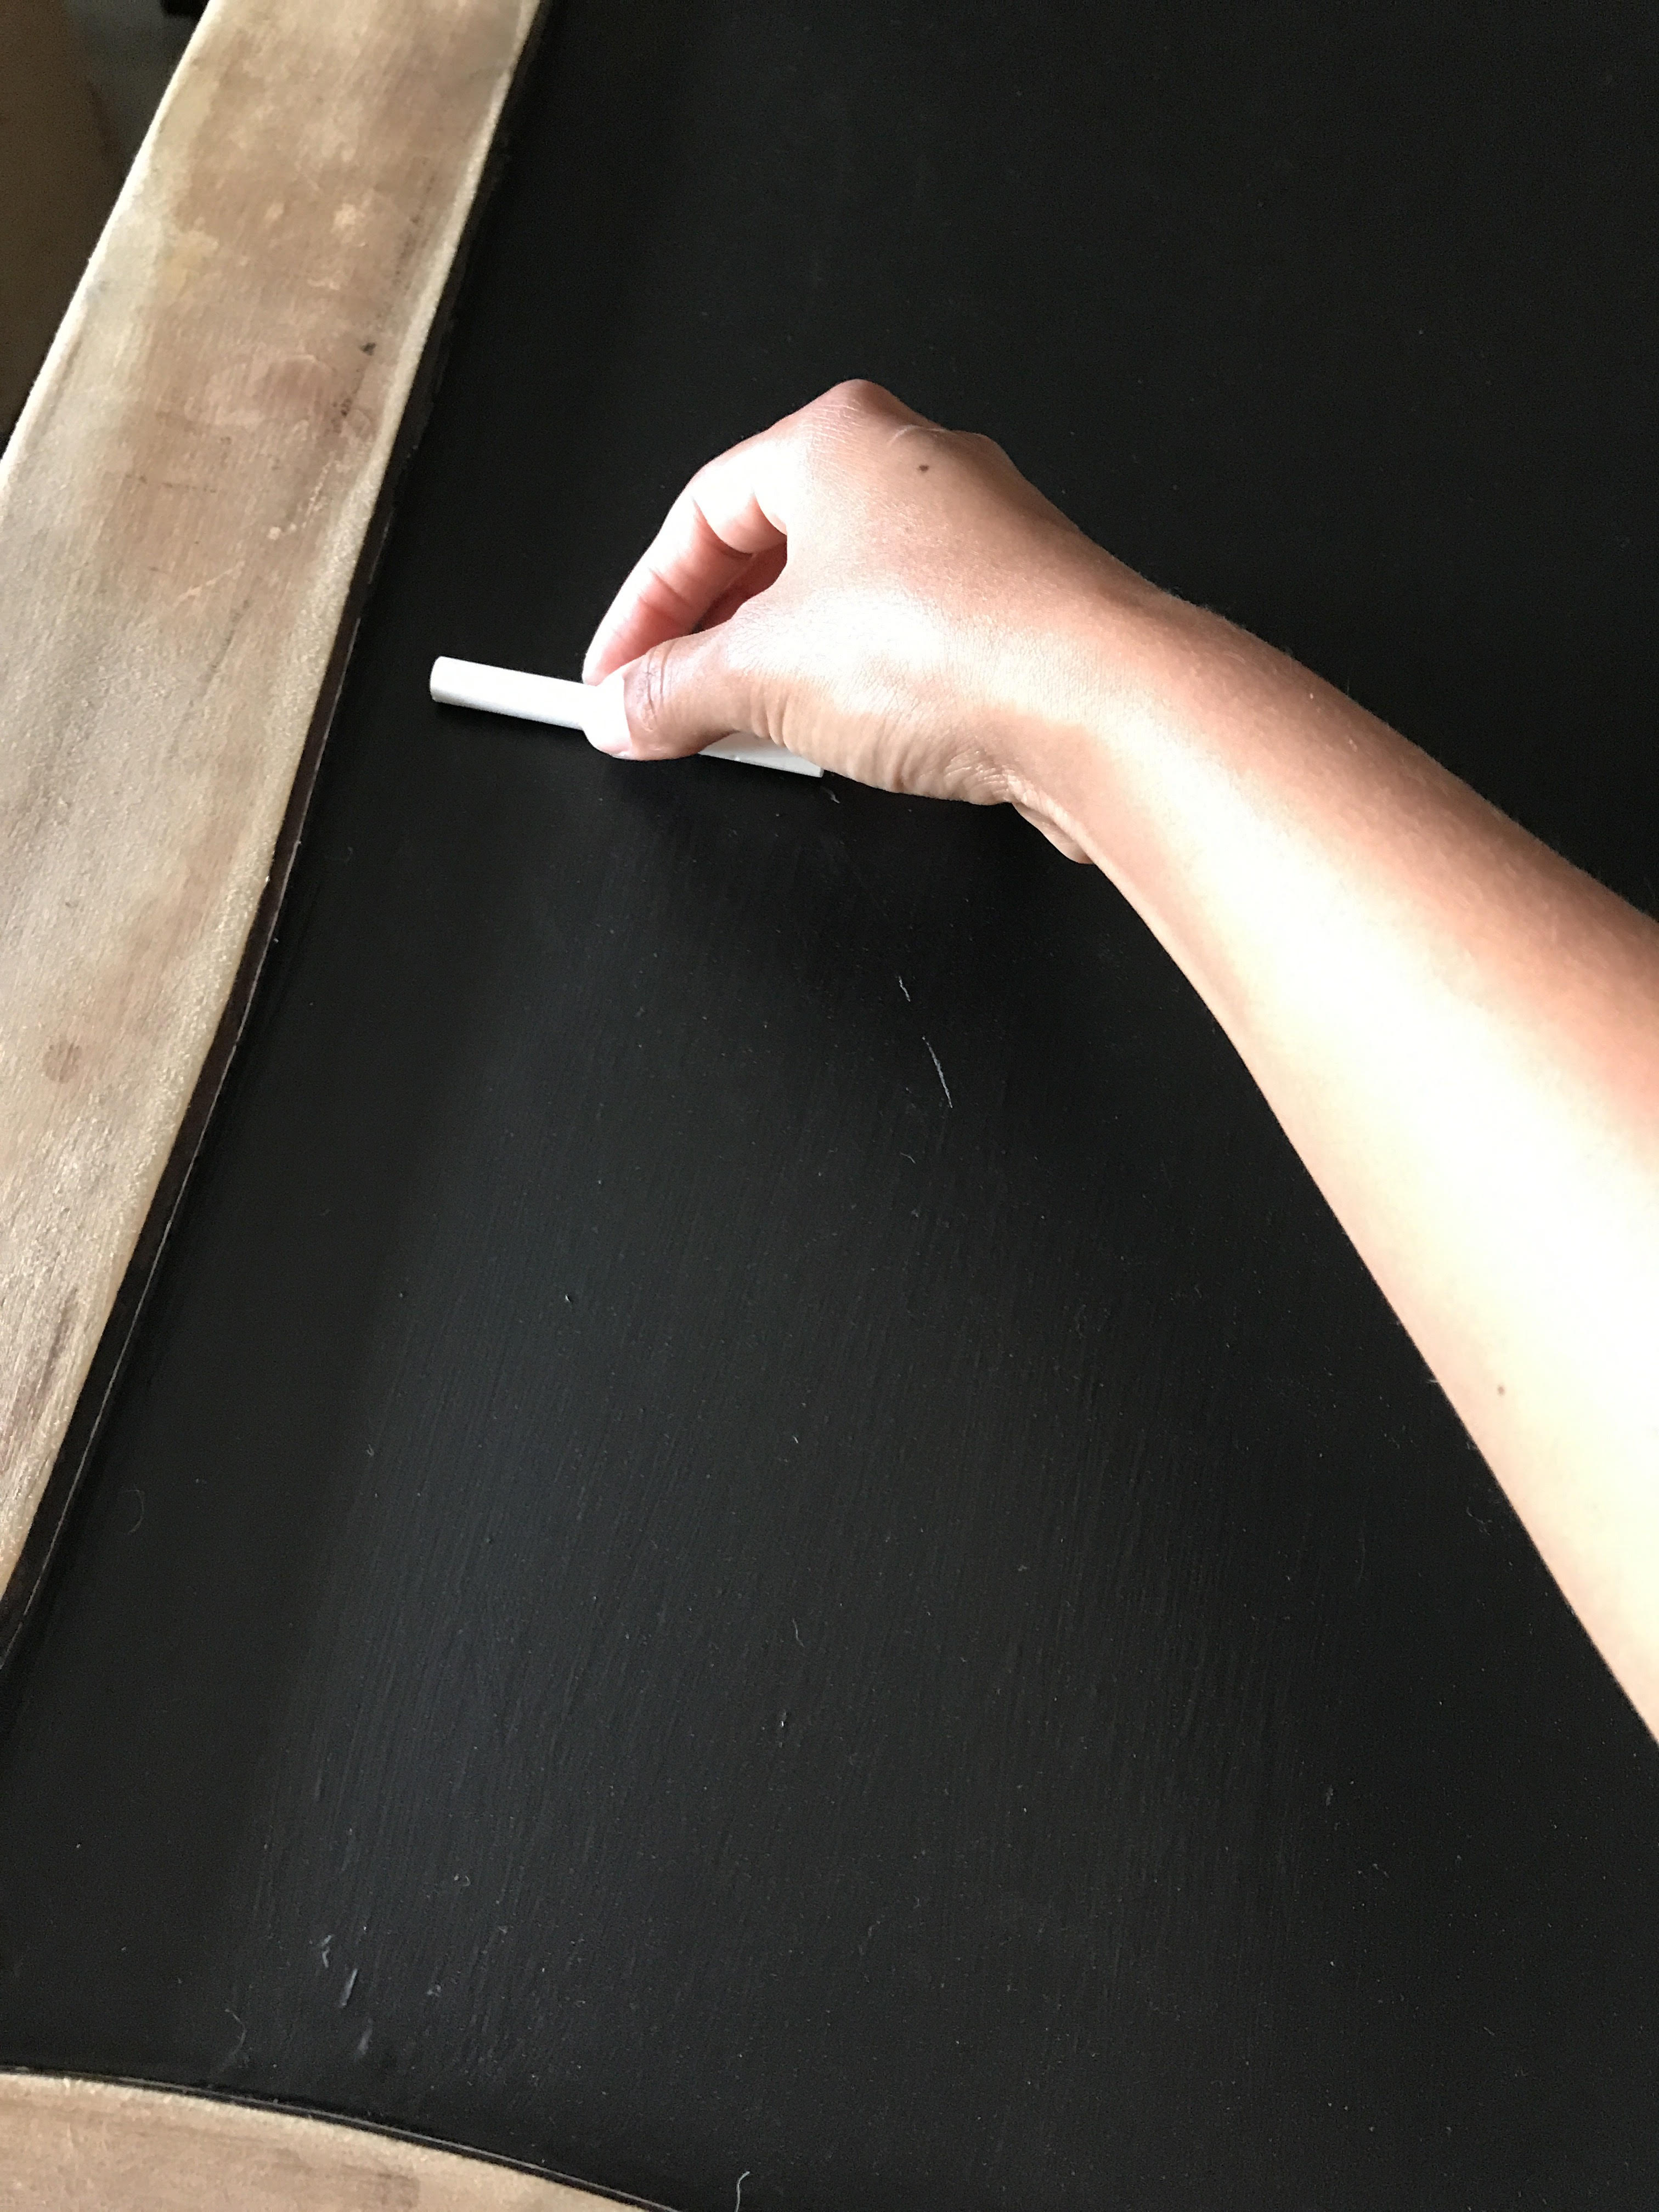
This process is called “priming” the chalkboard and be sure to do this because chalkboard surface is very porous. If you skip this step, you run the risk of your first chalkboard impressions being permanent.
Step 6:
Once the entire surface is covered, you will need to grab a dry rag, rub in and erase away all the remaining chalk.
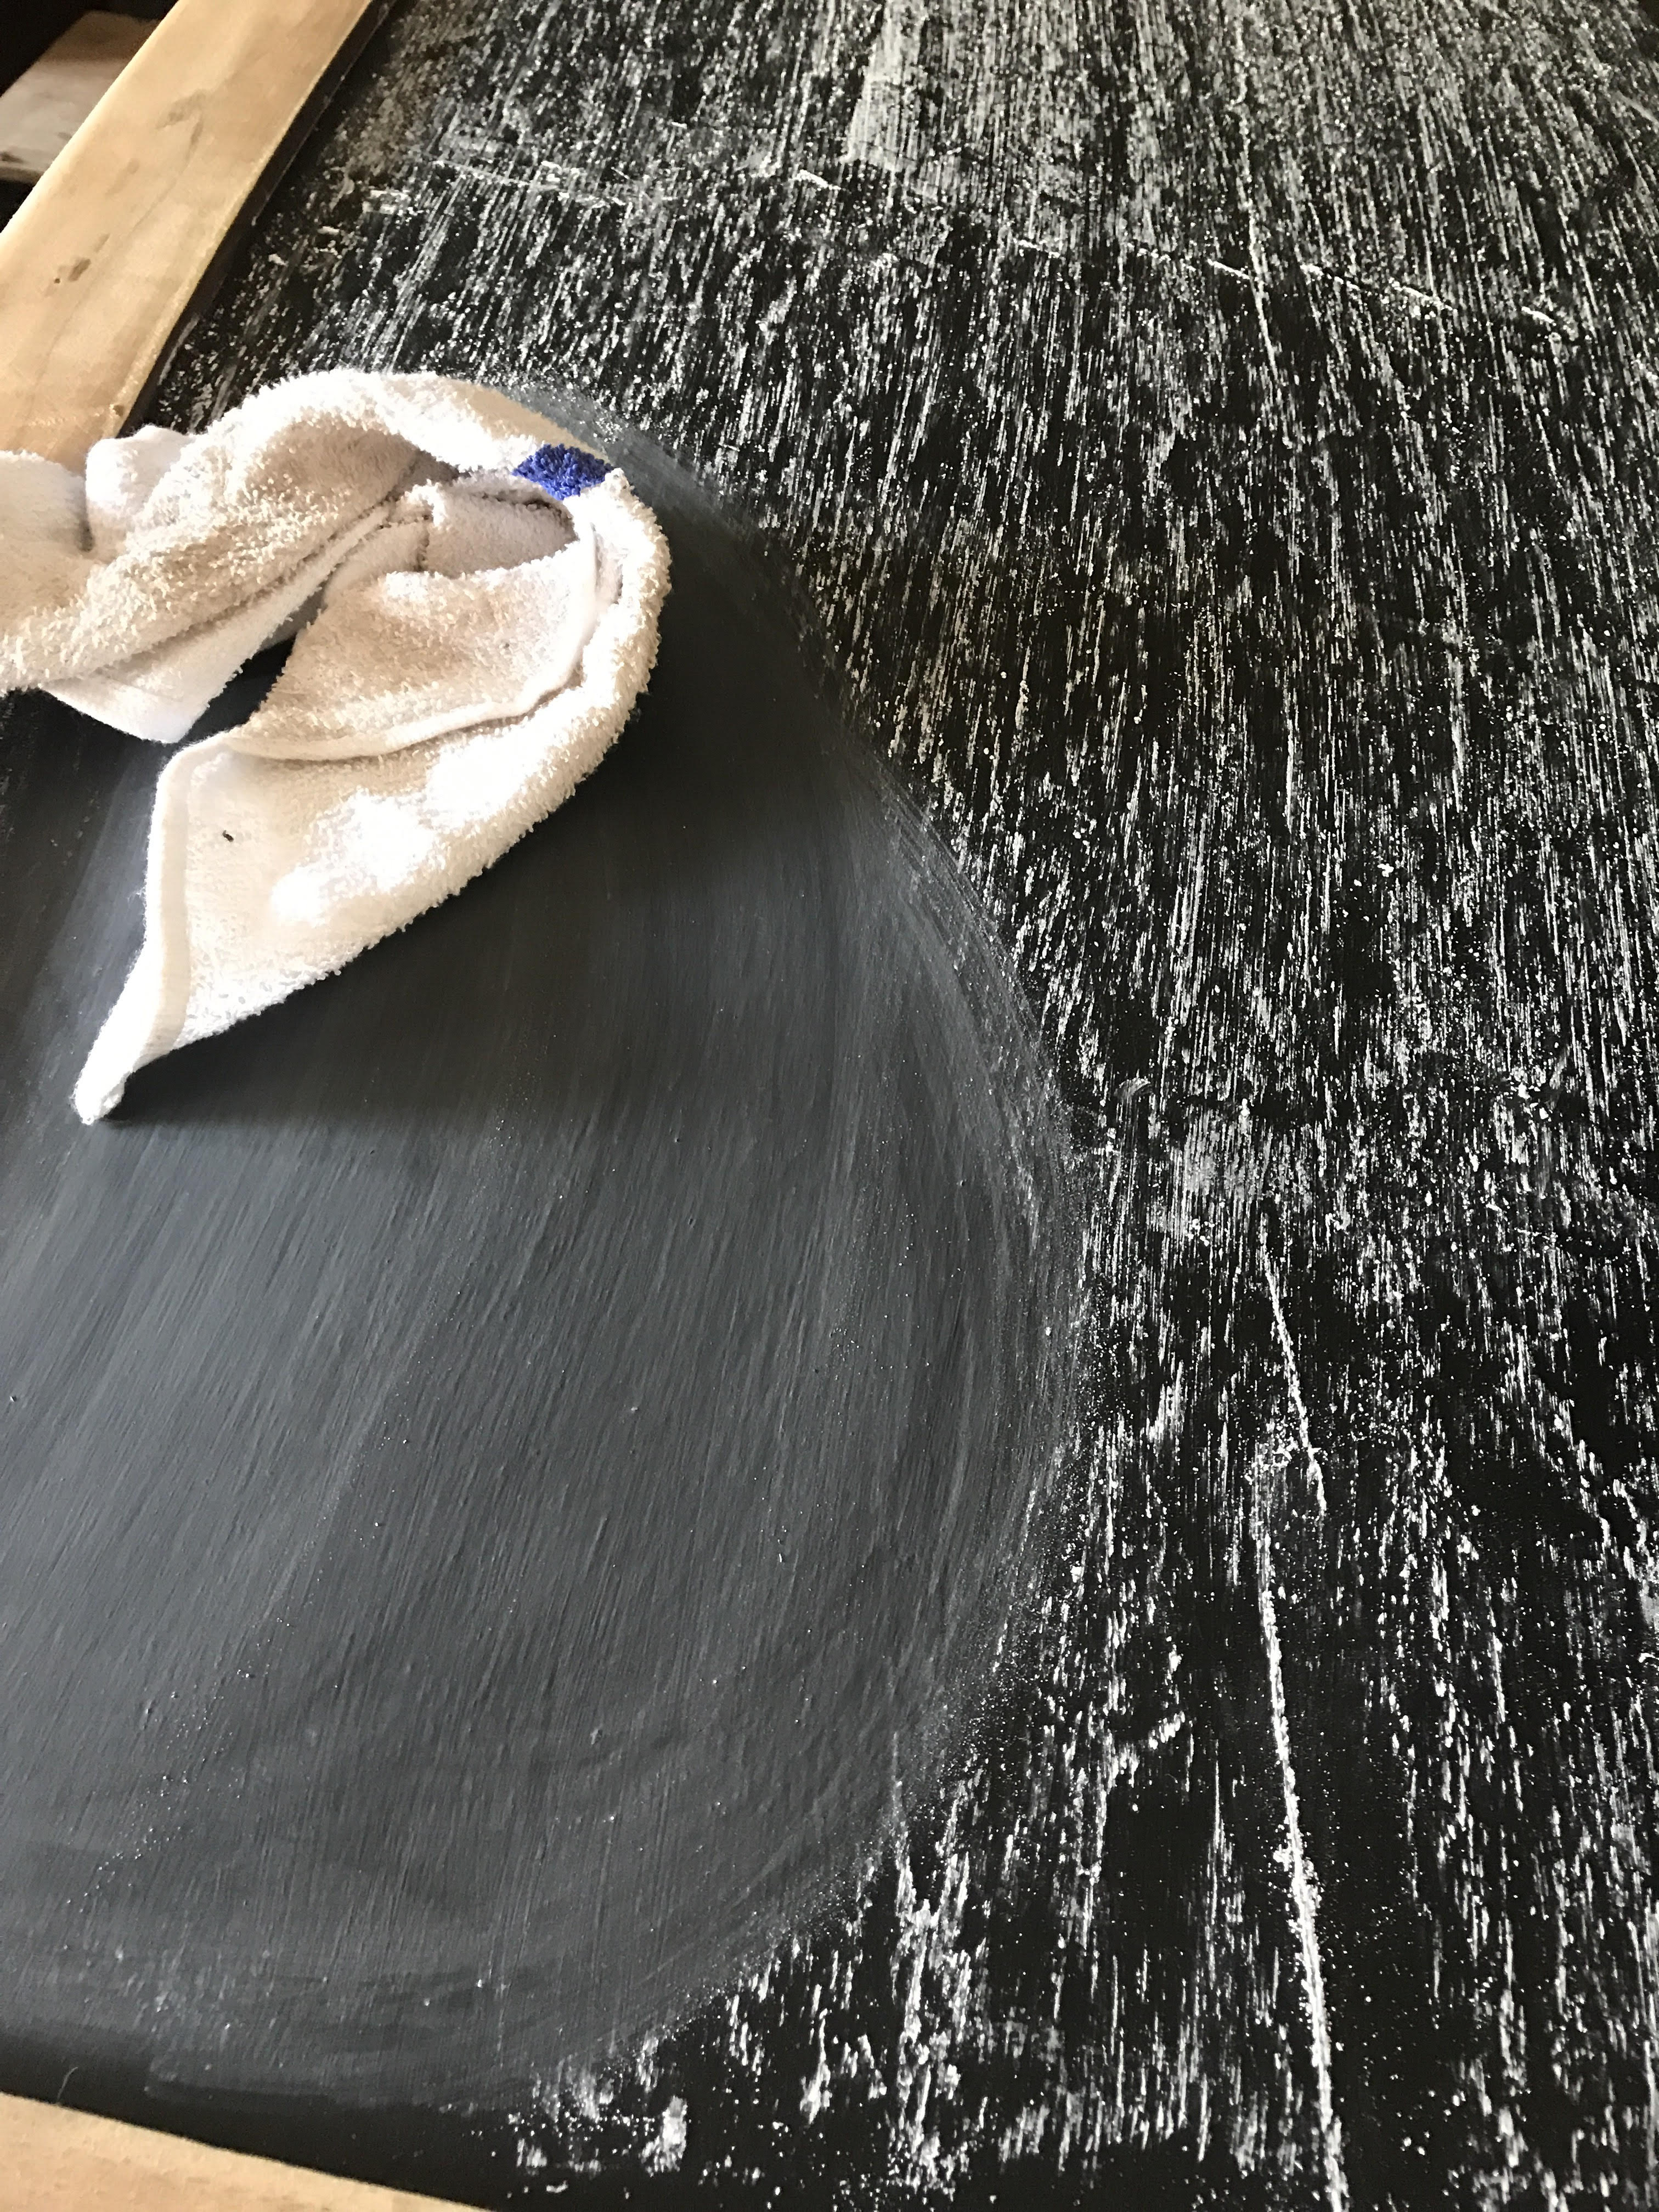
Once complete, you are all done and it’s ready for writing!
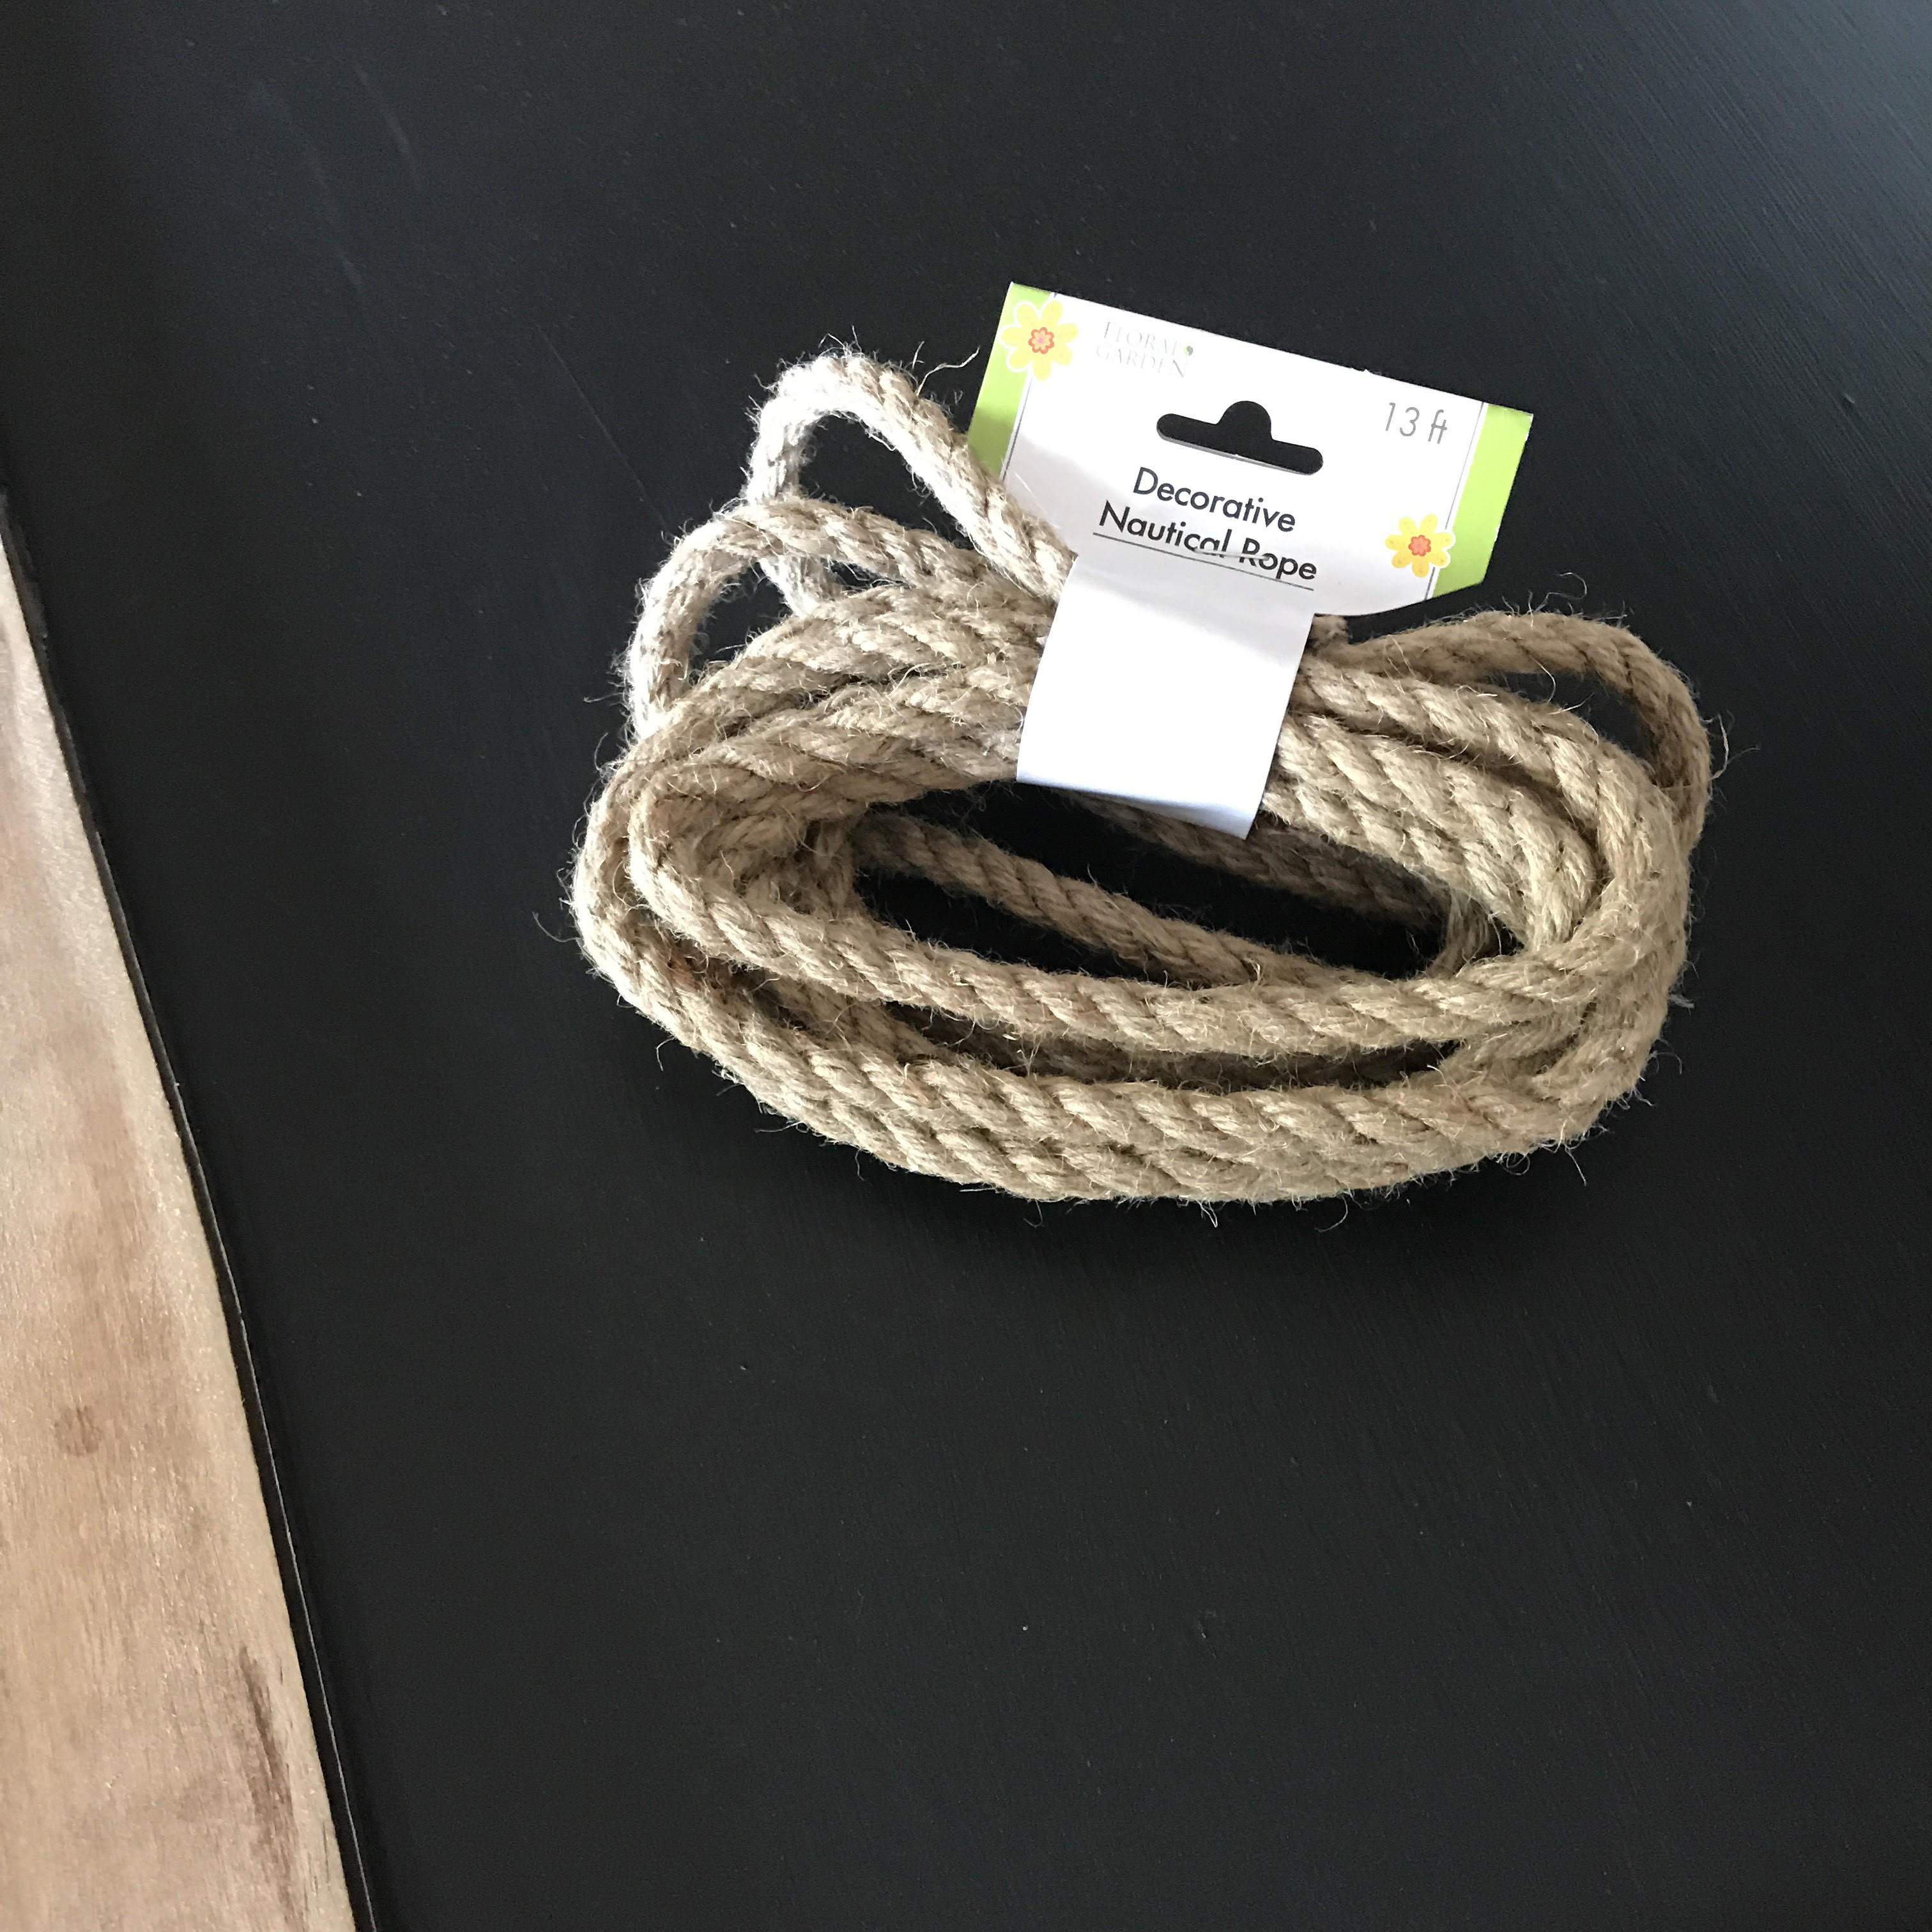
We decided to dress this piece up a bit by adding a rope detail since it had pre-existing holes from the original coffee table. We actually found this rope at the Dollar Tree of all places. Since we already had the wood piece and primer, we bought more chalkboard paint (approx $10 for a quart) and the rope ($1). All together this project probably cost around $15, even less since we have left over paint and rope to make more chalkboards in the future!
Coffee Table Before:
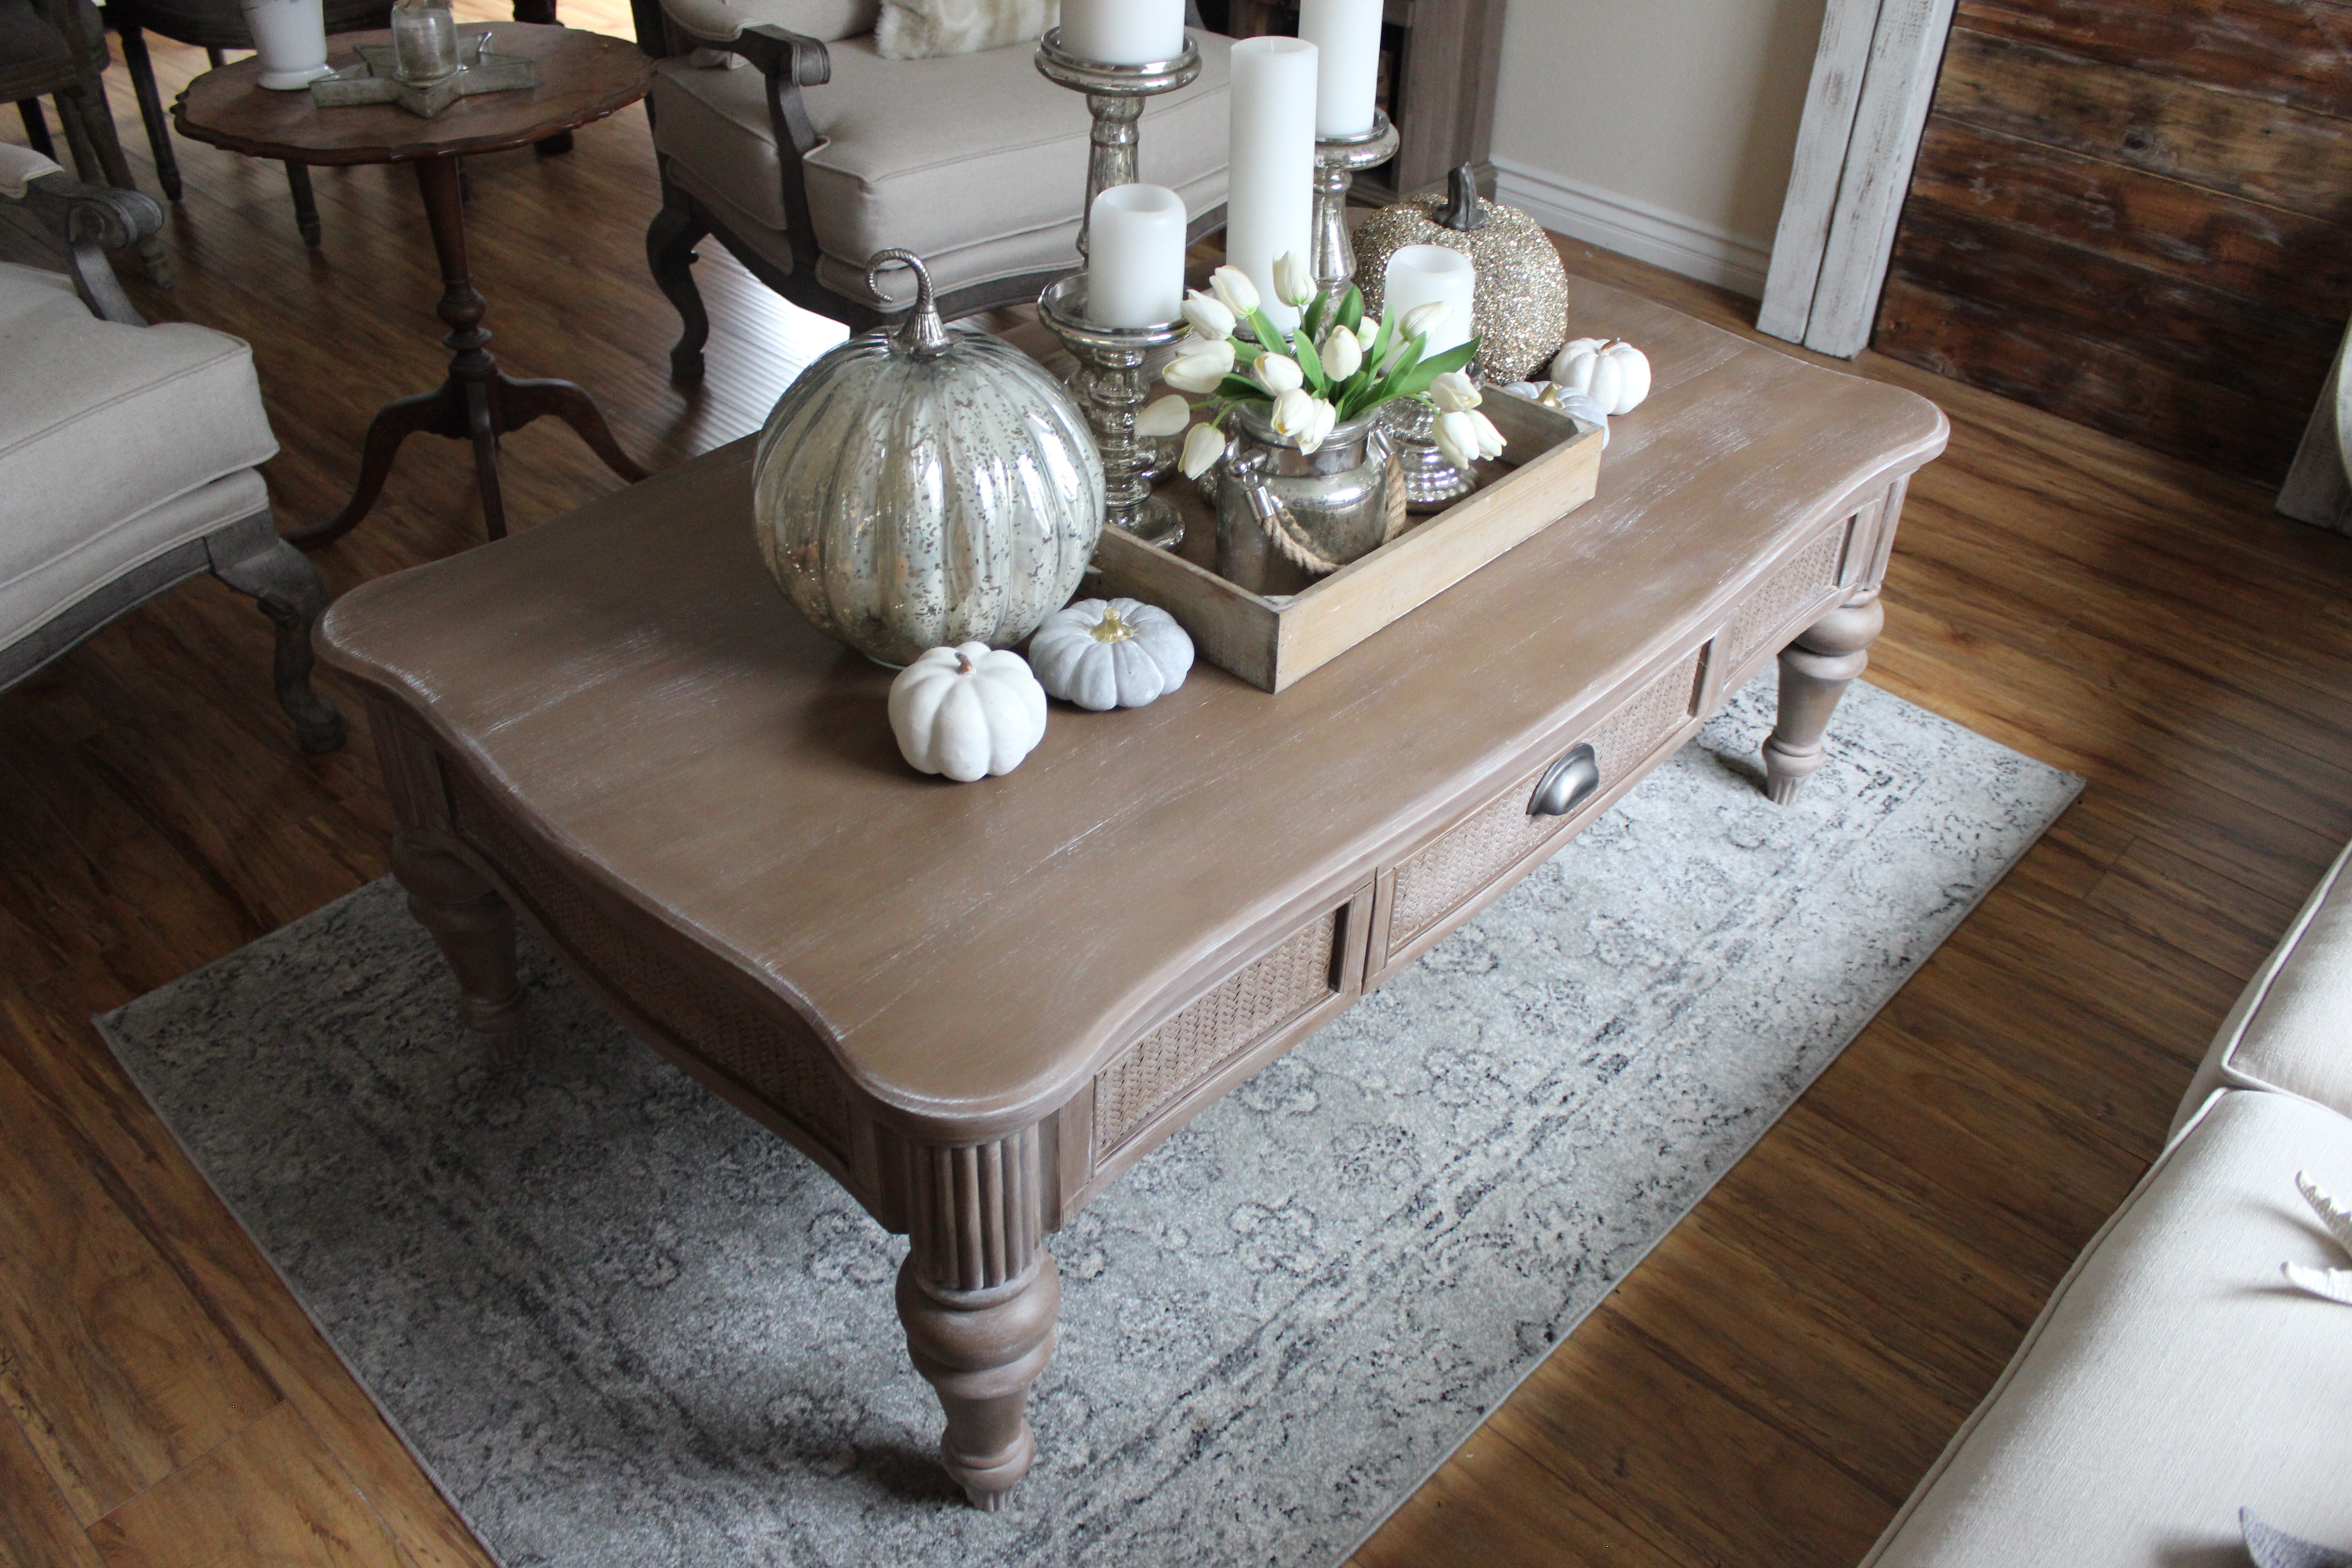
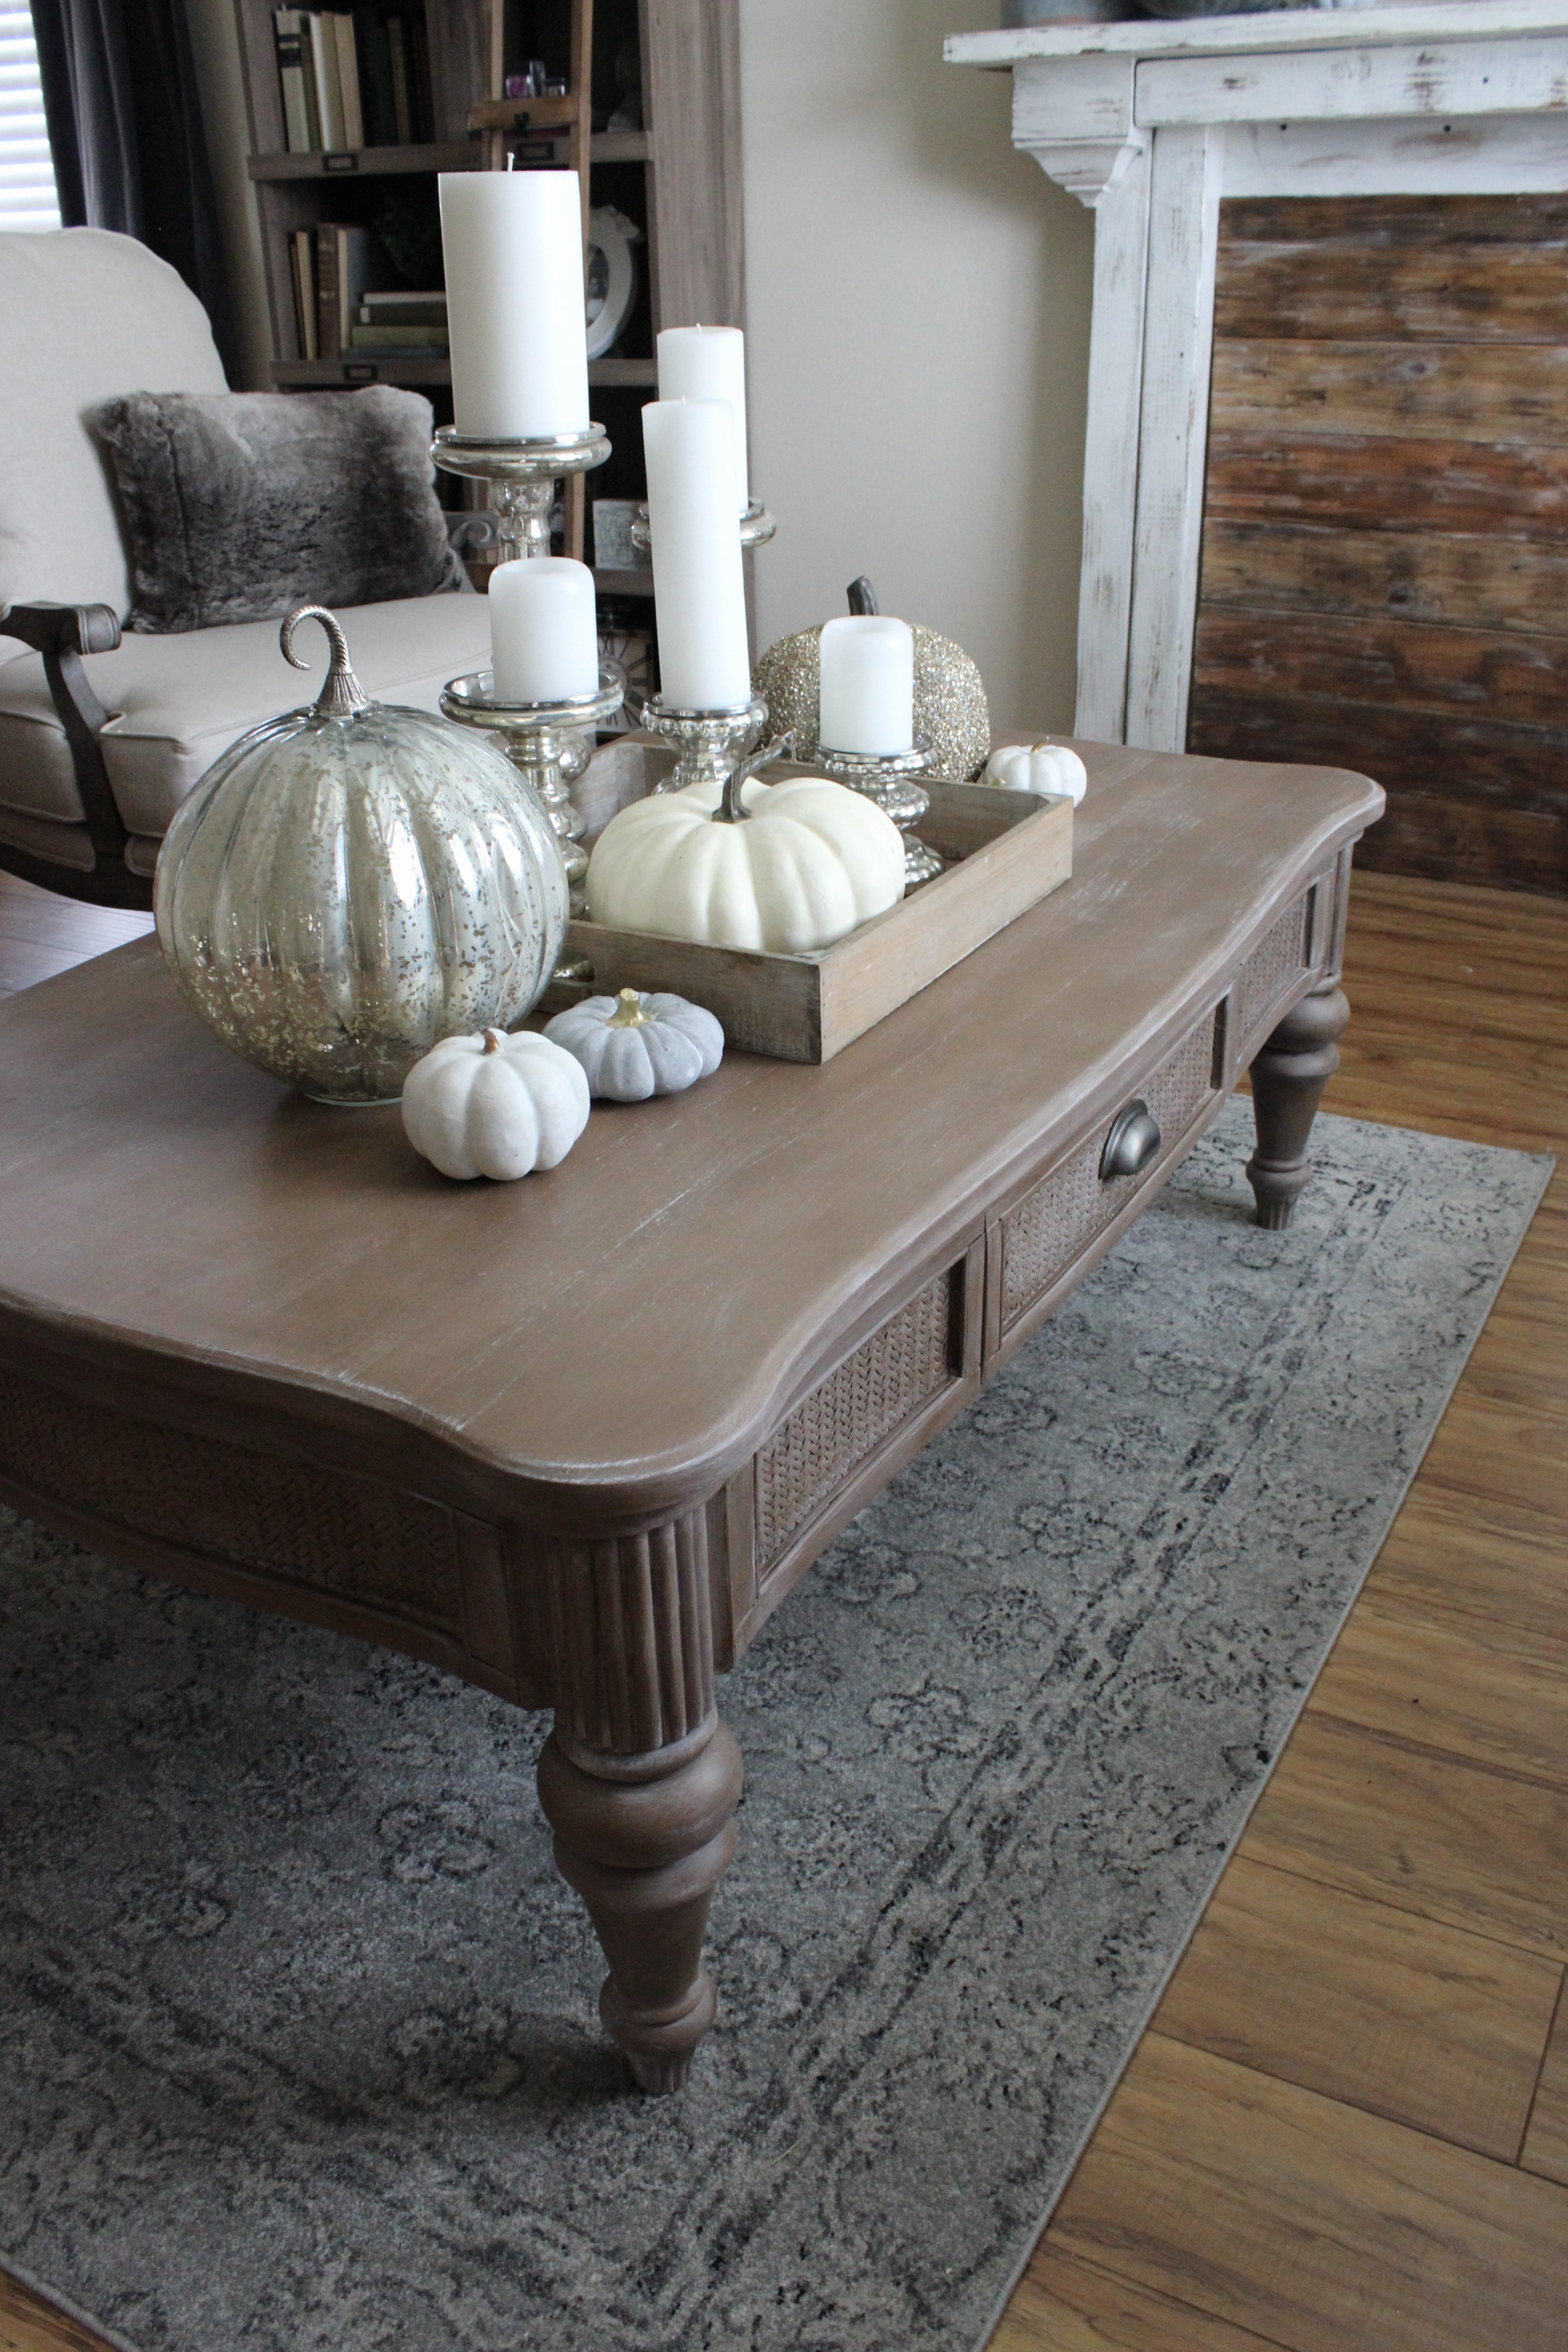
After: (table and chalkboard)
XOXO
Mel & Izzy
![]()